How to Burn iMovie Project to DVD in Mac for playback on TV


Check out Blu-ray Creator to make Blu-ray from QuickTime videos and other digital files.
DVD is not as hot as it used to be. Over the past few years, the development of wireless technologies and mobile devices has given people more freedom to enjoy movies online and offline. However, if you're a Mac user, you may have QuickTime movie collections on your local media library. Whether they are recorded from your iPhone, iPad or exported from Final Cut Pro, iMovie and Photos, burning the QuickTime video to DVD on Mac has probably crossed your mind.
Despite the Apple application like iMovie still has the option to export video to iDVD for burning, iDVD itself was no longer included on new Macs. You will have to find another way to get your Mac QuickTime movie burnt to DVD so that it is playable on a standard DVD player.
There is a vast array of DVD burning utilities out there available for burning QuickTime videos and such kind of things. If you're looking for a plain and simple one, look no further than DVD Creator for Mac. Create DVD from QuickTime movie in Mac is as simple as loading the files, select a DVD menu style, and choosing "Burn". The software also supports other popular video, photo and music files as input. Besides, the built-in editing tools in software give you ability to touch up films.
If you want a program for your Windows computer dedicated to converting QuickTime video to DVD to watch on TV. Check out DVD Creator for Windows, which gets solid reviews and works like a charm.
Step 1: Copy your QuickTime movies to the program
Locate the QT files to be burned to DVD and drag them into the program window. Or you hit the given "+" icon on the blank area of program window, and then you browse your hard drive for the QuickTime video files.
After loading, the QT files will be added to the list and shown on the right portion of screen. You can change the order of the videos you add by dragging a thumbnail down or up the list.
<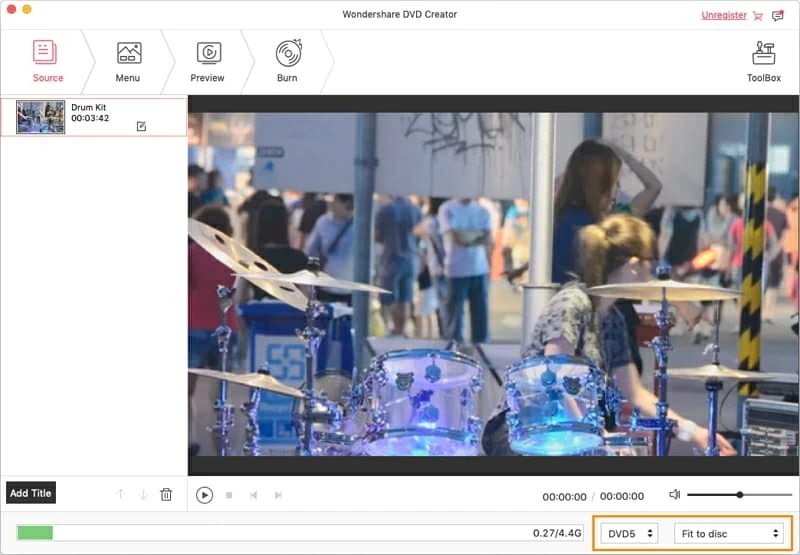
Note that you must check the calculator bar at the bottom to know the amount of space that will be used on the DVD.
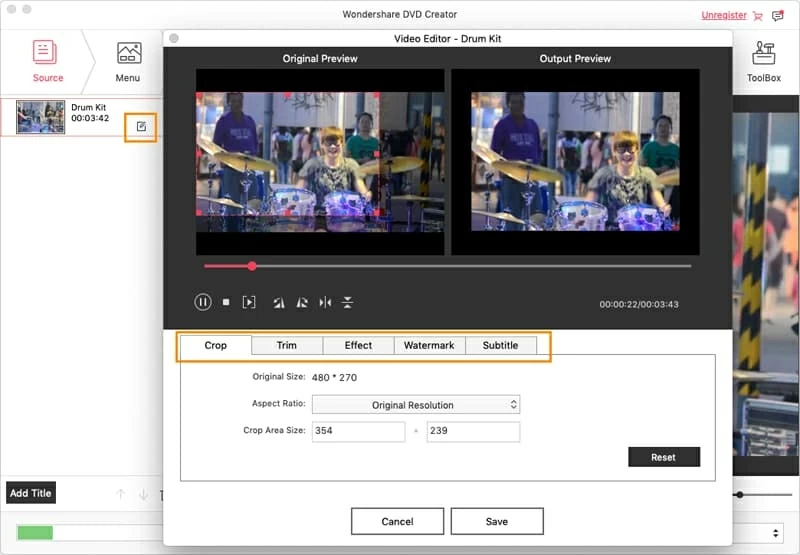
Step 2: Edit the QuickTime file (optional)
This software allows you to quickly edit a movie using built-in video editing tools. By clicking the "Edit" icon located in the lower right side of the video thumbnail, you're able to crop, trim or rotate your movie, apply effect, adjust the volume, even insert a watermark.
Designing a DVD menu is the next step, before the actual burning of the DVD with QuickTime movie file in Mac.
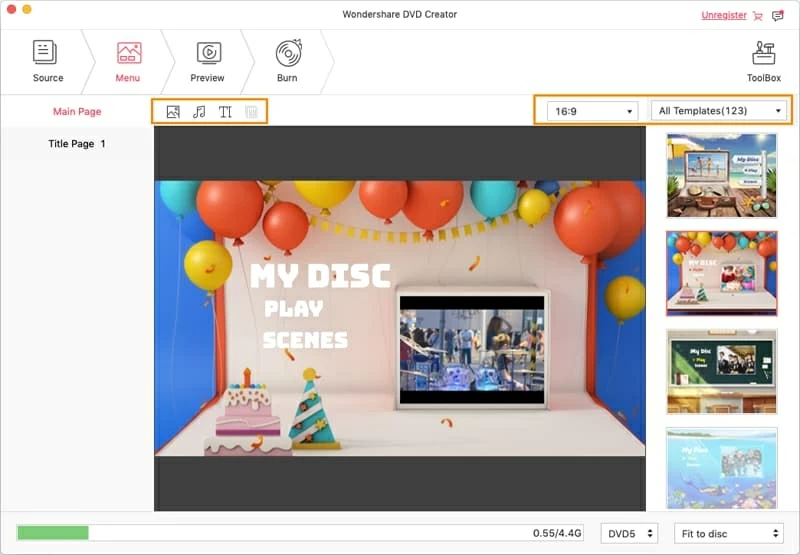
Step 3: Create a menu for the DVD
In this step, you'll now have the opportunity to select your menu style from predesigned menu templates list as well as completely customize your DVD menu (frame, button, text).
You can do this by hit the "Menu" tab on the top. Don't forget to use the "Preview" tab next to "Menu" option to check you're happy with the effect of your chosen menu.
You can also choose not to use a menu, which makes sense for a DVD with just one QuickTime movie.
Step 4: Burning the DVD
You're almost ready to burn QuickTime videos to DVD on MacOS.
Switch to the "Burn" button at the top of the screen, this will display a small dialog. From there, you will have to fill up some necessary output settings.
Burn To: in our case, we select "Burn to Disc". There are other options available including DVD folder, dvdmedia, and ISO file, which is great for storing a backup of the disc for later burning.
DVD Options: gives your disc a unique name, choose the appropriate TV standard corresponding to your region — NTSC for North America or Japan, PAL if you live in Europe or Asia.
Afterward, insert a blank DVD into the DVD drive on your computer. For Mac users, you need to use an external DVD drive with USB port.

Lastly go for clicking the red "Burn" again and wait as your QuickTime video files are burned to DVD for Mac.
After the process of burning completes, you should always make sure your DVD plays smoothly. To do this, insert the disc into home DVD player and check if your DVD playback without skipping, and include the synchronization of its audio and video.
That's it!