ASF Converter for Mac - How to Convert ASF to FLV


ASF (Advanced Streaming Format) meant specifically for hyper linking, embedding and streaming purposes. ASF files can be used for video on Demand, live broadcast and distance learning widely. It works smoothly under a Windows circumstance as it is part of the Windows Media framework.
Apple only accepts a limited range of video formats for its playing device such as Apple TV, iPad, iPhone and desktop applications including Final Cut Pro and QuickTime. This is fine if you've got all of your media content through iTunes Store, but if you've got a video clip with .asf extension, it's annoying not to be able to play them. So, if you're a Mac user you have to convert the ASF file to a highly compatible format with Mac OS X, such as .asf to .mov, it's just the very format which would reach your aim.
Fortunately, there's an easy solution thanks to Video Converter for Mac. It is an incredibly versatile tool for you to convert videos from ASF to Mac MOV file, and to a variety of other different video formats. It comes with preset profiles that enables you to transfer files with right size for a range of portable devices of your choice. For power users, you can even tweak the encoding parameters to get desired size and quality.
And for those who're running a PC installed Windows operating system, please try Video Converter for Windows to change ASF file to .mov file.
Step 1: Load ASF files
Click "Add File" icon on main menu to import your target FLV file(s) into the program. Continue adding files until you're satisfied with your selection.
Batch conversion is also supported, so you are able to input as many ASF files as you like. After loaded, you can preview the ASF in the preview screen.

Step 2: Setting up the Output File
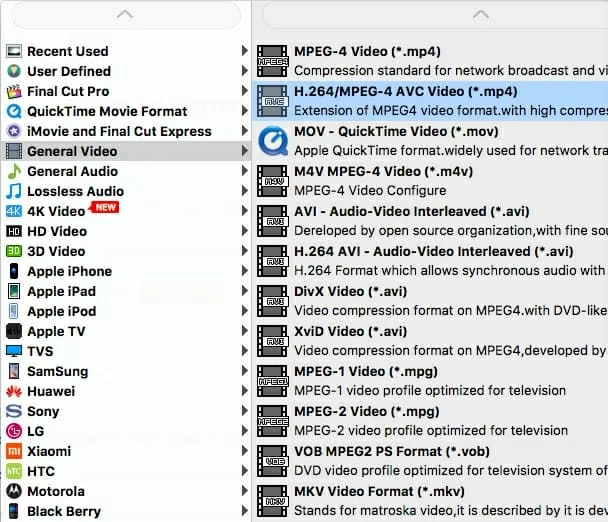
Next you will need to move onto the bottom section asking what output settings you want to choose. Click "Profile" drop-down list in the bottom left-hand corner, and then choose MOV as output file under "General Video" (or "HD Video, if you want to converting HD ASF without quality loss).
In the "Destination" box - output folder section select the location you would like to save you QuickTime MOV file.
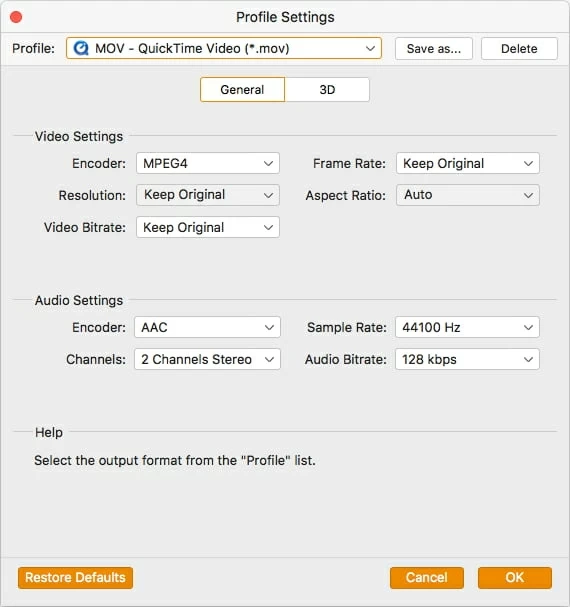
There are a wealth of tweaking options available for users to get the best possible file as a result. You can do it through "Settings" button to bring up the panel.
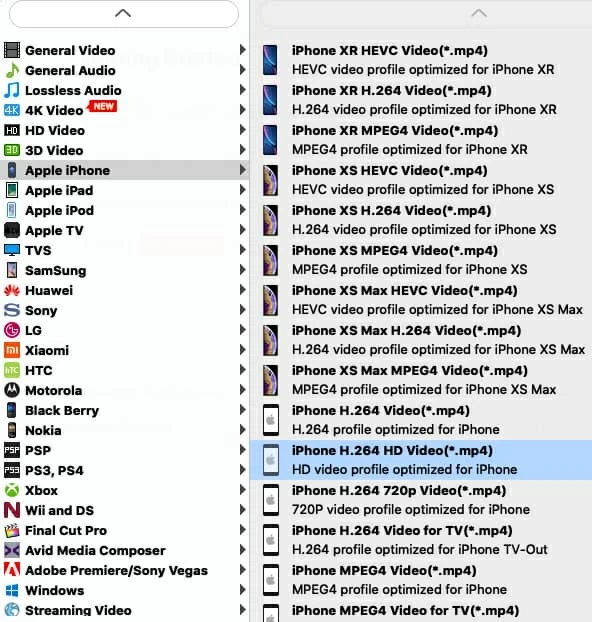
Alternatively, you can choose from a range of complete and well-organized collection of presets contained in this Mac ASF to MOV converter to convert videos ready for a specific device (see left), which can save a huge amount of time and ensure that you don't need to tweak output settings.
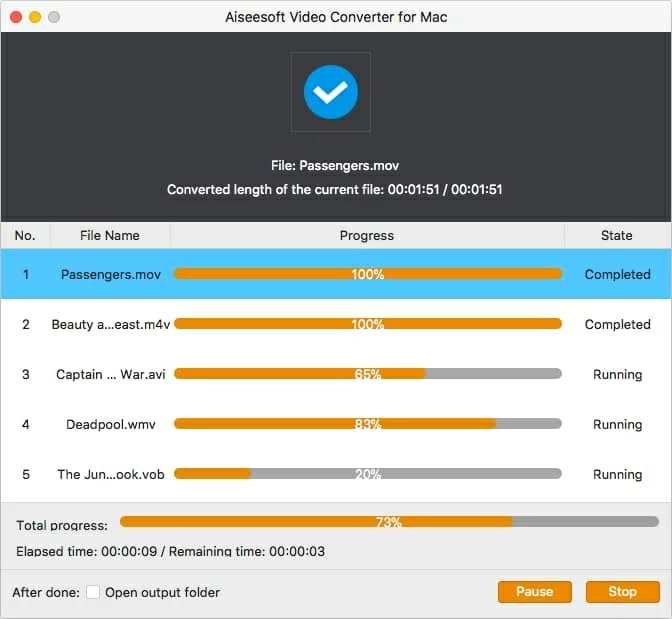
Step 3: Start conversion
Now it's time to tell the app to encode ASF to MOV file in Mac. Click on the large "Convert" button to the lower right corner of the screen. A window will be shown to display the status of conversion, as shown below.