How to Convert M4V Files to AVI on Mac


For some reason, you may want to add a bundle of M4V videos downloaded from iTunes Store or shot by your iOS devices onto a web page like YouTube, while most web videos are encoded in flash FLV video, so you can't upload them smoothly onto web without conversion. But more likely you got some favorite video clips in flash video (.flv) format from the notable video-sharing web sites like YouTube, Google Videos, Yahoo Video, and just didn't know that how to stream these FLV files and sync with your iOS devices on Mac.
Don't worry about being late to the party. Today we take a look at how to convert video files between FLV and M4V format with Video Converter for Mac - a tool specially designed for Mac users. You can feed it just about any type of video content and it will convert it and export a digital file in different modern formats. It has a large amount of adjustable options available for you to get quality video: encoder, bit rate, resolution. There are also some very nice extras built in the program such as being able to choose a specific-device preset to simplify configuration of encoding settings.
Note that the program has Windows version, if you want to turn M4V to FLV file or FLV to M4V file so that you can expand the ways of using it on Windows PC, you'll want Video Converter for Windows.
Step 1: Add M4V video
When you launch the program, you're greeted with a simple and basically empty interface where explanatory text button on the top of the menu, making it's pretty obvious what needs to be done next.
Head to the "Add File" and then find the M4V files you want to convert to FLV. You can use drag-n-drop feature to finish this step. If you have several files and you want to join them, please click "Merge" option.

Step 2: Select output format
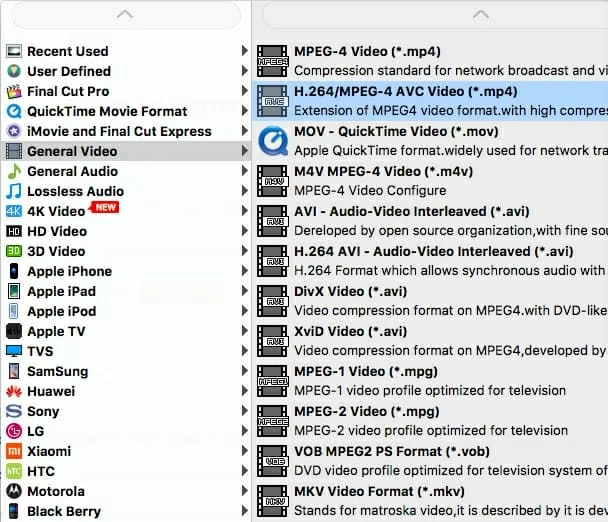
Now select FLV as output container file from "Profile" drop-down menu. Once the output format is selected, you can start tweaking your encoding parameters. You can access these by clicking "Settings". By default, the FLV converter has these areas optimized for you and should be enough for most people, but if you're looking for something more specific, you can manually customize them.
You can also select a pre-configured profile (see left) for your target device (i.e. iPhone, iPad, PS3, Xbox 360, etc.) to simplify the process.
Then back to the configure destination folder to save the output file under "Destination" box.
This M4V to FLV Converter for Mac embraces a build-in editor which allows you to customize individual video effects like trimming parts of your video, cropping the video image, making effect, applying a watermark image and more.
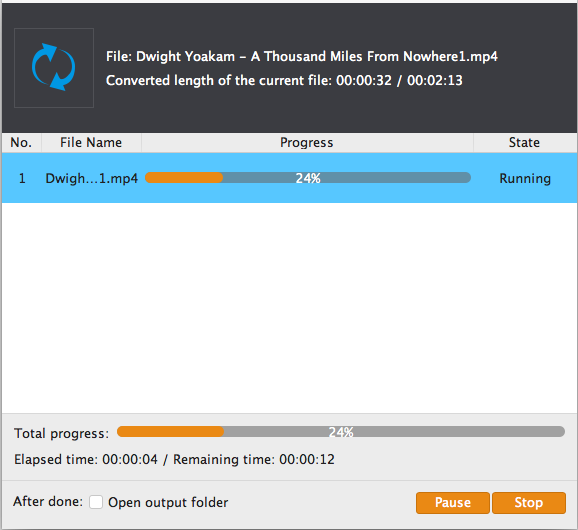
Step 3: Start converting
One you've set output format and settings, just click the blue "Convert" button on the bottom and wait for a few minutes. You should now see a progress bar running as the .m4v to .flv Mac conversion takes place.
The conversion process may take quite a bit of time, especially for lengthy videos.
That's it! Now that you've just converted your M4V files to an FLV format using Video Converter for Mac, you can go ahead and upload the FLV videos to YouTube or play on a media device. BTW, the program also provides batch conversion, which makes it easier to convert a large batch of M4V files.