How to Put AVCHD Footage to DVD on Mac & PC


See more about: Blu-ray Creator to burn iTunes movies to play on a Blu-ray player.
Videos from the Apple iTunes store can be downloaded on your Mac for storing and enjoying. These video clips may take up a large amount of space on your hard drive. What's even more, with the legal copyright on their videos, Digital Rights Management, it is difficult for you to play them on other computers. Why not burn iTunes movies to a DVD so that you can watch them on a home DVD player and new high definition television.
With just about everything you need included, DVD Creator for Mac would be your best assistant to convert iTunes file to DVD on Mac that can be used on almost any DVD player. Its simple wizard-based interface makes things very easy and so requires no instructions. It is absolutely easy to control and does not require any knowledge of video formats or how a DVD works.
If you're on a PC and want to burn iTunes movie files to playable DVD, go to try DVD Creator for Windows with the same steps.
Step 1: Import iTunes videos to this Mac app
Launch the program, the main interface displays options to import files, view and edit videos/pictures, preview, and disc burning options.
First, click "+" icon on the center area, this opens a new window from where iTunes movie files can be added to the board. Alternatively, simply drag and drop files into window of this iTunes movie to DVD converter for Mac. In the source area, you can edit DVD titles manually and change the order of the files by using "↑" and "↓" function.
<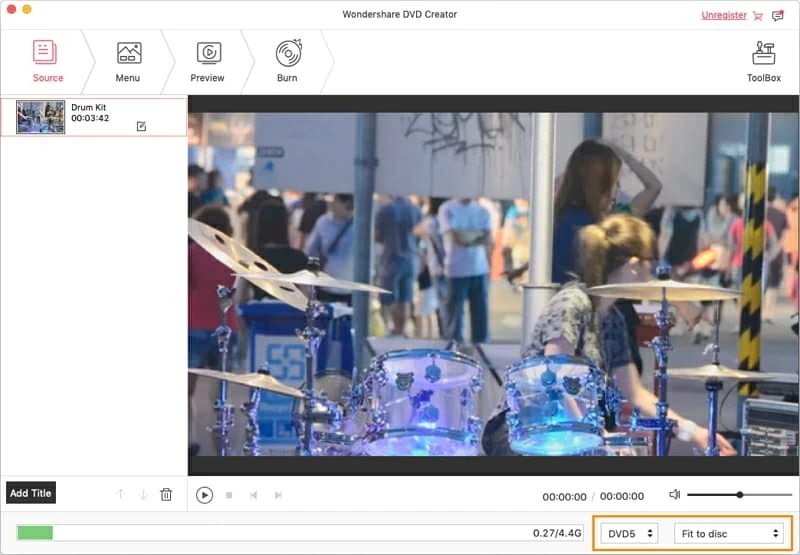
A bar at the bottom of the screen will displays the total size of the added video files to give an indication if the user has to burn a single or dual layer DVD.
Step 2: Edit your video if needed
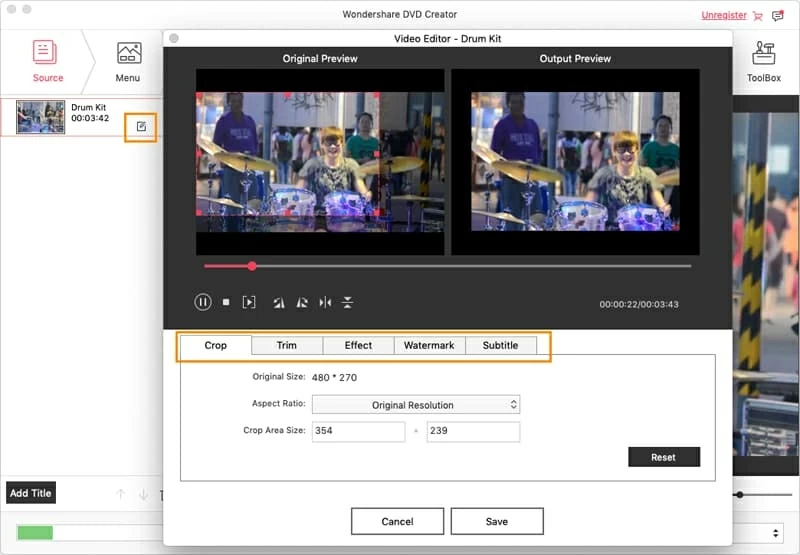
You can edit movies down before conversion. Highlight the video and choose the "Edit" icon located in the lower right side, then it will bring up a video editor. It is flexible and customizable as you can trim, flip, crop for a video, and even add effect and watermark with image/text.
Step 3: Choose preferred menu template
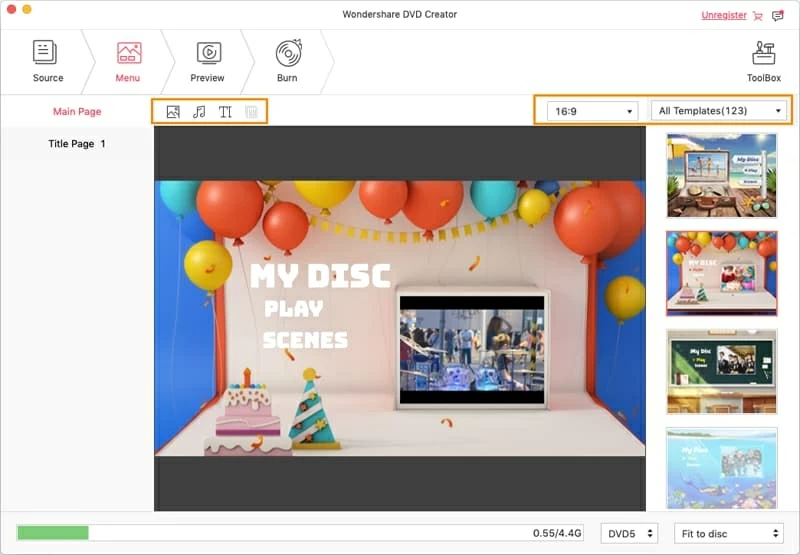
Go ahead and click "Menu" tab on the top of the iTunes movie to DVD Mac converter interface, you can add DVD menu templates to your video files, add the text and background music and more.
Once you choose a menu you can preview how it will look by use "Preview" tab.
Step 4: Start burning iTunes to DVD on MacOS
In this step, you must make some selections. There are four output options you can choose from: DVD Disc, DVD Folder (Video_TS), DVDMedia file and ISO file. Choose the right output option before your burning. Please note it is recommended at least 12 GB of free space on the disk if you choose save files on your local HDD.
That's just about all there is to it. Finally, click the red "Burn" button again, this is where the magic happens! Your iTunes videos will begin burning to DVD. When the process has completed successfully, you can test it on your computer media player to make sure it works.

Note, here if there is no recordable media at the time, the program will pop out a message window requesting a blank DVD-R, DVD-RW, DVD+R, or DVD+RW media to be inserted.
There you go! Enjoy it!