How to Use Data Recovery

Support Updated on Apr 15, 2022 4:52 PM
For recovering files that you've deleted or lost from your internal computer hard drive or external storage devices (memory cards, USB drive, etc), Data Recovery is a solid option. It supports a range of file formats in photos, videos, music, emails, documents, archives and other files. Take a deep breath, and follow the steps below to recover your files. In this article, we're going to take the Windows computer as example. The process of recovering files on Mac machine does likewise.
Download the right version by clicking the link below according to your computer. After downloading, you just need to install the software following on-screen wizard. The installation process is very simple and does not takes time.
The Complete Guide to Recovering Data from Computer or Storage Media
Step 1: Run Data Recovery
Launch the Data Recovery on your computer. You should get a delightful simple interface that's easy to operate. If you're planning to recover data from your external storage device rather than the internal computer hard drive, please connect it to the machine.
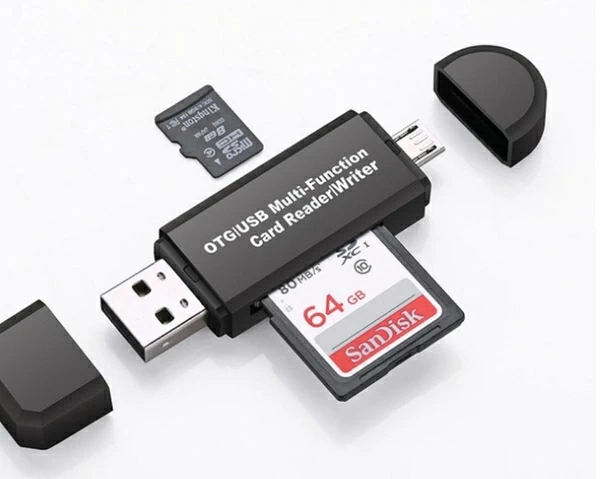
Tip: For SD card, please insert it into your computer's card reader. If your computer doesn't have one, you can purchase an external card reader that connects via USB.
Note: For Mac computer that's running OS X El Capitan or later, you need to disable System Integrity Protection firstly. After that, you can launch Mac Data Recovery on your Mac computer normally. Check our article on: How to disable System Integrity Protection on Mac.
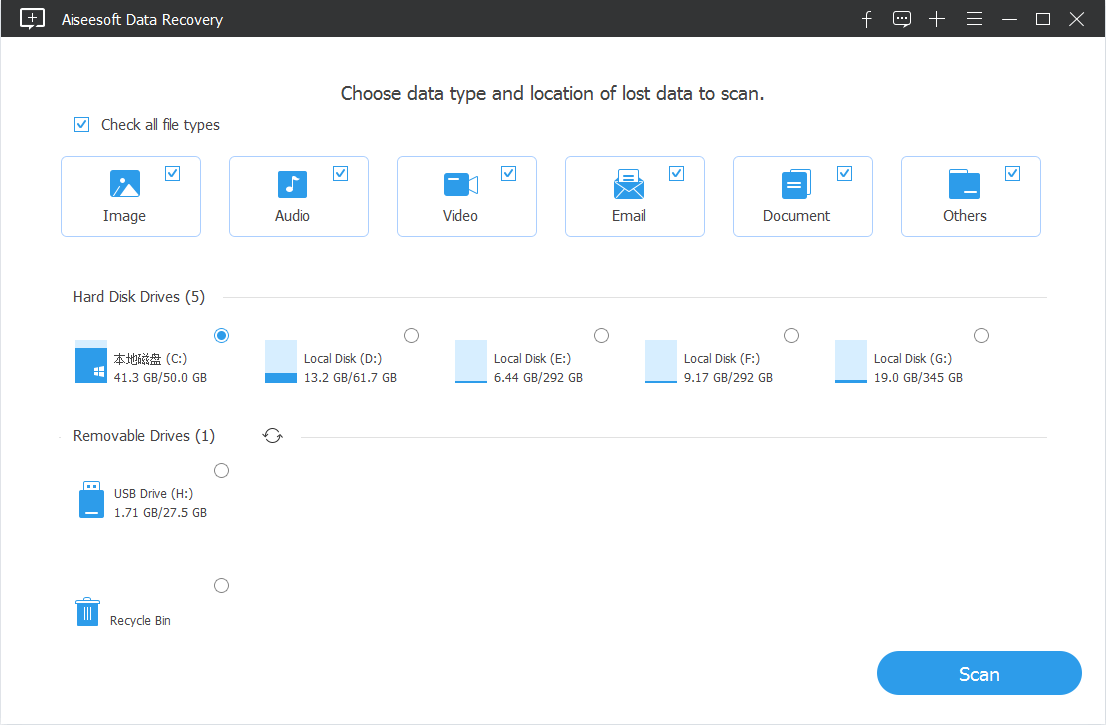
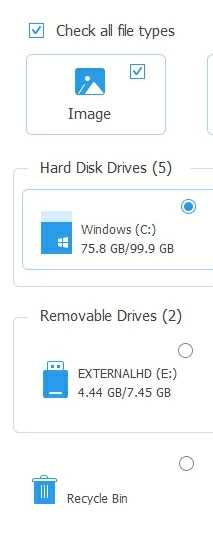
Step 2: Choose the data type(s) and disk drive to scan
Next, select what type of file you want to recover, and where you want to recover the file from.
If you know the specific file types you need or at least part of it, check the box(es) next to file type separately in the list. If you are not sure then select all boxes. Note that this might display a huge number of files after scanning, and make it difficult to find the files you're looking for.
Click the Scan button at the bottom right side to proceed.
Step 3: Scan through the drive(s) to find the file(s) that you would like to recover
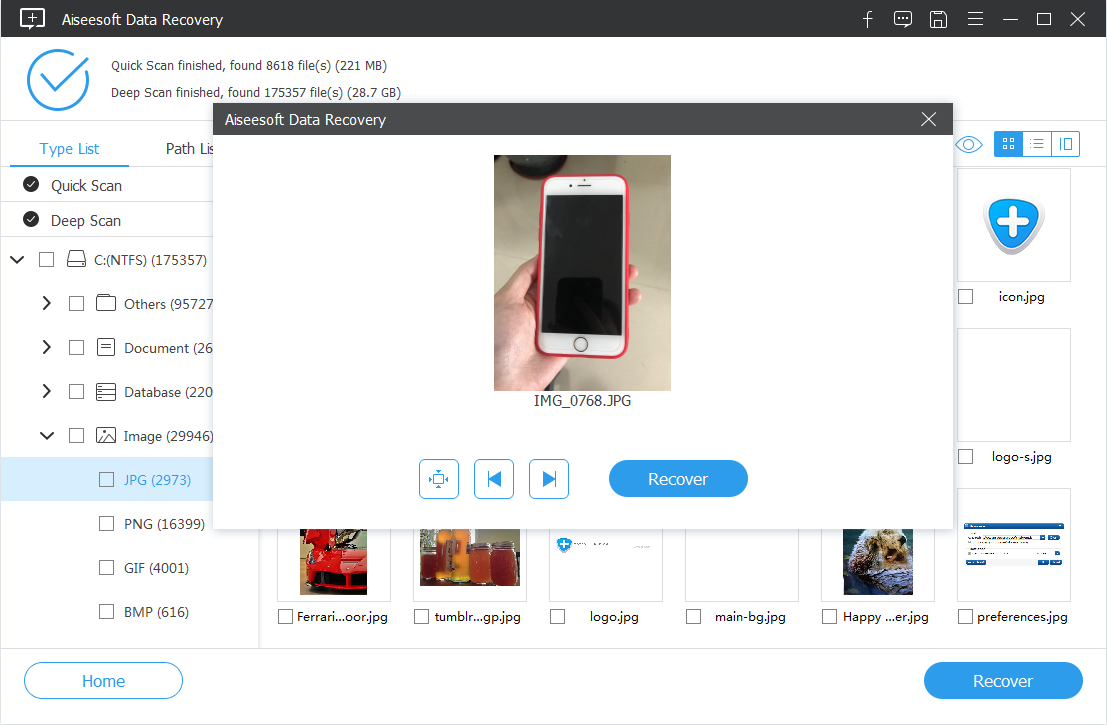
The program will start a quick scan to search for the lost files and show you the files it found.
If the quick scan doesn't find all the files you want, you can use the more powerful "Deep Scan" mode. To do so, click the Deep Scan button on the upper right side of the screen. It will perform a deep scan and search more files from the drive. Keep in mind that the process takes more time to complete.
After the scan is complete, a list of files and folders will appear on the screen.
Step 4: Preview data files and recover them
As you can see in the list, the files are sorted by different file types and you can have a preview of some recoverable files, though it is only applicable for image files.
You can also use the advanced Filter feature (see blue Filter button on top middle) to quick find a set of files that match one or more criteria and to hide those that don't.
Now, it's time to recover files. Simply choose the file(s) which you want to restore and click on the Recover button.
A pop-up dialog box will appear where you can choose the recovery location. It is recommended to choose a different path to save your files. Choosing the same location might overwrite the files you're trying to recover.
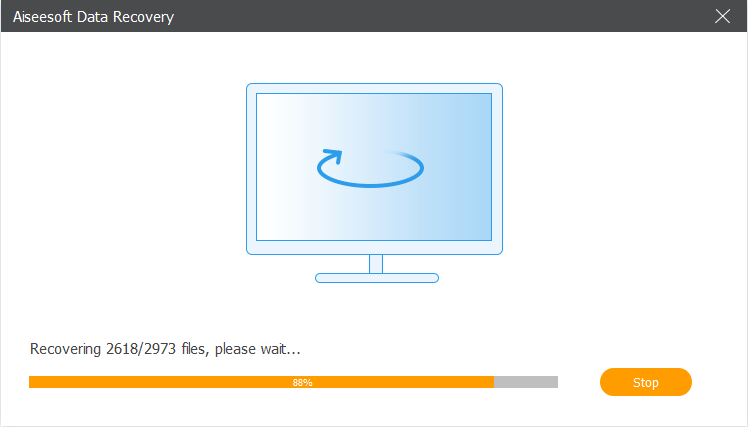
Click OK in the dialog box to start the recovery process.
That's pretty much it.