How to Edit Videos in DVD Creator

Rob Parsons Updated on Apr 21, 2022 5:42 PM
DVD Creator gives you ability that helps you edit your video via Trim, Crop, Apply Effects, Add Subtitles, etc. Each of these editing features will be explained below in details.
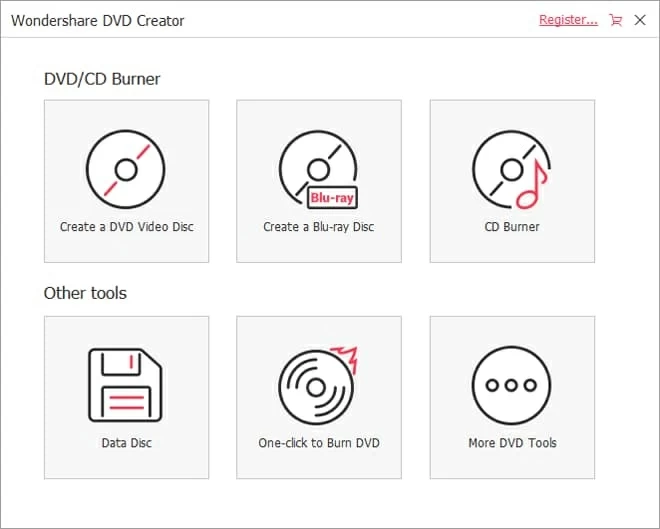
To get started, launch the program and choose "More DVD Tools" from the main interface.
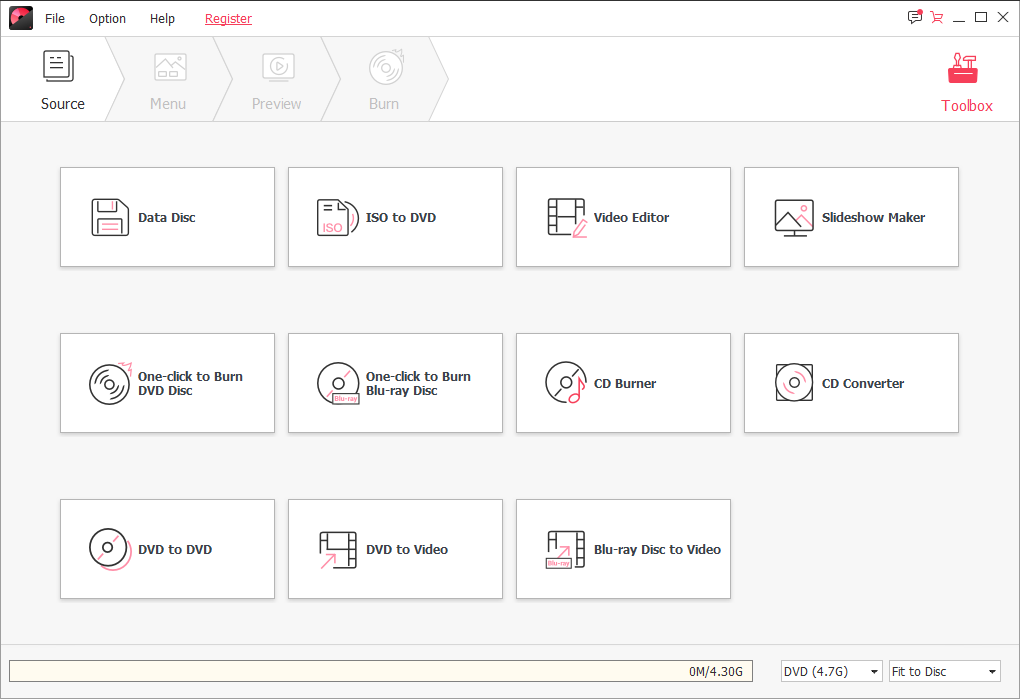
In the next window that opens, select "Video Editor" option to get the video editing window.
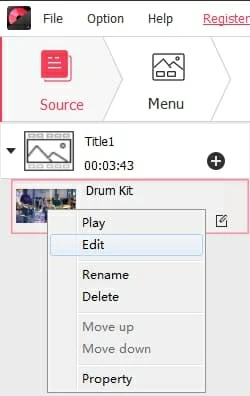
Alternatively, you can right-click on the imported video, and then select Edit option from the pop-up menu; or just click the edit icon the far right side of the video thumbnail.
Part 1. Trim Video
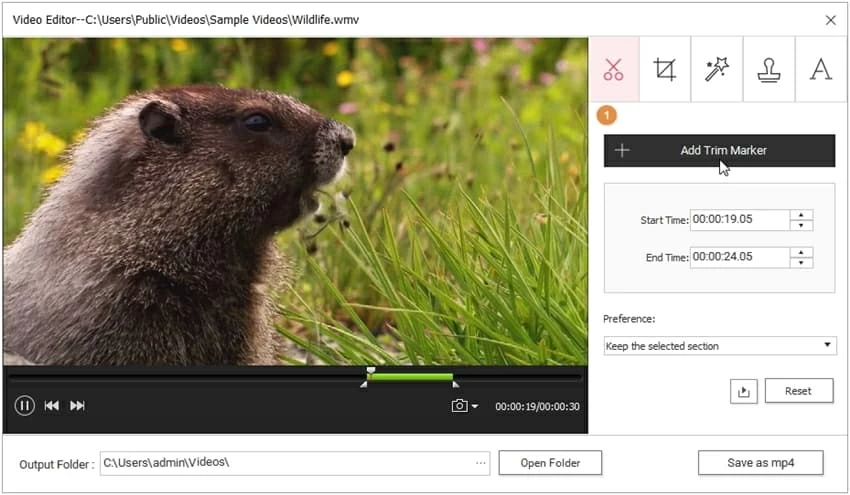
Play the loaded video and click the "Add Trim Marker" button when it comes to the point you want to cut.
You'll see the specific Start Time and End Time for the selected video segment. The program cuts video in 5-second segment by default. If you want to adjust the video section, just enter the specific start/end time or directly drag the time slider in the video.
After that, in Preference field select "Keep the selected section" or "Delete the selected section".
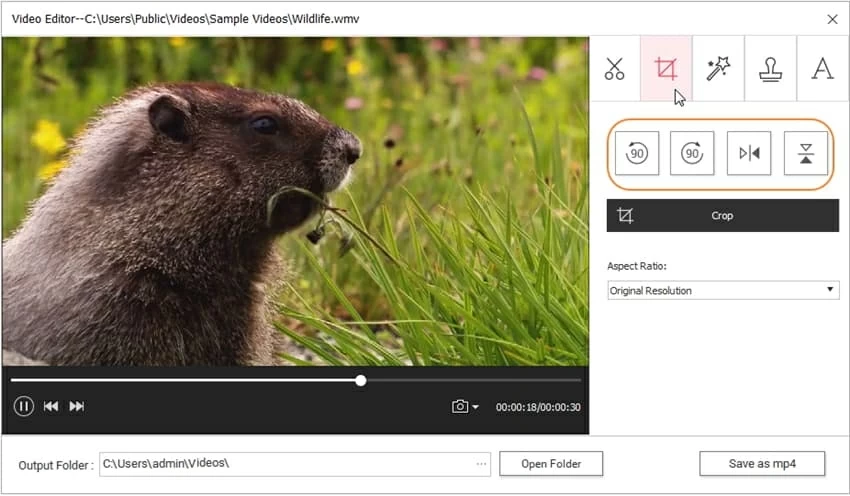
Part 2. Crop Video
Rotate video: Switch to second Rotate icon and you'll be able to rotate video just as the screenshot shows.
Adjust Crop Size: Hit the "Crop" button, you'd get the crop size box and crop area on the video simultaneously. Then you can freely edit the width and length in the crop size box, or drag the crop area to your preferred size.
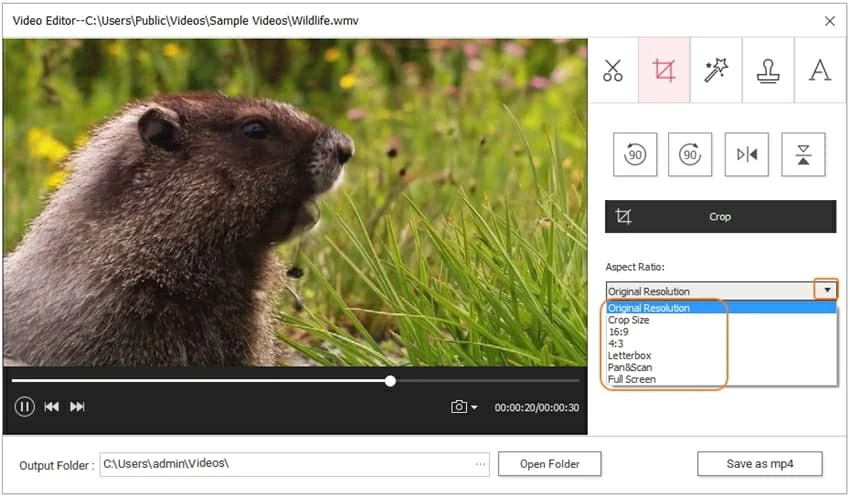
Change Aspect Ratio: In Aspect Ratio field, you can change the video aspect ratio. As you can see, you can keep Original Resolution, or change to Crop Size, Letterbox, Full Screen, etc.
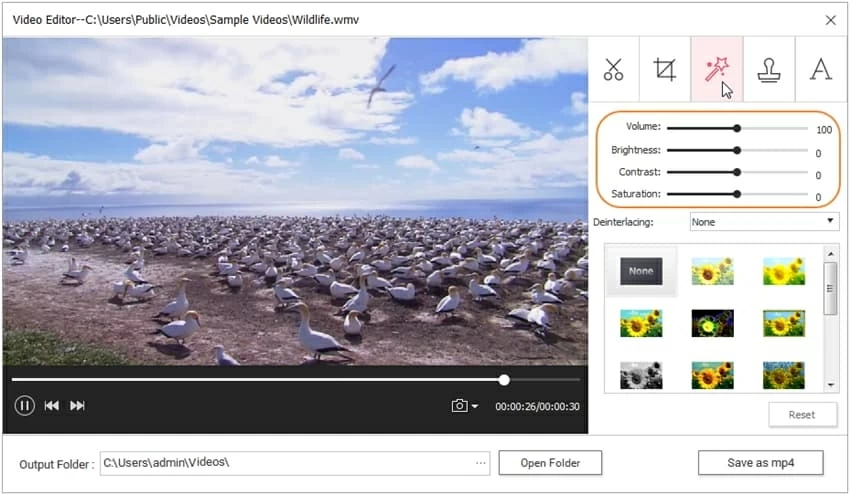
Part 3. Add Effects to Video
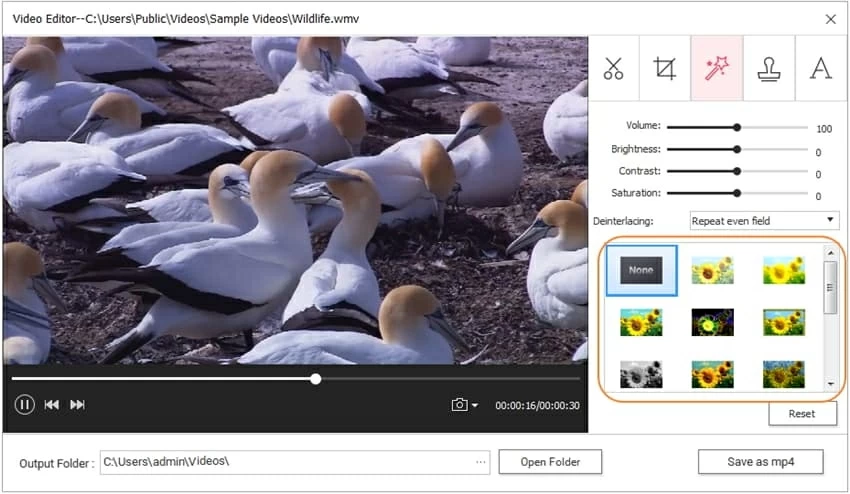
Switch to three effect icon to enhance your video by adjusting video Volume, Brightness, Contrast and Saturation.
In Deinterlacing field, you can click drop down icon to choose Repeat odd filed, Repeat even filed, Odd interpolate, Even interpolate or None .
You can also select your favorite filter from the circled area to customize your video.
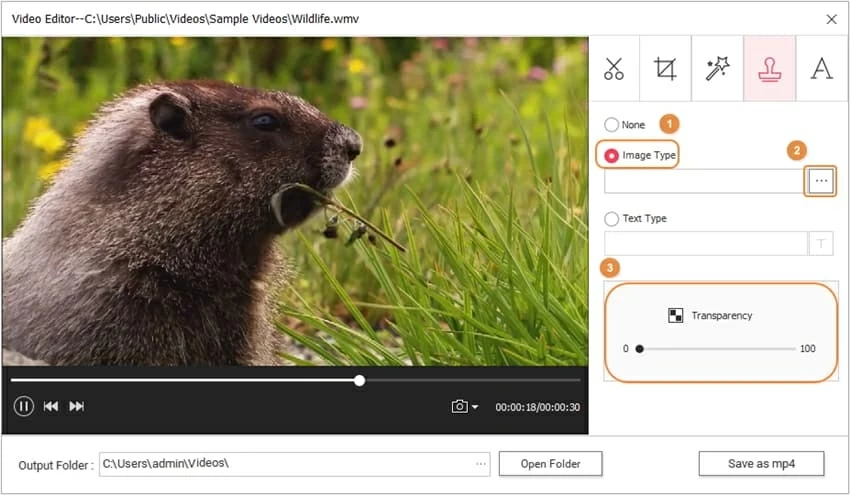
Part 4. Add Watermark
Switch to the fourth watermark icon to add watermark to video. Both image and text are supported.
If you want to add text watermark, just choose Text Type and enter the text in the blank.
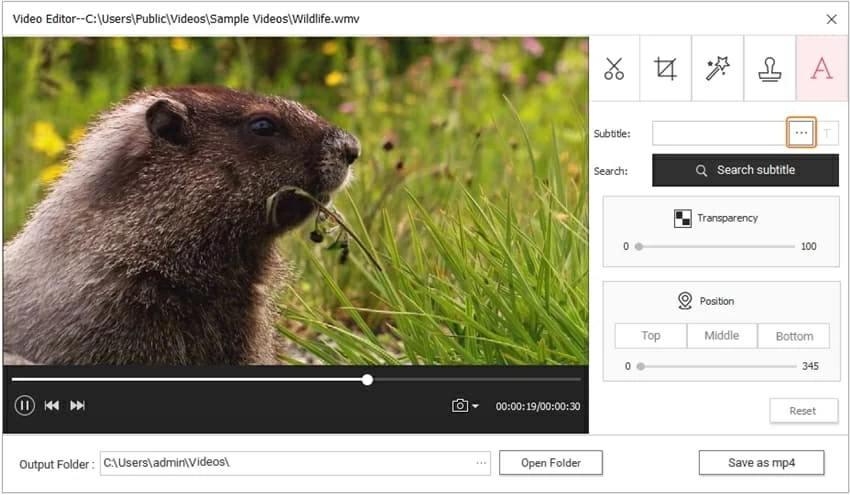
Part 5. Add Subtitles
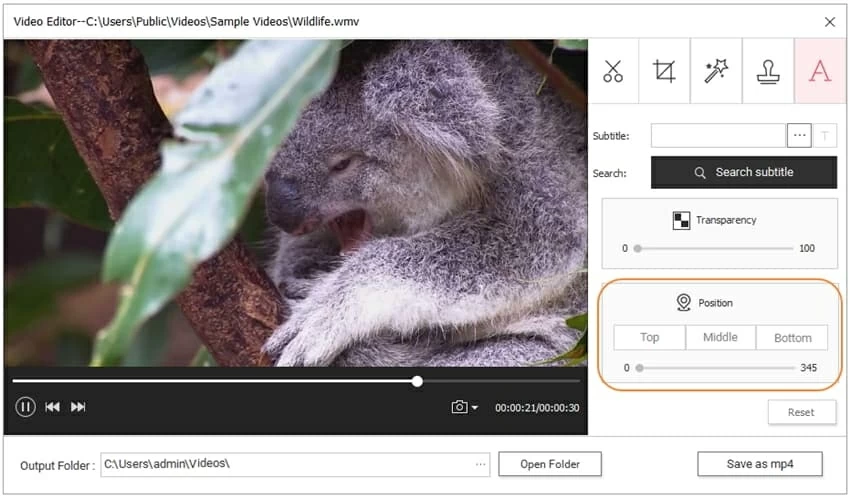
Switch to the last A icon to add subtitles to video. Generally, there're 2 options for you to add subtitles.
1. Add local subtitle: Click ... to browse your local subtitle files (.srt/.ass/.ssa) from computer.
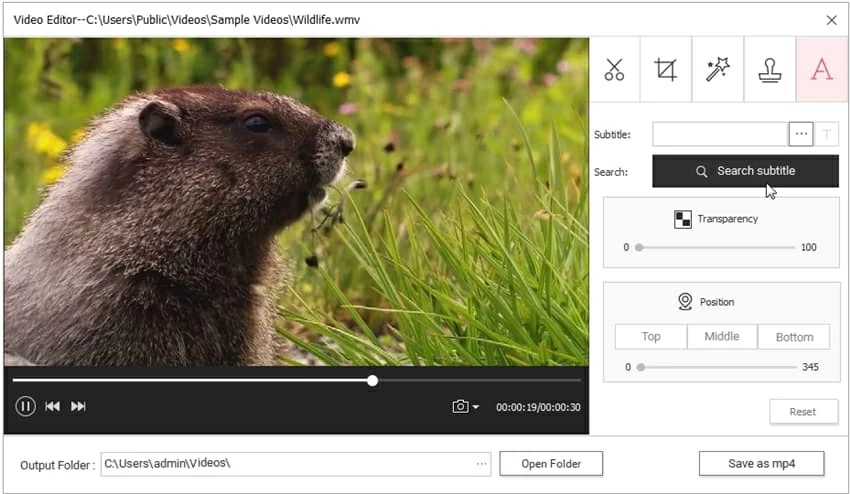
2. Search subtitle online: Hit the "Search subtitle" button to download subtitles online.
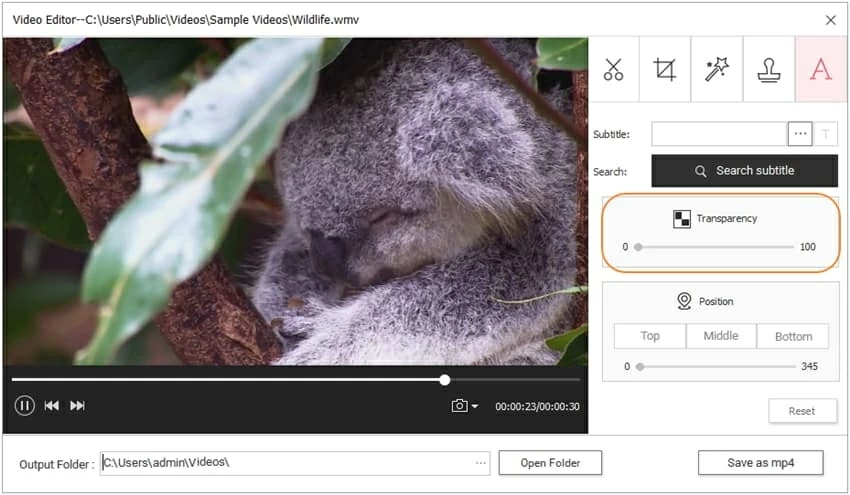
Then adjust the subtitle transparency as the screenshot shows.
You can then change the subtitle position by making it Top, Middle or Bottom.
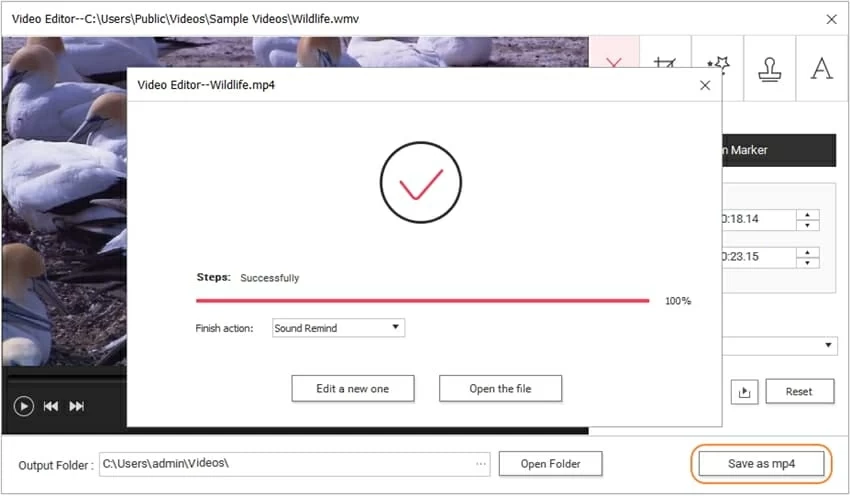
When you're satisfied with above video editing, hit Save as mp4 in the bottom right to save above changes.
That's it!