How to Rip and Convert DVD Files to Video formats

Blake Sullivan Updated on Apr 21, 2022 5:42 PM
DVD Ripper is one of best DVD Ripper that can help you easily rip DVD to video for different portable devices and hard disk for DVD playback and disc safekeeping. Here below is the user guide.
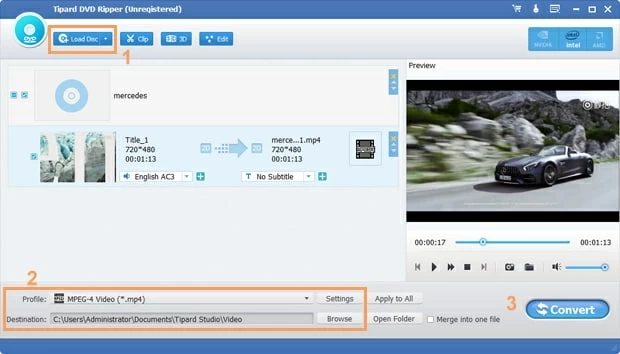
Step 1: Lauch the Program and Import DVD
Insert the DVD disc into the DVD-Rom drive, and click Load Disc icon import DVD files.
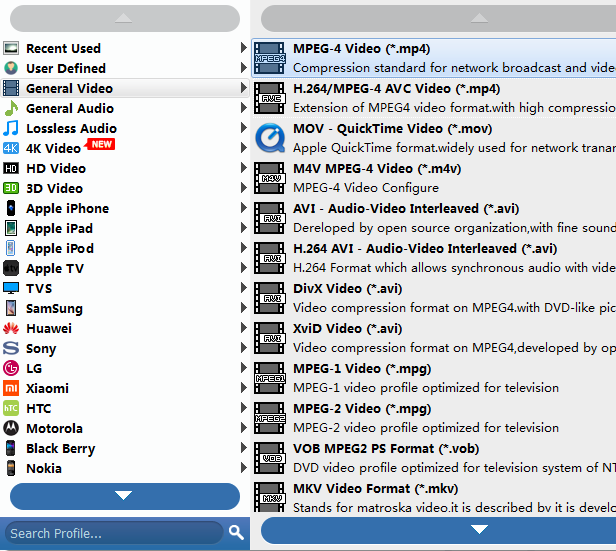
Step 2: Select Output Formats
Click on the "Porfile" drop-down menu, this will bring a new window where you can choose the output format.
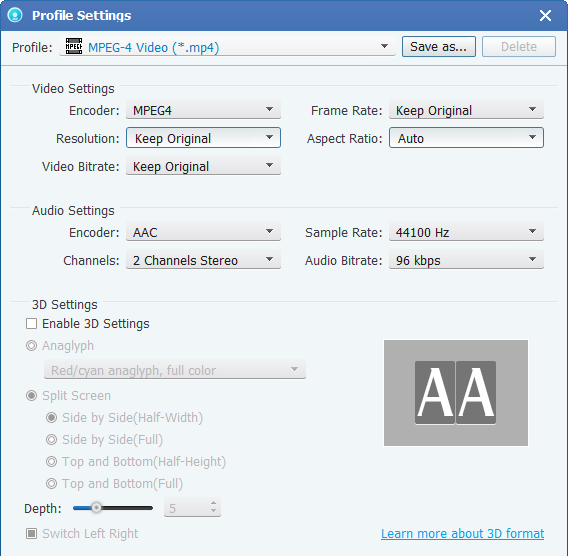
Specify output profile parameters
Click "Settings" button next to "Profile" box to specify output profile parameters for devices: video codec, audio codec, video size, bit rate, aspect ratio, frame rate, etc.
You may apply the output settings to all the files on the list by clicking the "Apply to All" button.
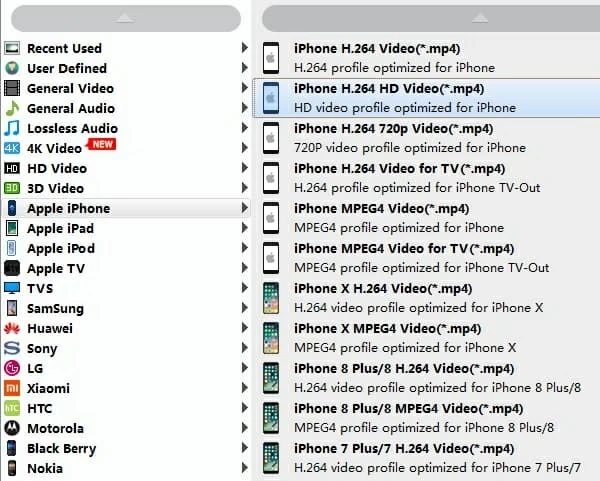
The program has a wide range of device-targeted profiles avaiable for you to convert video with right resolution for device that you happen to have. This will save your time from configure output settings.
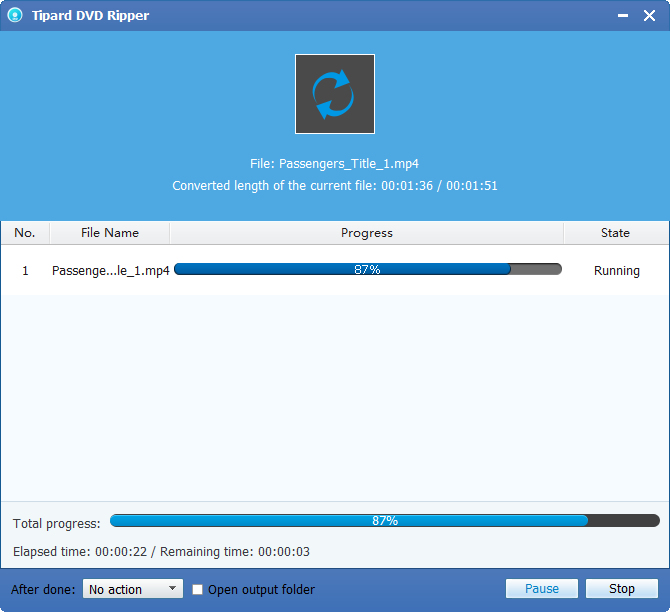
Step 3: Start Conversion
Once you've selected the output file format and destination folder, Click the Convert icon on the lower right corner of the screen to start converting DVD.
You will see the process bar showing the conversion process in a pop-up window. You can skip, pause or cancel the conversion by clicking responding buttons.
Edit video files before ripping (optional)
Select a file on the list, click the edit icon and open window with the editing features including Trim, Crop, Effect and Watermark and a preview panel shown.
Basic Video Editing (optional)
With the built-in video editor, you can do some basic edits on the video. This will be beneficial if you are cropping inside the video, adding your signature and things like that. You can investigate them yourself to see if they are of any use to you.
To do this, just highlight the video you want to edit and clicking the Clip or Edit image button on the toolbar, then you'll be presented with a window where you can do trimming, cropping, deinterlacing adjustment and adding watermark or special features to your file.
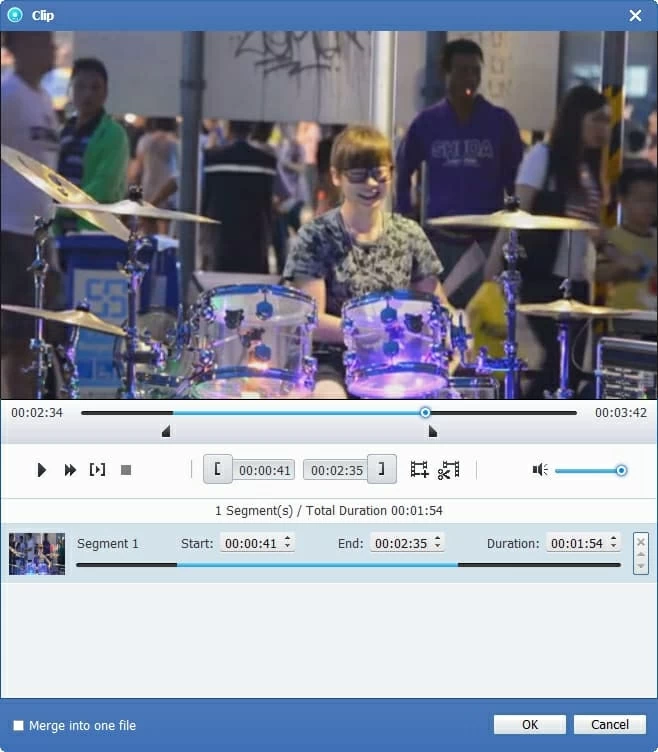
1. Click the Clip button on the top menu bar, you will get into a Clip window where you can trim video duration by setting start time and end time to keep the segment you want, or directly drag the slider to the exact point.
2. When you click the Edit image icon, this will bring up a video editing window.
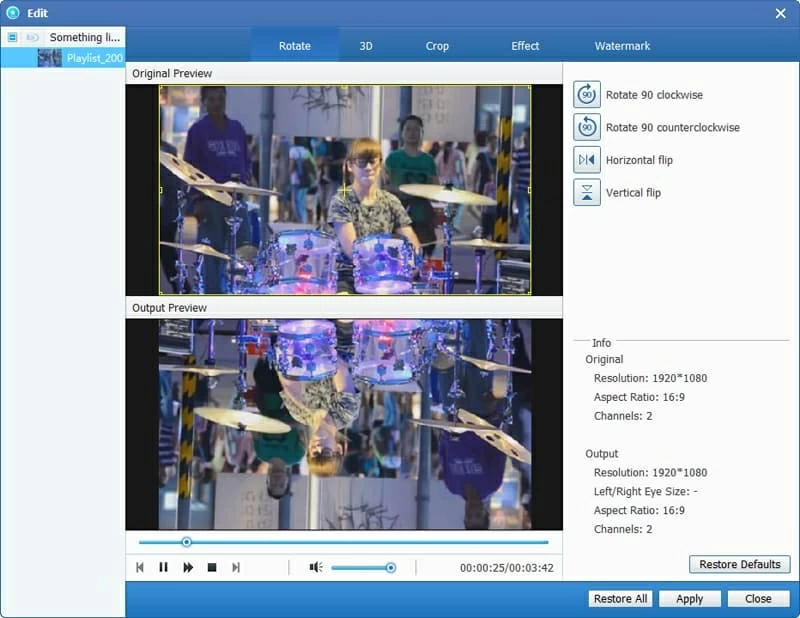
Rotate the video
In Rotate tab, revolve the video to the needed angle. You can achieve horizontal flip & vertical flip, or realize to rotate 90° clockwise and rotate 90° counterclockwise.
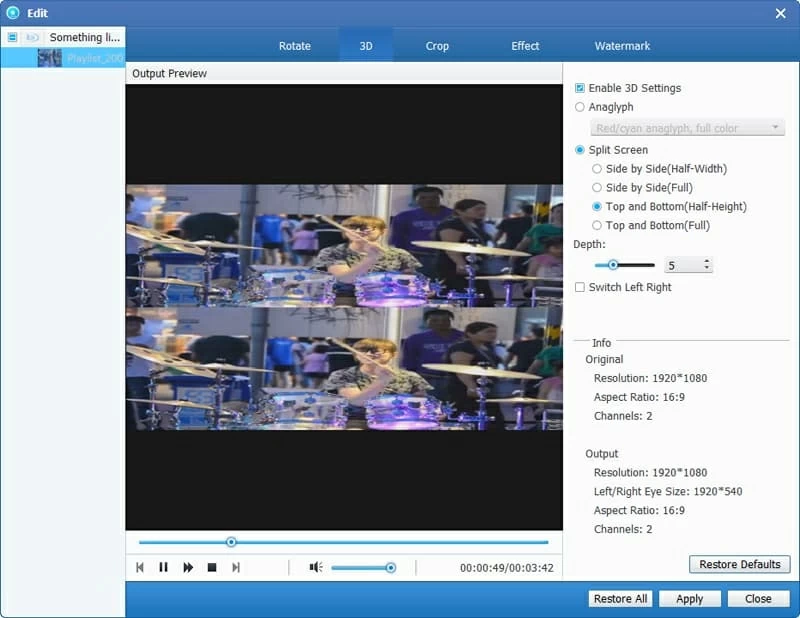
Convert 2D to 3D
Open 3D tab, and tick "Enable 3D Settings" option. Then you could select 3D effect, adjust 3D Depth and get instant preview of 3D effect.
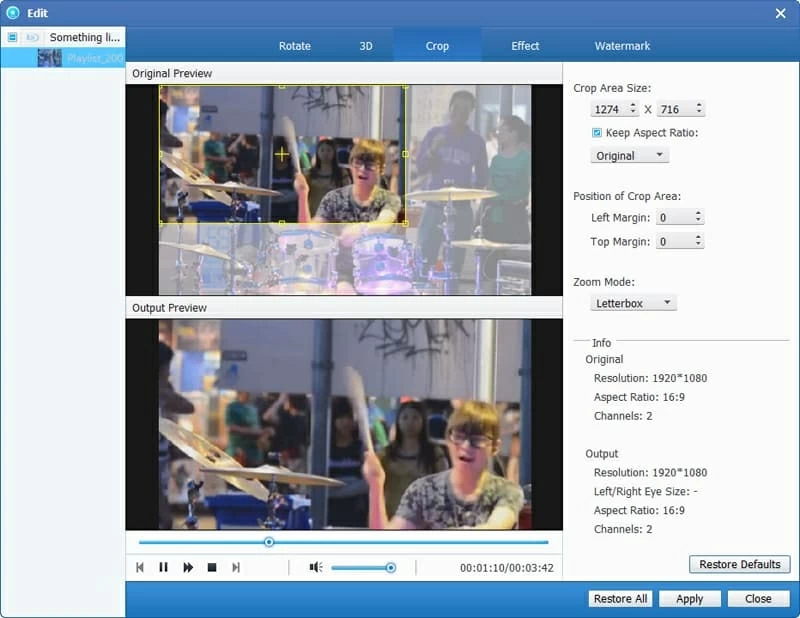
Crop video size
In Crop tab, set the "Left" and "Top" parameters, select a Zoom type, or adjust the dot frame to remove the back margins and unwanted parts on the video frame.
Adjust video effect
In Effect tab, change video Brightness, Contrast, Saturation and Volume Zoom, and get instant preview.
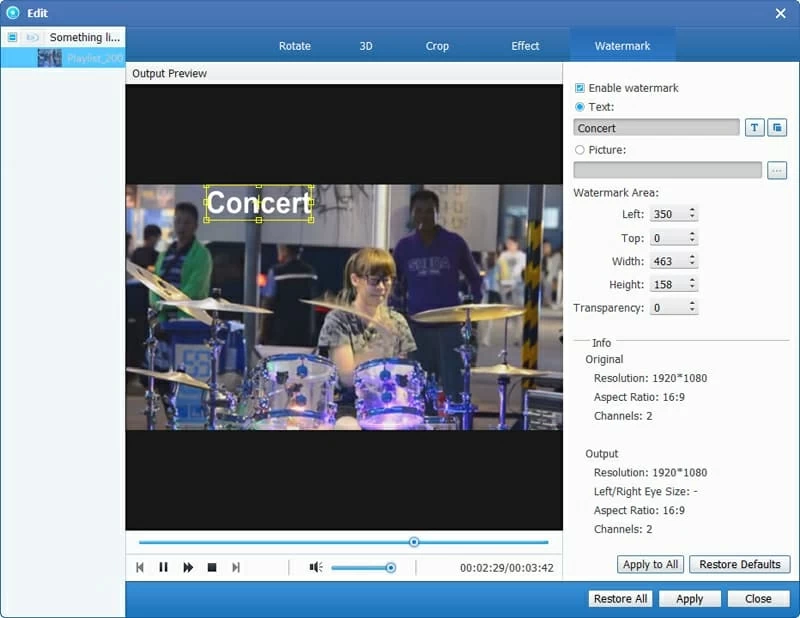
Watermark
In Watermark tab, by ticking "Enable Watermark" option, you can add image or text watermark. You can also customize watermark parameters.