How to Use iPhone Data Transfer - Convert HEIC Photos

Support Updated on Apr 23, 2023 6:50 PM
Apple has switched to use the HEIC format for taking photos since iOS 11. Though it is superior to the JPEG format in size and color (supports 16-bit), sometimes it doesn't open in the default photo viewer apps on your computer.
Here is how to use the HEIC conversion feature built in iPhone Data Transfer to convert your HEIC files to standard JPG or PNG images.
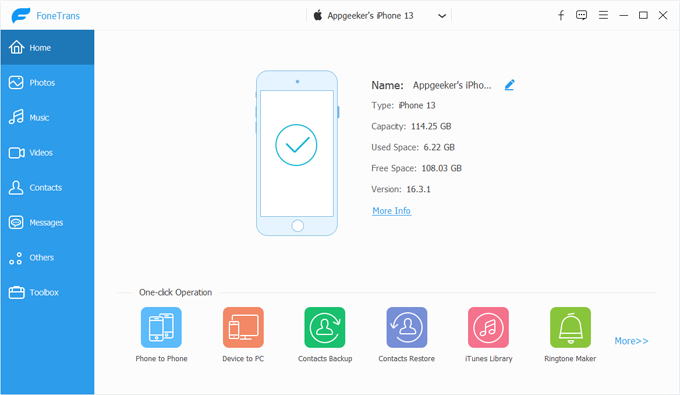
1. Launch the software on your PC or Mac.
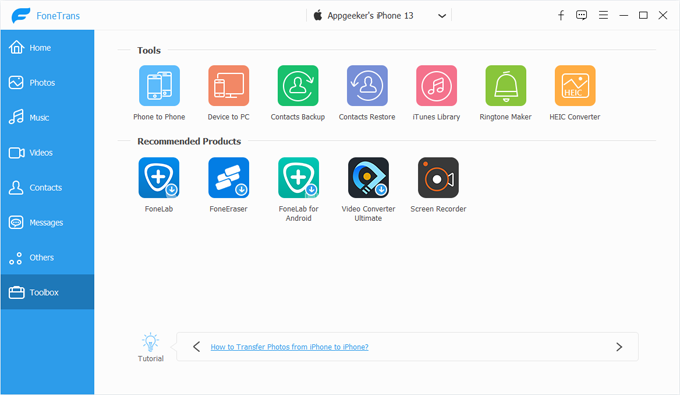
2. Click Toolbox on the left side bar.
3. Next, select HEIC Converter in the upper right corner.
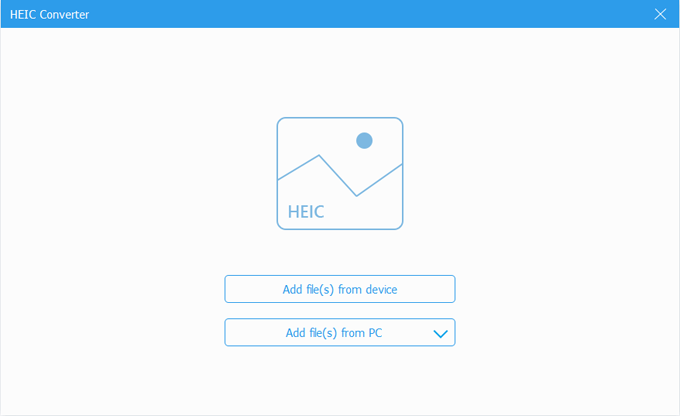
4. Pick your HEIC pictures from your iPhone, iPad or local folder on your computer.
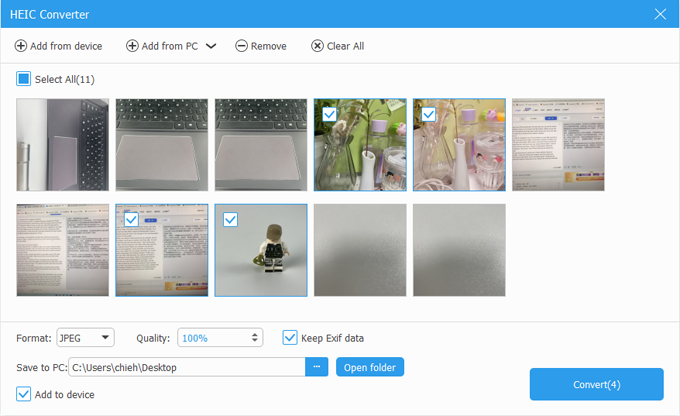
5. In this stage, select your output settings.
Here you're able to pick what format you want to export. Both JPG and PNG are available. Then adjust your conversion quality, and define whether to keep Exif data or not.
6. Specify a location where the output files will be saved. You can also check the box "Add to device" so that the program automatically uploads the newly created JPG or PNG photos to your device library.
7. When everything is ready, press Convert button at the bottom right corner.