How to Use iPhone Data Transfer: Home Shortcuts

Support Updated on Apr 23, 2023 6:53 PM
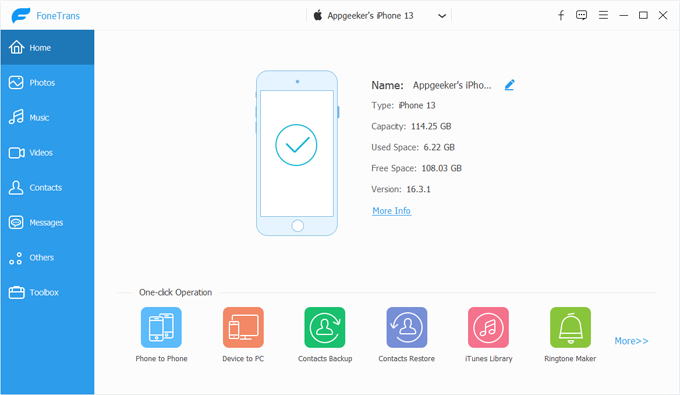
Launch the software, plug your iPhone or iPad into the computer via USB cable. When you connect your device to a machine for the first time, a message should comes up on your device home screen asking whether you trust the computer. Tap "Trust" to allow the connection.
Now your device will appear on the main interface with basic information. If you have more than one iOS devices connected, you will need to select the one you want to manage from the drop-down list in the top center of the screen.
As you can see in the program, there are 6 quick accesses to finish your tasks easier.
Home Shortcuts
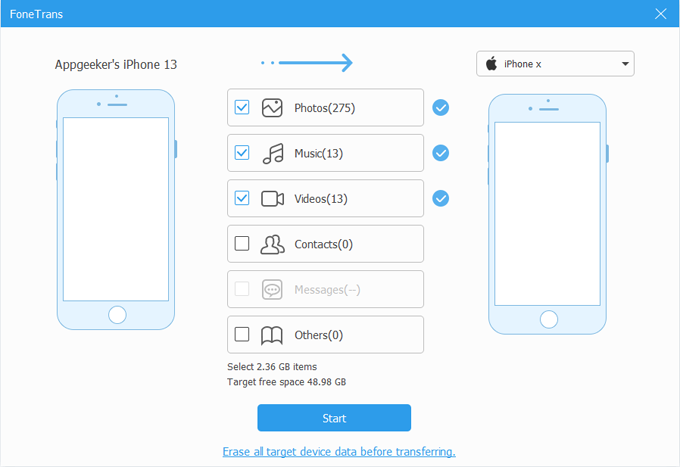
Phone to Phone
With it, you can quickly transfer your data from one device to another.
1. To get started, click the Phone to Phone shortcut on the interface.
2. In the next window that opens, select the target device from the drop-down list to receive the files from the source one.
3. Next, you're required to select which types of data you want to transfer. By default, all items including Music, Videos, Photos, Contacts, Photos, Messages and other files from sending device are checked.
4. Optional. You may tick "Erase all target device data before transferring" option on the bottom center, which help you clear out the data on the desination device firstly before you make a transfer.
5. When you're satisify with your selection, press "Start" button located AT the bottom center. Keep your devices connected during the whole migration process.
Device to PC
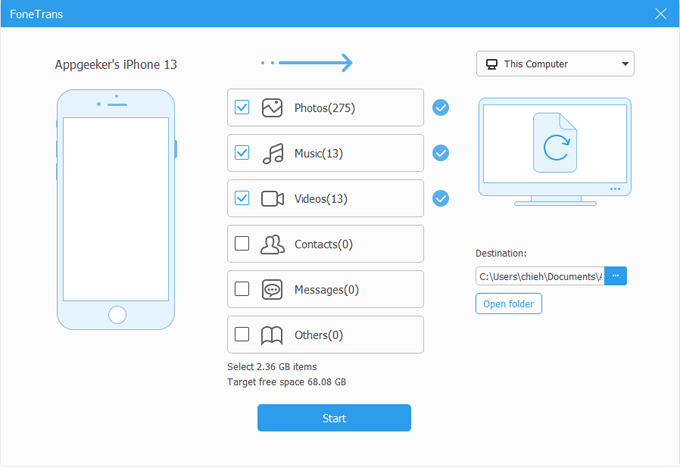
Download all of your media files and personal information on your device to save onto your computer. The process is similar to transferring device to device.
1. Click Device to PC. If you're running the macOS version of iPhone Data Transfer, here you should see a "Device to Mac" option instead.
2. Select what types of data to move.
3. Select where you want your files to be saved locally. You can click the small 3 dots in Destination field to specify a location for the output files on your computer.
4. Click "Start" to begin transferring your selected files from your device to your either PC or Mac.
5. Click "Open folder" button under Destination field to check your files locally.
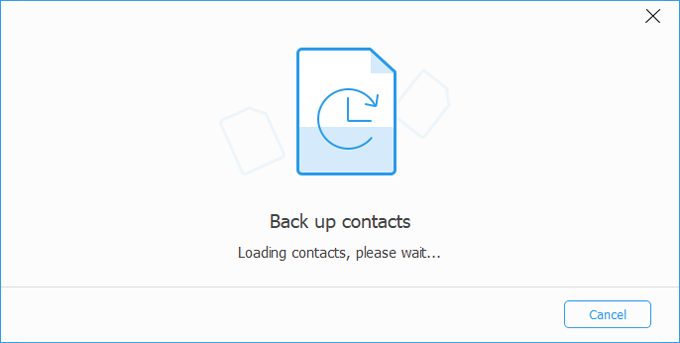
This helps you back up your iPhone contacts to computer.
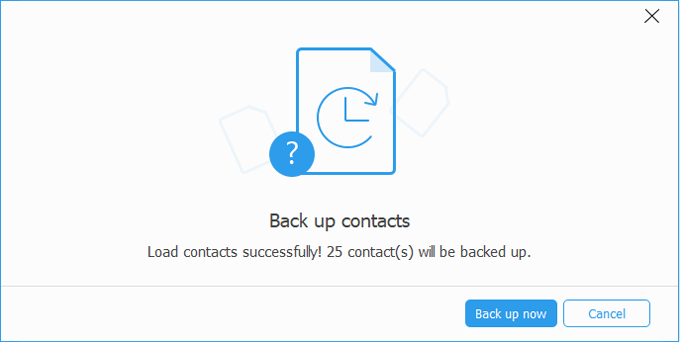
1. Select Contacts Backup shortcut from the home interface. You will see a interface indicating that it's loading your contacts list. Wait patiently.
2. After loaded, it tells you how many contacts are waiting to back up.
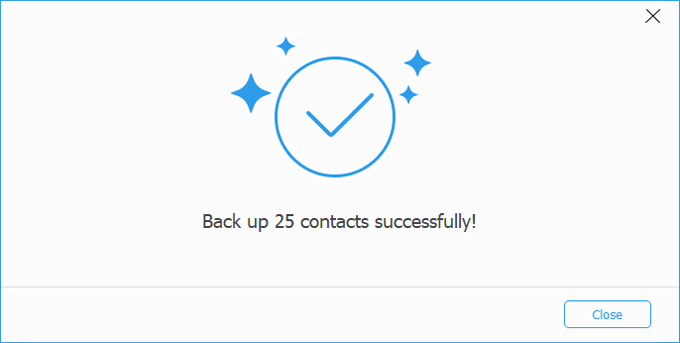
3. Click "Back up now" button to begin making a backup of your contacts. When it completes, you will get a "Back up [numbers" contacts successfully!" message on the screen.
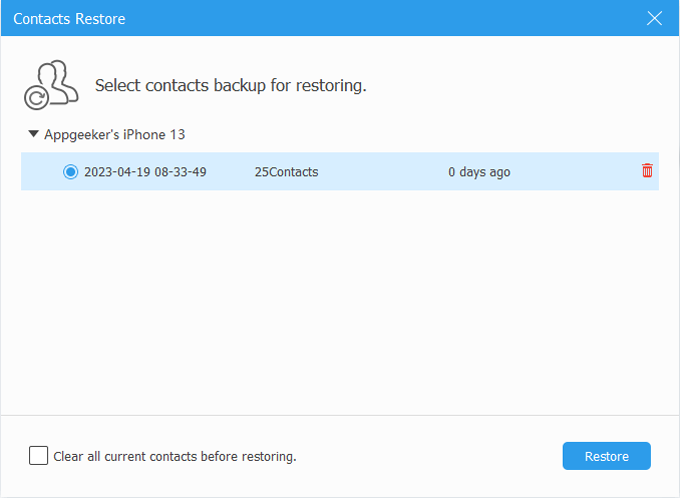
You can easily restore your contacts from a backup you created with iPhone Data Transfer.
1. Hit the Contacts Restore shortcut from the home interface.
2. From the backup files list, check the date and time of the backup file and choose the most relavant one.
3. Click "Restore" button and wait it restores all contacts to your phone from the backup.
There is a "Clear all current contacts before restoring" option at the bottom, which lets you remove the existing contacts list on the phone so that you can get a complete copy of contacts from a backup without any duplicates.
iTunes Library
This feature allows you to rebuilt your iTunes library by syncing device to iTunes, or sync your iTunes library to device. You can also get a quick access to your iTunes library.
Sync Device to iTunes
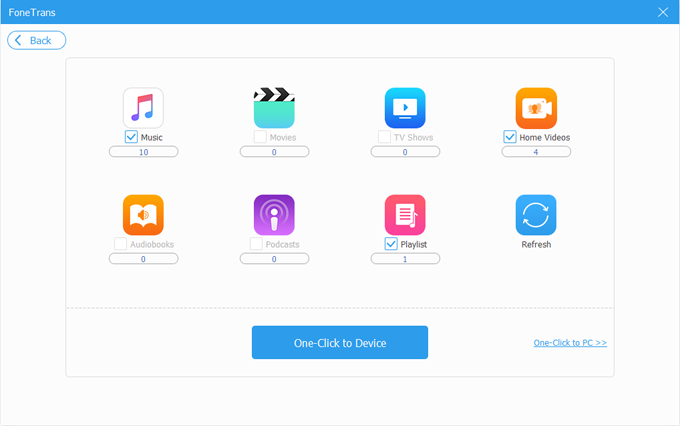
1. Click iTunes Library shortcut from the home interface.
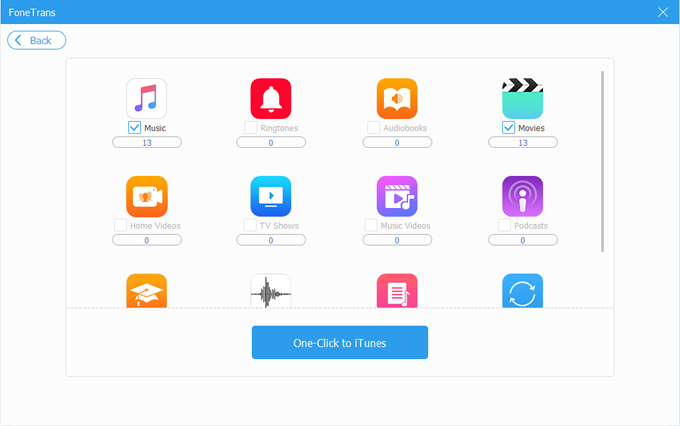
2. Select Sync Device to iTunes (see image above).
3. Select what data types you want to sync with iTunes from the scanned resulting list: Music, Ringones, Podcasts, Audiobooks, Videos, Home Videos, TV Shows, Music Videos, iTunes U, Voice Memo, Playlists.
4. Press the "One-Click to iTunes" button.
Sync iTunes to Device
On the other hand, the program enables you to add your media files from existing iTunes library to your device.
1. Click iTunes Library shortcut from the home interface.
2. Select Sync iTunes to Device (see image above).
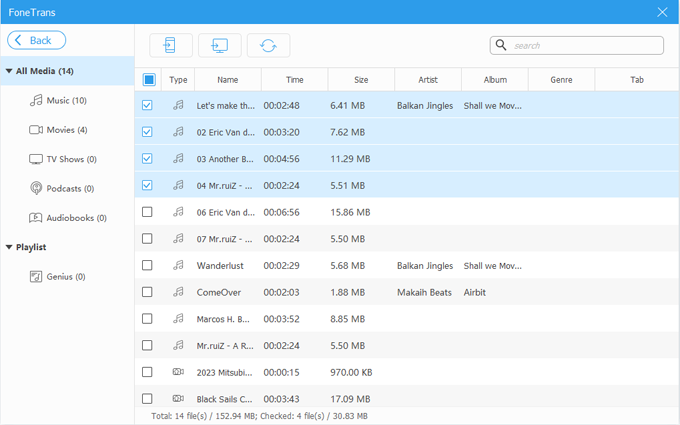
3. The program will start scanning contents included in your iTunes library and display the entire library on a new new window. By default, all scanned items will be checked, you can uncheck any of them and only select the ones you want to transfer.
4. Click "One-Click to Device" button to begin the transfer process.
View iTunes Library
By clicking "View iTunes Library" option, you can quickly get into your iTunes library and view everything there without opening the actual folder on your computer.
Ringtone Maker
Create your own custom ringtones without hassle.
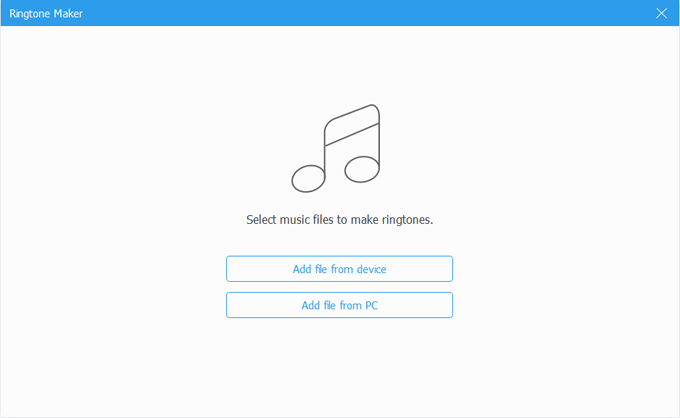
1. On the home interface of the program, select Ringone Maker shortcut at the bottom right.
2. Select where you want to add the source music files. You can choose import them from either your iPhone or iPad, or your computer.
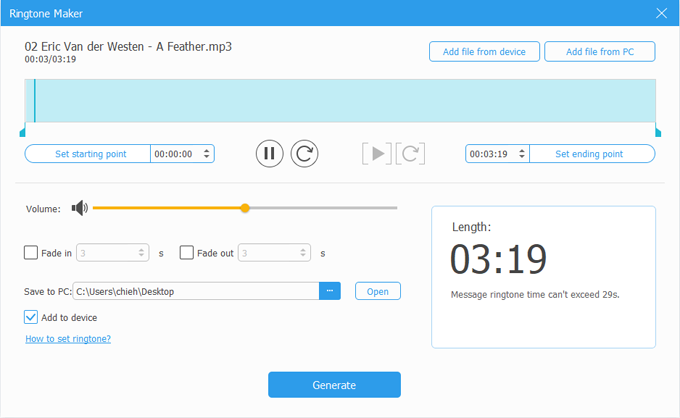
3. After your music file is imported, in the editing window, set the starting time and ending time for the ringtone, adjust volume, and set when the sound fades in or/and fades out.
4. When everything is ready, select a path where to save your ringtones in "Save to PC" field located in the lower left corner..
You may also tick the "Add to device" to add the ringtone to your iPhone or iPad soon automatically.
5. Click "Generate" button.