How to Use DVD Ripper for Mac

Rob Parsons Updated on Apr 21, 2022 5:40 PM
DVD Ripper for Mac is a fast and effective DVD ripping program for Mac users to rip encrypted or homemade DVDs with simplicity. It allows you easily convert DVDs to pretty much any video formats like MOV, FLV, AVI, WMV, MP4, MPEG, etc and rip DVD movies for your iPhone, iPad, iPod and other media players. Follow this detailed guide and learn how to rip DVD to all sorts of video or audio files on Mac OS X.
Step 1: Import DVDs into the program.
Fire up the program, you will be presented with a clean interface.
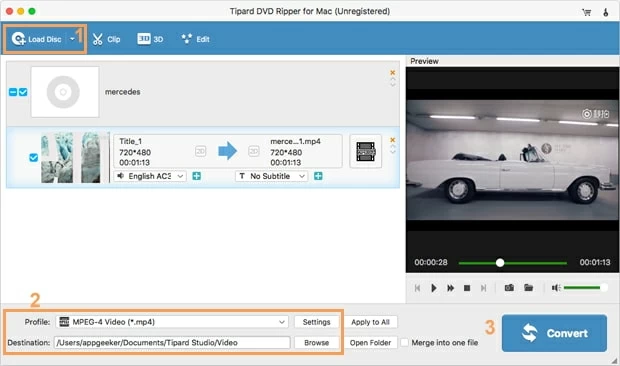
Then, drag-and-drop or simply click "Load Disc" icon on the left panel to input DVD files. You can also navigate to the IFO and .dvdmedia files. Then on the left processing standby list appears the breakdown of the DVD movie in titles and chapters.
Step 2: Select Output Profile
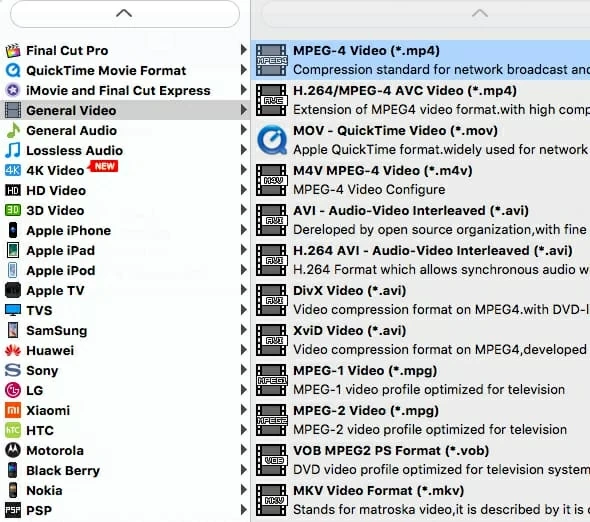
Click the "Profile" drop-down menu (showing on the orange No.2 area) on the lower left side of the window and the format list will pop up. You can navigate to choose the format you want from the Video list.
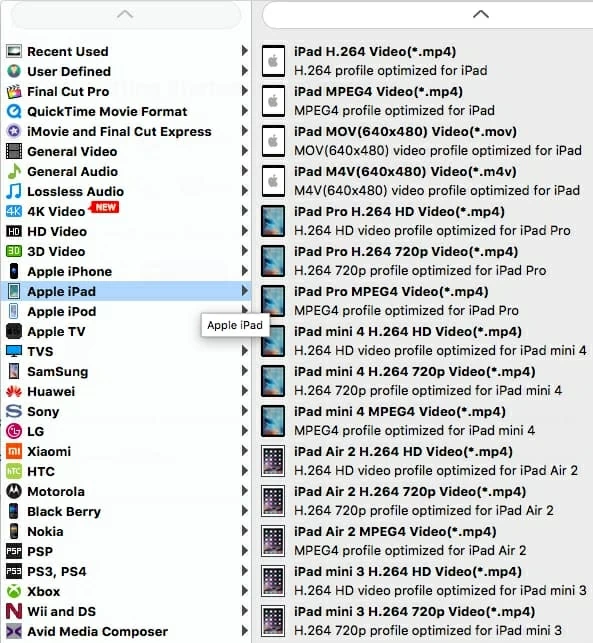
And if you want to convert your DVD for portable devices, you can find the icon of your device and set it as the output format to rip DVDs to videos with optimized settings for your device. Video presets for iPhone, iPad, Android phones, tablets, and more are provided.
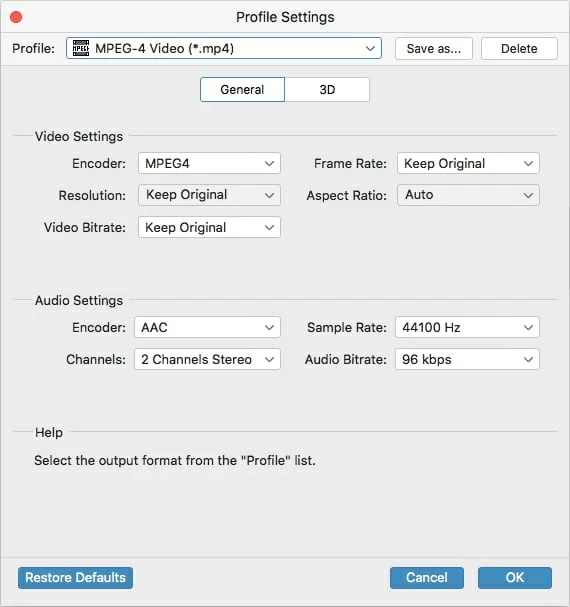
If you want to customize output video quality, click "Settings" icon next to "Profile" menu to enter Profile settings window from where you will be able to fine-tune conversion settings like resolution, frame rate, bit rate, audio quality etc.
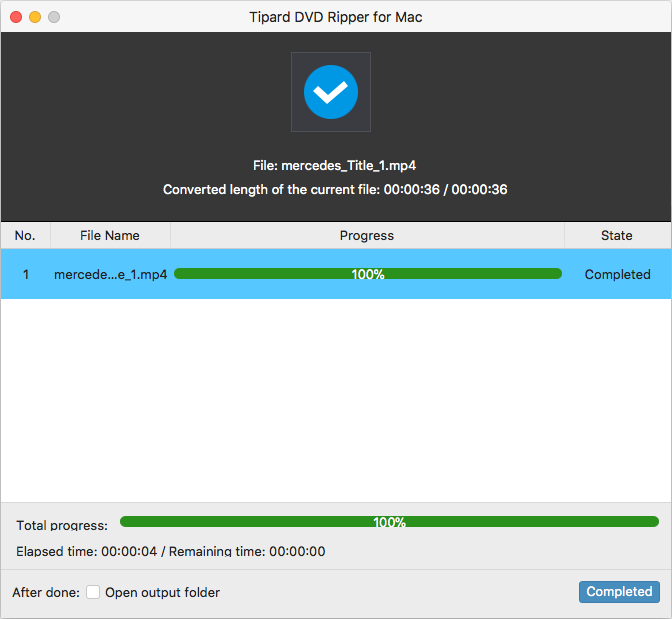
Step 4: Convert DVDs to Video Files
After you've adjusted your settings to the way you want, click the "Convert" button on the lower right corner to rip your DVDs. When the conversion process is finished, the converted DVD movie folder in your hard drive will automatically open. Now just enjoy it anywhere you like.
Edit Blu-ray/DVD video files (optional)
Click the Clip or Edit button on the top menu bar to enter the video editing panel. In the video editing panel, you can trim video length, crop video size, rotate video for special angle, adjust video effect, and add image or text watermark to customize output files.
1. Click the Clip button on the top menu bar, you will get into a Clip window where you can trim video duration by setting start time and end time to keep the segment you want, or directly drag the slider to the exact point.
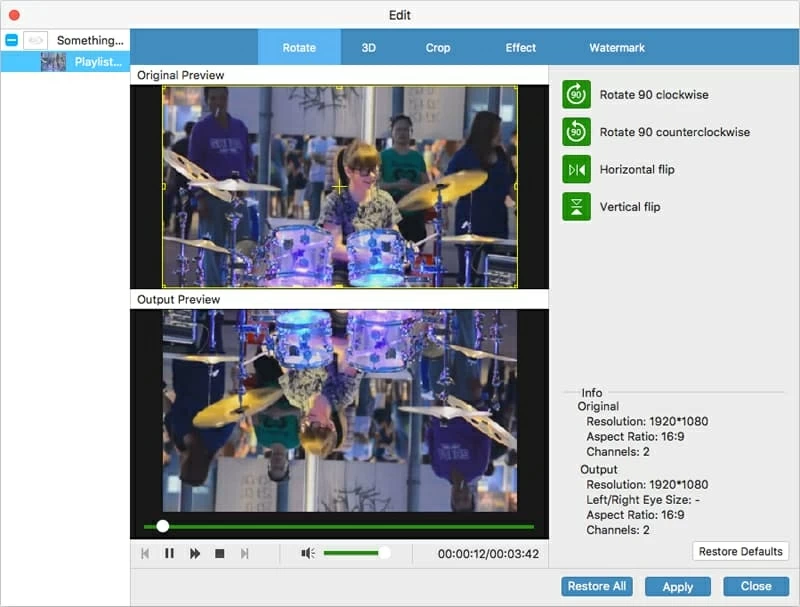
2. When you click the Edit image icon, this will bring up a video editing window.
Rotate the video
In Rotate tab, revolve the video to the needed angle. You can achieve horizontal flip & vertical flip, or realize to rotate 90° clockwise and rotate 90° counterclockwise.
Convert 2D to 3D
Open 3D tab, and tick "Enable 3D Settings" option. Then you could select 3D effect, adjust 3D Depth and get instant preview of 3D effect.
Crop video size
In Crop tab, set the "Left" and "Top" parameters, select a Zoom type, or adjust the dot frame to remove the back margins and unwanted parts on the video frame.
Adjust video effect
In Effect tab, change video Brightness, Contrast, Saturation and Volume Zoom, and get instant preview.
Watermark
In Watermark tab, by ticking "Enable Watermark" option, you can add image or text watermark. You can also customize watermark parameters.