Recording Settings

Support Updated on Dec 12, 2022 7:08 PM
The Screen Recorder application gives you multiple screens of the various settings that can be tweaked, and you can choose any options you like. Also, unless you have a reason to make a tweak, it's advisable to leave many of settings at their default. They are enough to cater to most common recording needs.
Area Selection
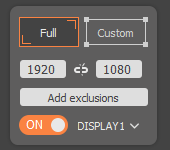
Add exclusions: when you're selecting area for recording, you can click this option to get into a screen where you can select what window or process you don't want to record in your video.
Display choose: if you have more than one displays connected to your computer, you can select the one you need to record from the Display drop-down menu, next to ON switch.
Fixed aspect ratio: After you enter the desired values for Width and Height (1920 x 1080 for example, see the screenshot above), you can click the Lock icon between them to lock the selection to a specific aspect ratio. It doesn't matter which value you change in Width or Height, it stays locked at the fixed aspect ratio and sets another value automatically.
Audio Settings
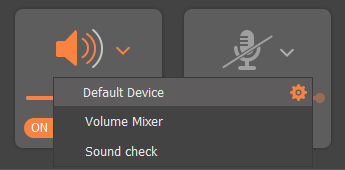
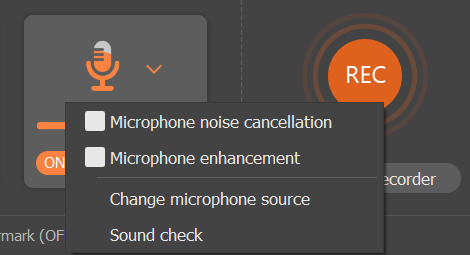
If Windows sound or/and microphone is on, you can also configure your audio settings.
System Sound
Microphone
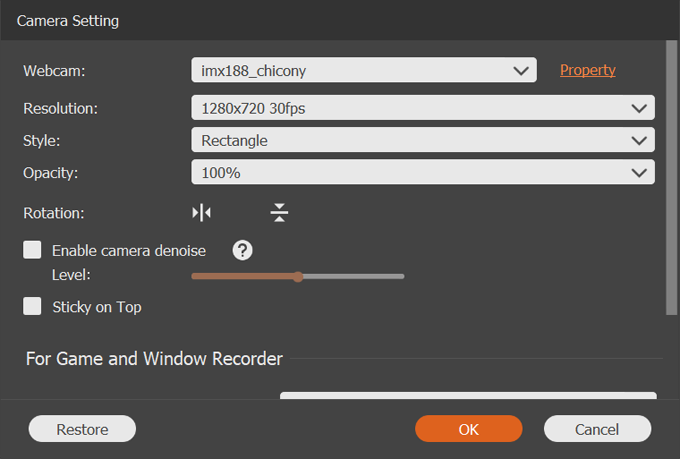
Camera Settings
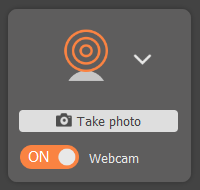
Normally, you will want to maintain the default settings for recording webcam, but there are still a few options you can change.
1. Click the Down arrow next to the camera icon. In the opening menu, click Settings.
2. Change any of the following settings.
- Webcam: select built-in webcam or connected external USB camera to record.
- Resolution: change the resolution from 1280 x 720 30fps to 640 x 360 30fps.
- Style: select Rectangle, Circle, or Ellipse for picture-in-picture webcam display.
- Opacity: defaults to 100%, but you can reduce it to a minimum of 10%.
- Rotation: spin the webcam to the right angle. Both Horizontal and Vertical flip are supported.
Enable Camera denoise level
Sticky to Top: keep the webcam stick to the top of the screen.
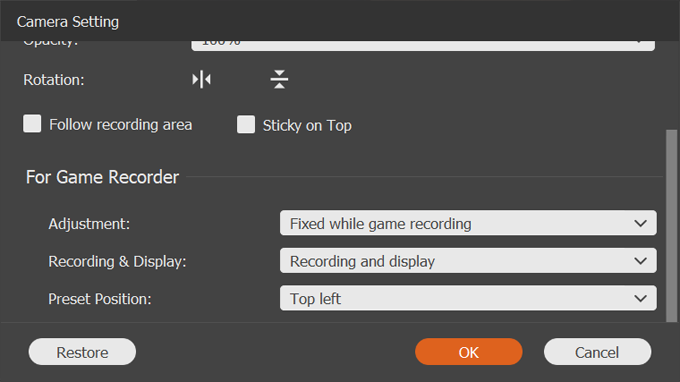
There are also some settings for game recorder.
Adjustment
- Fixed while game recording
- Flexible while game recording
Recording & Display
- Recording and display
- Recording but no display
- Display but no recording
Preset Position: the default location for the picture-in-picture screen in your final recording.
- Top left
- Top right
- Bottom left
- Bottom right
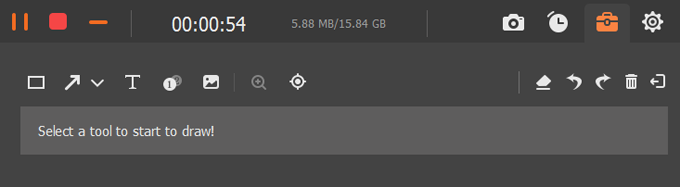
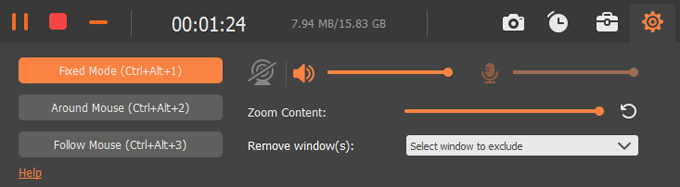
Float Bar Controls
While recording your screen, you can do a lot things through the float bar.
Annotation
While your screen are recording, you can take advantage of the Toolbox included in the float bar to annotate and edit the recording, including adding shapes, arrows, texts, call outs, lines, squiggles and drawing, step by step numbering, images. You can also erase areas, turn back, and even delete marks.
Take screenshot
Just click the Camera icon in the upper right corner of the float bar, you can take screenshots on your recording.
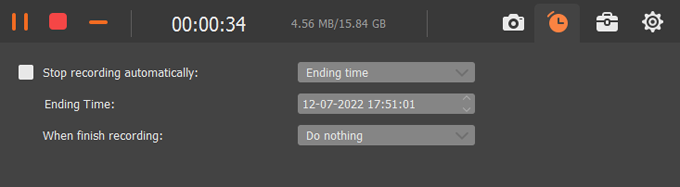
Schedule a screen capture
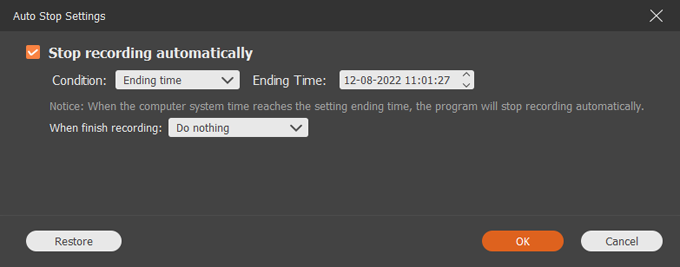
By clicking the Clock icon, you can enter recording schedule dialog. From there you can enable Stop Recording automatically option, and set your ending time, and the action you wish to perform after recording is finished.
If required, you can have the software automatically shut down your computer if you don't want the computer to stay on all night once the recording is done.
Settings
Auto Stop, Task Scheduel, and Watermark
At the bottom of the main screen of the software, it gives you more flexibilities to enhance your recording experience.
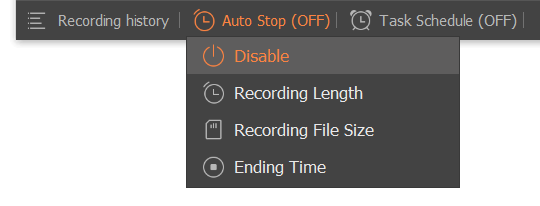
Auto Stop (OFF)
Disable - defaults to disable.
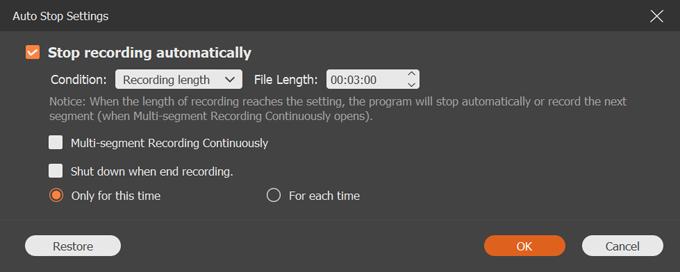
Recording Length - Set your max recording time. Here you can leave the box selected and set a maximum recording time.
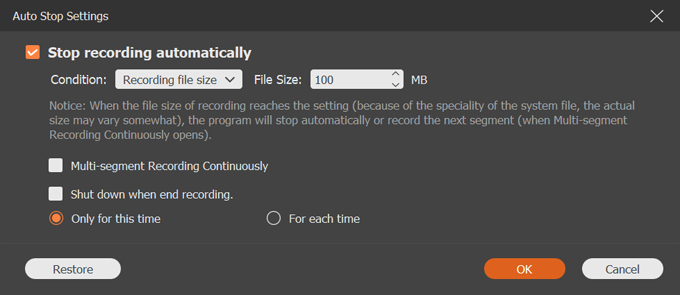
Recording File Size
Ending Time - you can set when you want to stop recording.
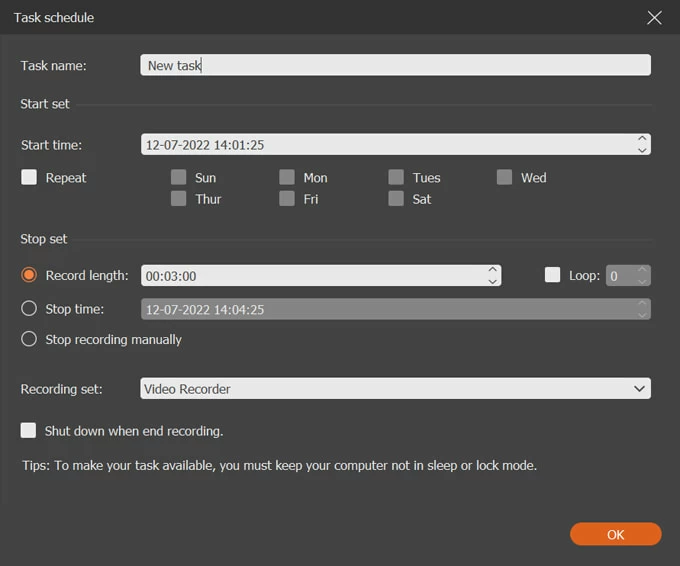
Task Schedule (OFF)
By hitting Task Schedule, you can get into recording sechedule list. Then click the Edit icon to schedule recordings to start automatically during specified times on a daily/weekly basis.
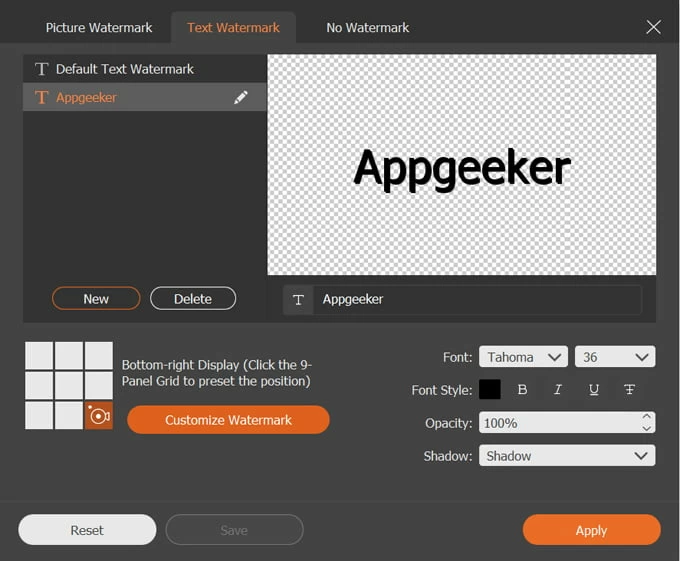
Record Watermark (OFF)
You can apply text and image watermark to your recording by using Record Watermark feature. By default, it's turned off.
Picture Watermark
Text Watermark
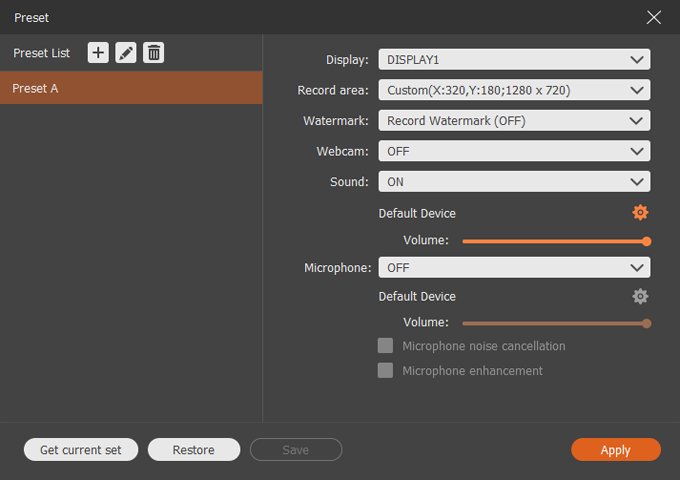
Make recording presets
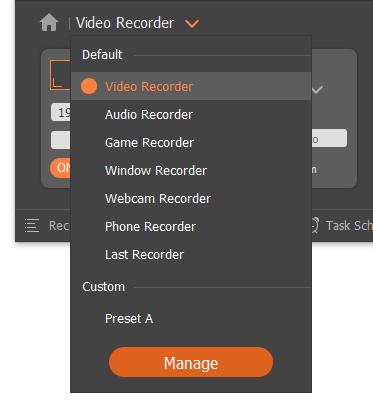
If you frequently use the same video dimensions or recording settings, it's a good idea to create a preset for future use, which saves you a lot of time.
To do it, open Video Recorder tool in the application, then click the tool-selection drop-down menu in the upper left corner of the program window. From the opening list select Manage and you will be presented with a Preset window.
The software allows you to tweak a number of options: Display, Record area, Watermark, Webcam, Sound.
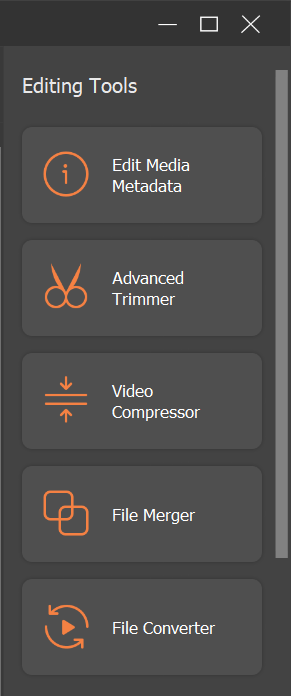
Handy editing tools
Another good thing about of this software is that it includes a lot of useful editing utilities to help you enhance your recording results. You can find them in Recording History > Editing Tools.
1. Click the Recording history button located at the lower left corner of the main screen.
2. In the opening library where lists all of your video & audio recordings, select your editing tool from the menu on the far right side. Alternatively, click the Wrench icon on the right side of each recording to select your editing tool from the drop-down menu.
- Edit Media Metadata - add the file name, title, album, composer, genre, year, comment, and video or audio cover.
- Advanced Trimmer - cut, split, add segments.
- Video Compressor - compress a large recording file into a smaller size.
- File Merger - combine several clips into one single file.
- File Converter - convert the audio or video recording from one format to another.