How to use Android Data Recovery to recover files from Android

Support Updated on Apr 15, 2022 4:52 PM
Android Data Recovery is one of the most powerful, thorough data recovery software application specifically designed to help Android users recover deleted or lost data files from their devices, no matter what brands of Android phone or tablet are involved: Samsung, Huawei, Pixel, LG, Sony, OnePlus, ZTE, Motorola, and so on.
This guide has been written using the Windows version of the program, but the steps under Mac machine are the same. Now, click the link below to download the right copy and follow the on-screen instructions to install it on your computer.
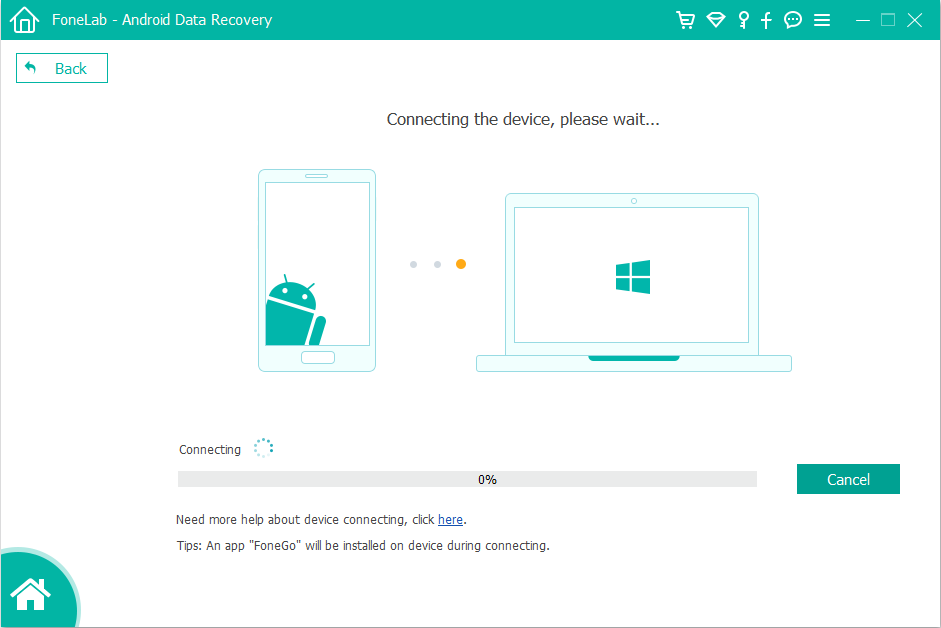
Step 1: Connect Android phone to the computer
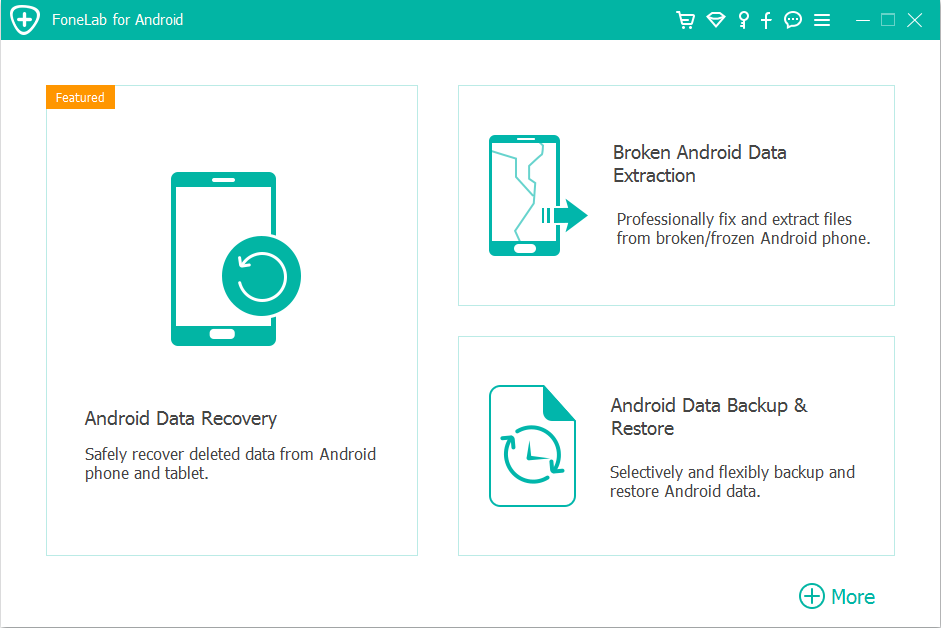
Run this Android Data Recovery software on your computer. Then, click on the "Android Data Recovery" mode on the left part of the interface.
At this point, you'll be prompted to connect your Android device to the computer using a USB cable.
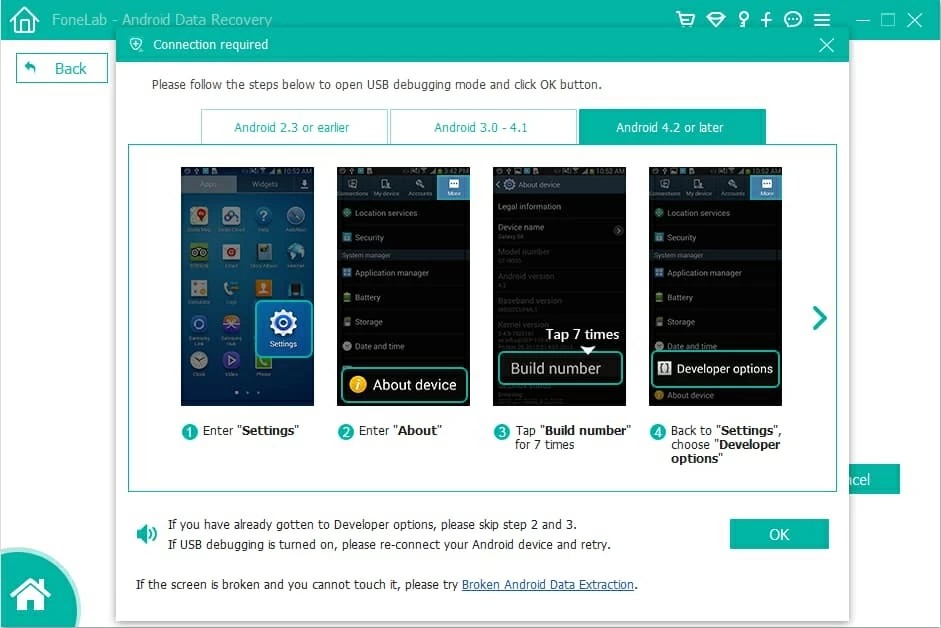
Step 2: Enable USB Debugging mode on Android device
Once connected, a notification will pop up, prompting you to allow USB Debugging Mode on your Android handset. Please tap "Allow" on the screen so that the program will be granted access to the Android data. If you don't see such a notice, you can choose to manually enable it on the phone.
For Android 4.2 or later version: Enter Settings > About phone. Tap on Build number option repeatedly for 7 times until you see a notification popping up that says "You are under developer mode". Then return to Settings > Developer options, and toggle the switch labeled "USB Debugging" to ON position.
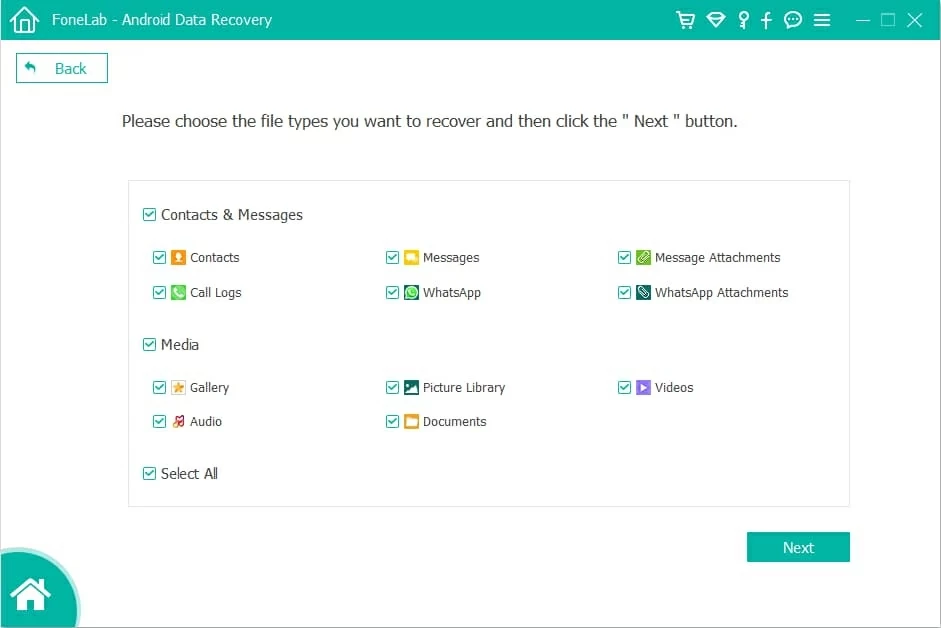
Step 3: Choose what file types to scan for deleted files
After your Android phone is successfully identified by the software, you will get a screen (see below) where you can select the file types you want to scan for deleted files.
After you finish checking the preferred data types, press Next button to begin scanning the memory of your Android phone.
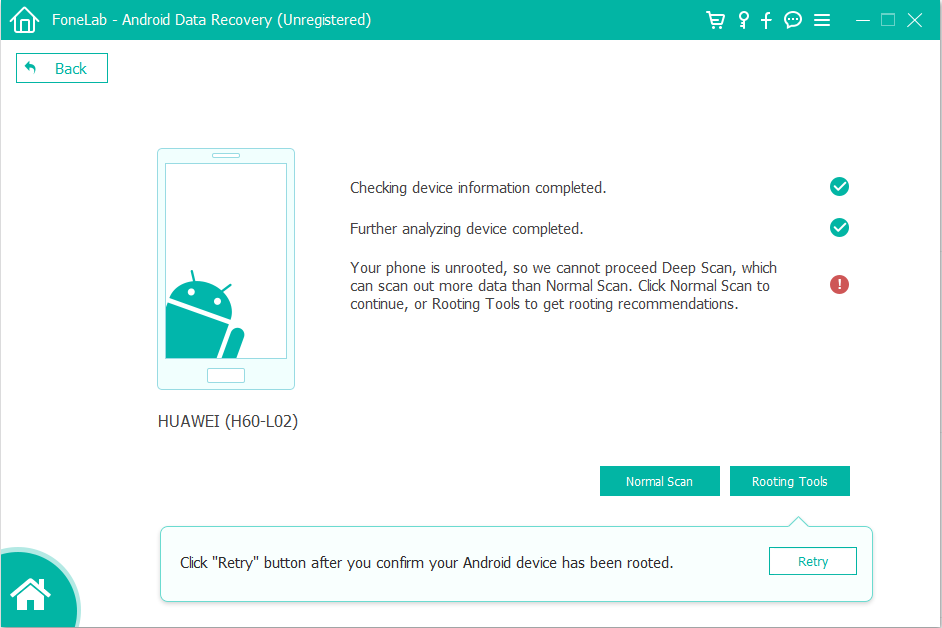
Step 4: Get root permission and scan Android files
The program will check your device information and try to gain root permission. When you get a window like the screenshot below, click the Rooting Tools button.
This will send you to an external website where you'll need to download a tool named KingoRoot—a powerful and free Android Rooting utility with highest success rate, and go to your phone and tap on "Allow/ Grant/ Authorize" to ensure the root request is accepted.
Check out the step by step instructions on How to Safely Root and Unroot an Android Device.
After the handset has been rooted successfully, it will begin a deep scan of your Android for deleted data files. Please wait patiently for the entire process to complete.
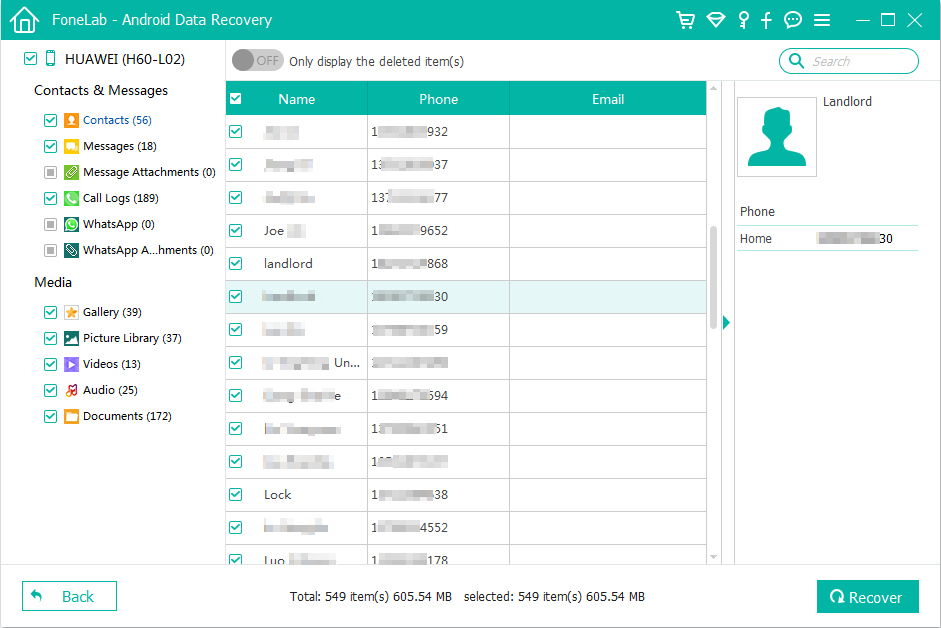
Step 5: Preview deleted files from Android device
Once the scan is done, all the files extracted from Android phone are displayed on the left sidebar of the window, arranged by different categories.
You can preview the detailed content for each file type by clicking on the specific category. If you want to preview only the deleted items, simply toggle the switch "Only display the deleted items" to ON position at the center top.
Step 6: Start recovering your selected Android files
Next, select the files you want to recover by checking the boxes next to each file on the middle pane.
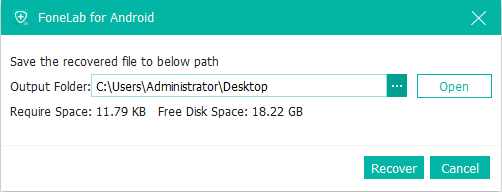
After the selection, press the Recover button. This should pop up a dialog box, requiring you to specify a location for saving the recovered files.
After that, hit the Recover button again in the dialog box and this program will start restoring the files from your Android phone and save to your computer.
That's it!