How to Recover Deleted Pictures on Samsung Galaxy


Rooting Android device, the equivalent of jailbreaking an iPhone or iPad, is a process of granting users to unlock the Android OS and gain full access to dive deeper into it — that is, with root access, you will have unlimited privileged controls over the Android device, like installing non-approved applications, authorizing the third-part utilities dig deep into the phone and otherwise customizing anything without restrictions. Also see: Top 10 Reasons to Root Your Android Phone - Lifehacker
Although getting an Android phone rooted may void your warranty, its benefits outweigh the risks in general. If you root the device in a proper manner, everything on it will goes normally as it does. Accordingly, when you want to unroot an rooted Android phone, there's still option out.
KingoRoot is such a rooting app that offers the easy and efficient way to root most of Android gadgets in one click. It's safe and easy to use. It also comes with option to remove root access from your Android phone. The app is then easily uninstalled manually.
The app includes separate versions for Windows (.exe) and Android (.apk).
Preparations for Android Root before Get Started
Let's take a close look at how to use KingoRoot to root an Android phone based on Windows computer. You can also choose to install its Android version on your handset and root it directly. The device used in this article was a Huawei H60, but this will work on any other Android device of your choice.
Part 1: How to Root an Android Device on PC
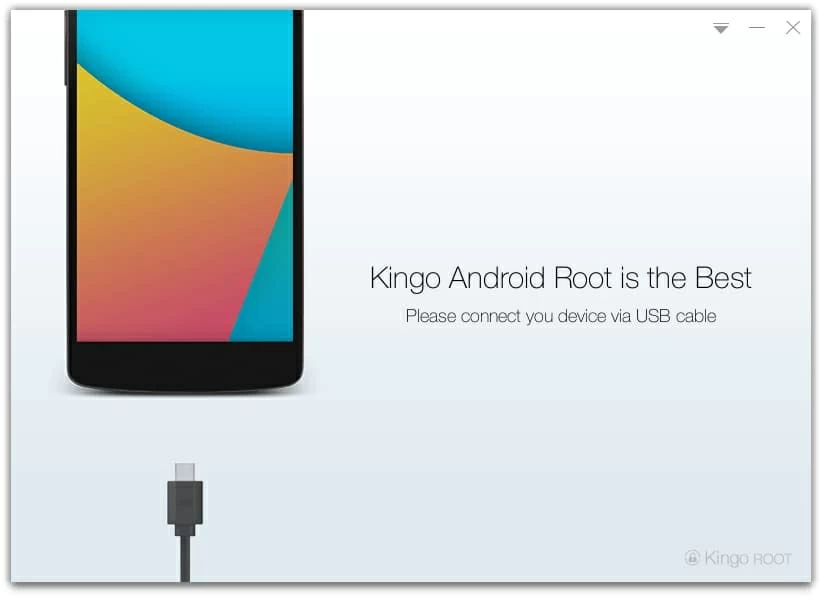
Step 1: Run KingoRoot and connect Android device to PC
Once you've installed it on your computer, double click its icon to open it. You will get a window like the screenshot below, which asks you to attach Android phone to the machine with a USB cable. Do this as required.
Step 2: Allow USB Debugging on Android device
Once connected well, the program will ask you to enable USB debugging mode on your Android gadget, this is an essential step for rooting the device successfully.
Here's the detailed guide on activating USB debugging mode on Android.
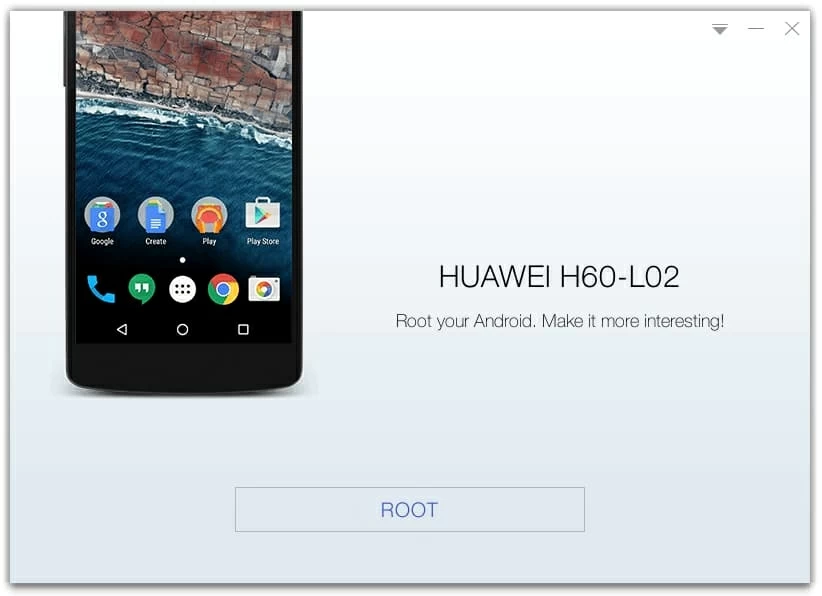
Having got the rooting permission, the program will detect your Android device thoroughly and display its image as well as its version on the window.
Step 3: Root Android device
Next, click the Root button at the lower position. Sit back and wait for the program to do its business - this will take a couple of minutes to finish.
During the rooting process, the android handset may restart several times, but it works just fine. Please do not use and disconnect the device.

Once completed, you will see a window appear with "ROOT SUCCEED" characters on. The Android smartphone will reboot and you are done.
That's all about the Android device rooting process.
Although you may benefit a lot from rooting, there are occasions when you want to return to the original condition that the Android phone works. If that's the case, just open KingoRoot again, connect your rooted Android phone, then hit the Remove Root option. The guide below will explain a sequence of steps to be followed.
Part 2: How to Remove Root Access from Android Device
Step 1: Run KingoRoot and connect Android phone
Launch Kingo Root on your PC and get your Android mobile phone connected to the computer through a USB cable.
You will also need to enable USB debugging mode on your Android phone if you have it closed after you rooted the device earlier. After that, the program will detect it quickly and give you two options on the window: REMOVE ROOT and ROOT AGAIN.
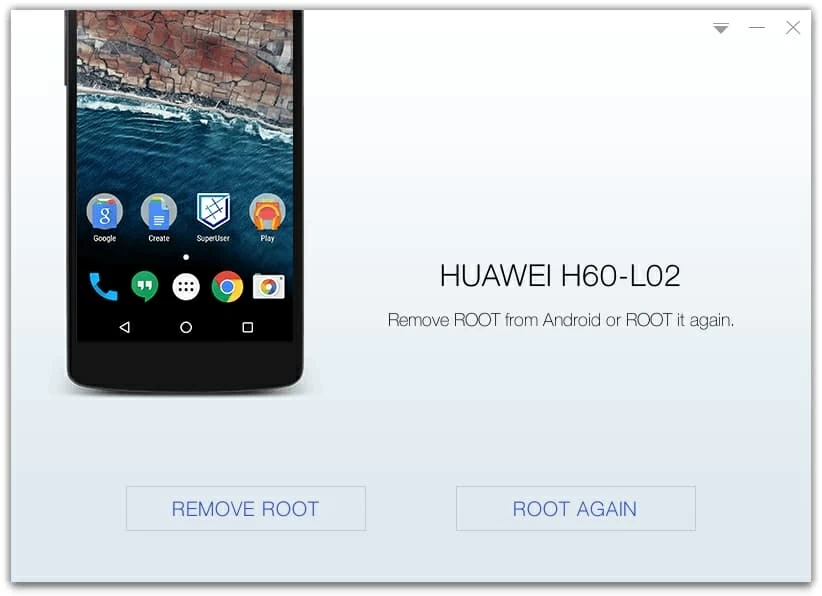
Step 2: Remove root from Android Phone
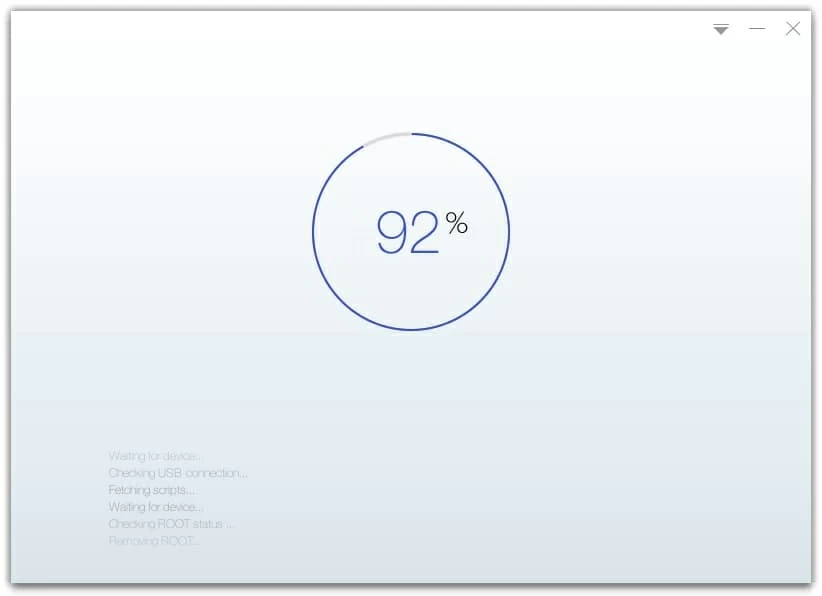
Then, click the REMOVE ROOT button and this will start unrooting process on your Android phone. Wait for a few minutes till the entire process gets completed to 100%.
Done! your Android phone is completely unrooted.
You now can uninstall the app on your computer.