How to Burn Video files to DVD and Blu-ray for Home Player

Rob Parsons Updated on Apr 15, 2022 4:52 PM
DVD Creator is the software specially designed for you to create DVD and Blu-ray disc on computer effortlessly, so you can play everything directly on your big screen TV or Home DVD/BD Player. Apart from organizing and burning video files to DVD/BD, DVD Creator also offers useful editing functions, slideshow tools, and lots of gorgeous menu templates so you can create a stylish DVD & Blu-ray effortlessly. Download DVD Creator and install it following the installation wizard instructions.
Step 1: Loading photos and videos
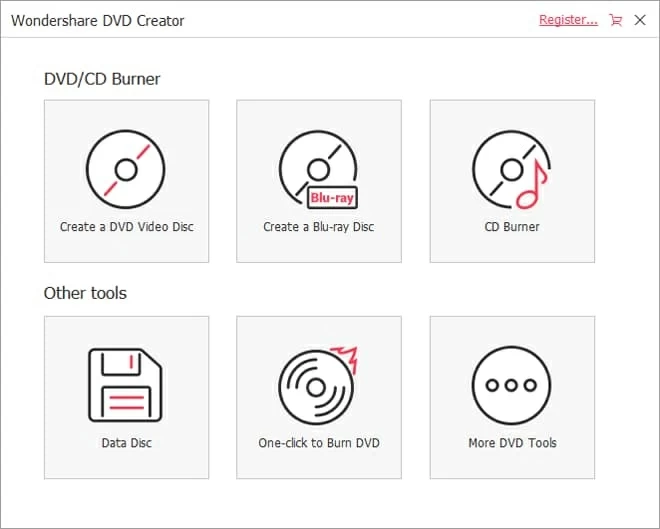
Open the program on your computer, then select "Create a DVD Video Disc" option on the main interface. If you want to burn files to a Blu-ray disc instead, here select "Create a Blu-ray Disc".
For those who want to burn DVD without menu or template settings, you can also choose to select "One click to Burn DVD" option.
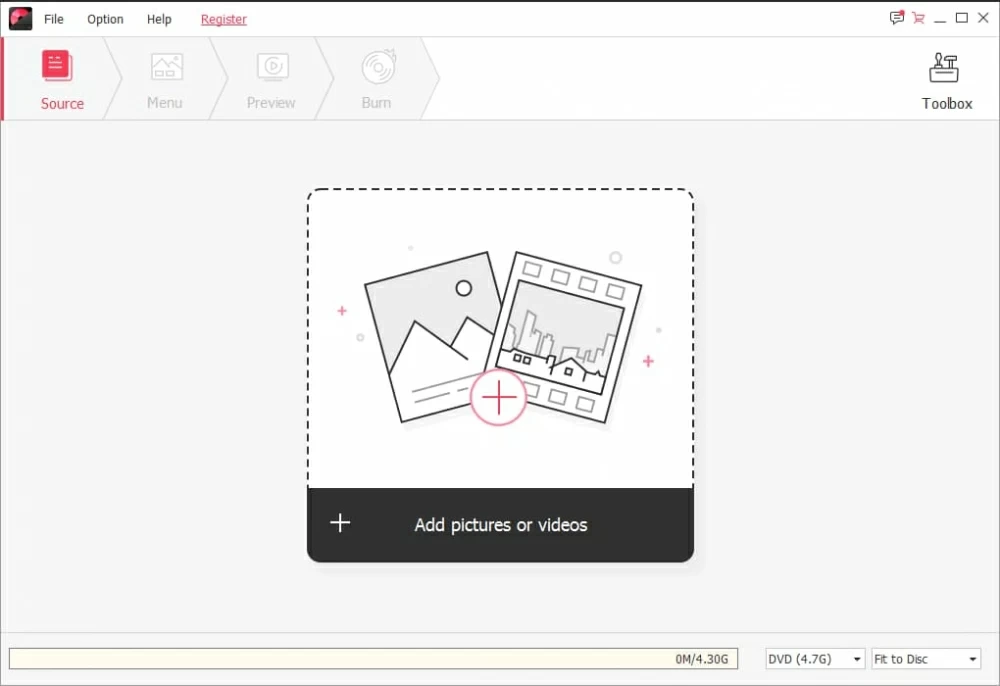
In the next windows that opens, click the red + icon on the center area (or go to File > Add Files...) to add video or photo files to the program.
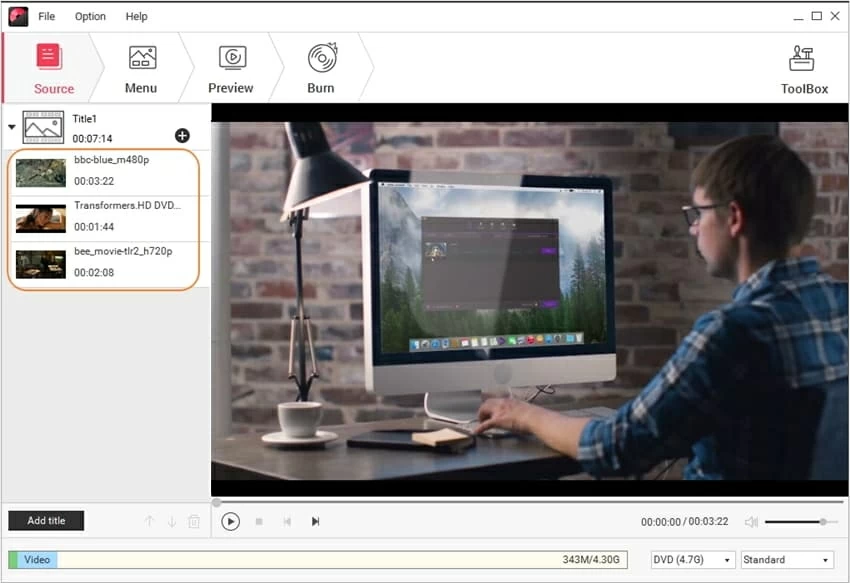
The program will display the loaded video thumbnails in the left together with the video name and length.
The light yellow bar at the bottom shows the file size of the added photos and videos. At the bottom, you can choose DVD or Blu-ray format to output your project and select from Fit to Disc, Standard or High Quality.
Tip: If you want to create new Title page, just hit "Add title" icon in the bottom-left side. Similarly, clicking + icon enables you to add videos to the Title.
Step 2: Edit Videos (Optional)
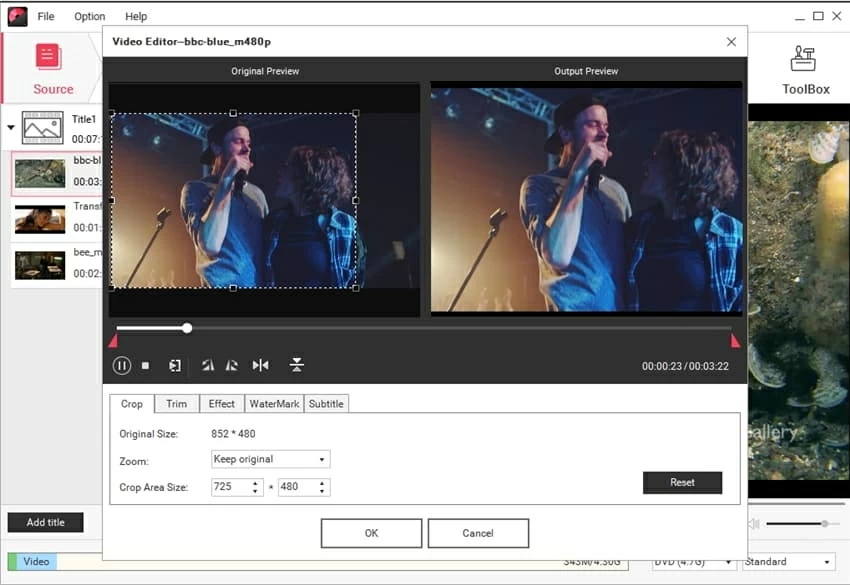
Move the mouse over the video thumbnail, there'll be a pencil-like icon just as the screenshot shows. Click the icon and you'll get the Video Edit window, where you can crop/ enhance/ trim video, add effect, watermark and subtitle as you wish.
Click here to learn how to edit video in details.
Tip: If you want to change the video order, just select the video and click move up icon or move down icon. Alternatively, you can also right-click the video and choose Move up or Move down to adjust the sequence.
Step 3: Customize DVD Template & Menu
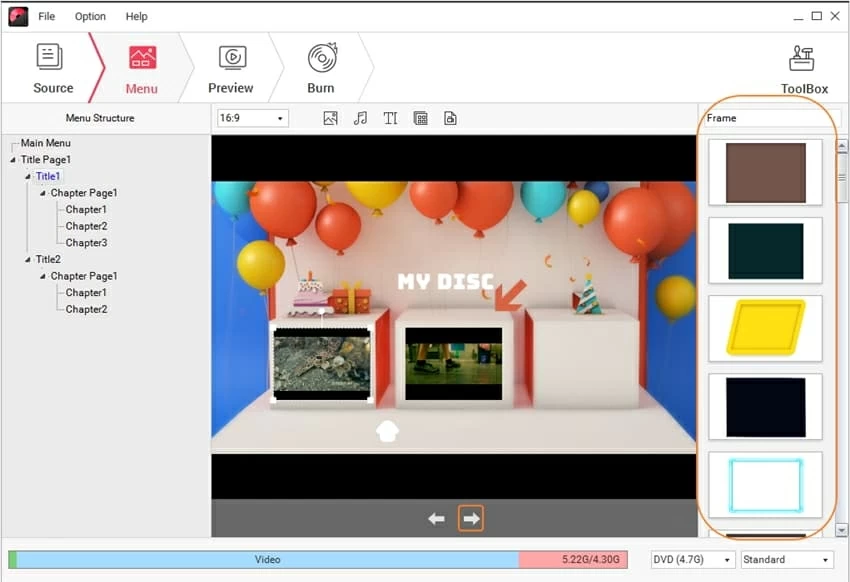
Click the Menu tab in the top, you can see the Menu Structure in the left and over 100 free DVD templates in the right. Double-click the template thumbnail would change the default one to your liking.
Apart from the DVD templates, there're another 6 tricks that help to customize your DVD project.
1. Click switch icon in the bottom center to change the chapter frame.
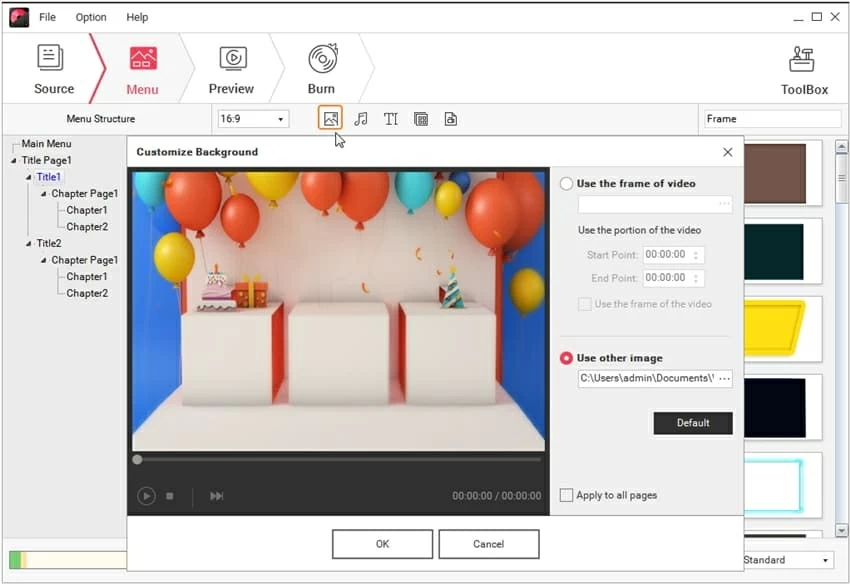
2. Click photo icon in the top sub-menu to customize the background image.
3. Click music icon to add or edit background music. Note that the program not only trims music but provides 3 sound effects to enhance the background music.
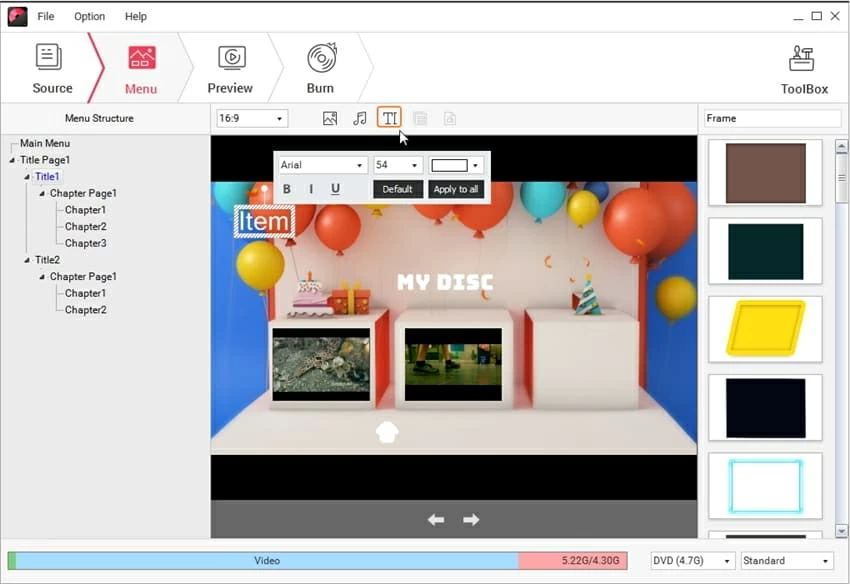
4. Click text icon to add text to the main menu for necessary notes. Select the textbox and you'll be able to set the font size, color, etc.
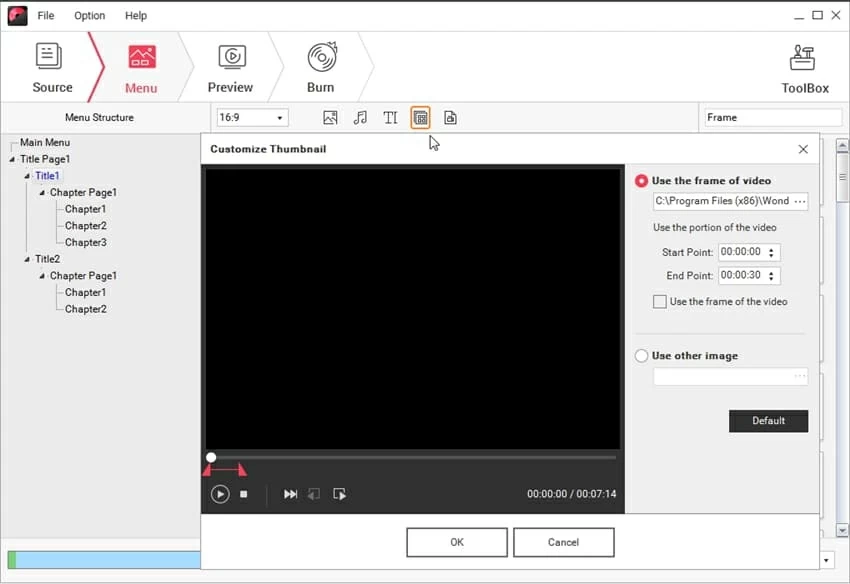
5. Click thumbnail icon to replace the chapter thumbnail with other images.
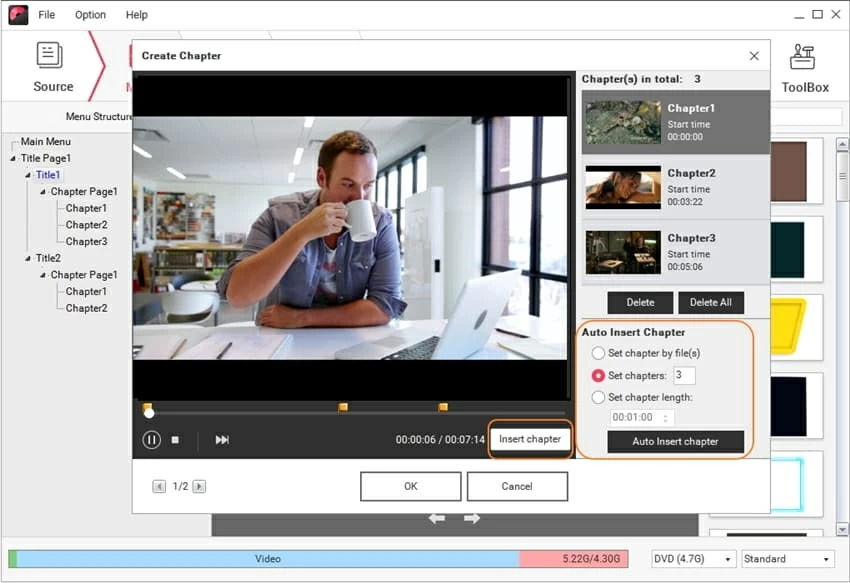
6. Click chapter icon to create chapters. You can either manually insert chapter or set auto insert chapter based on your needs.
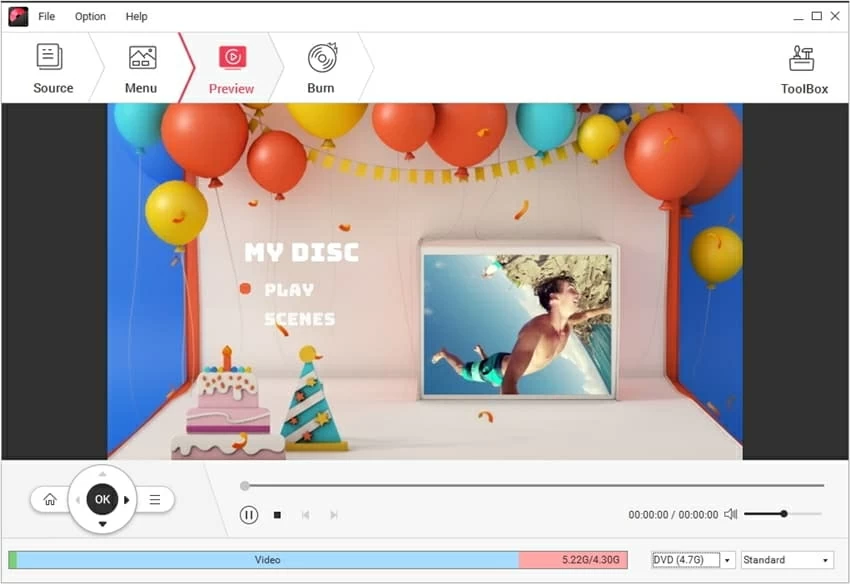
Step 4: Preview DVD Slideshow
When finished, switch to Preview tab to view your DVD creation. You can always go back to Source or Menu tab to make adjustments if you're not that satisfied.
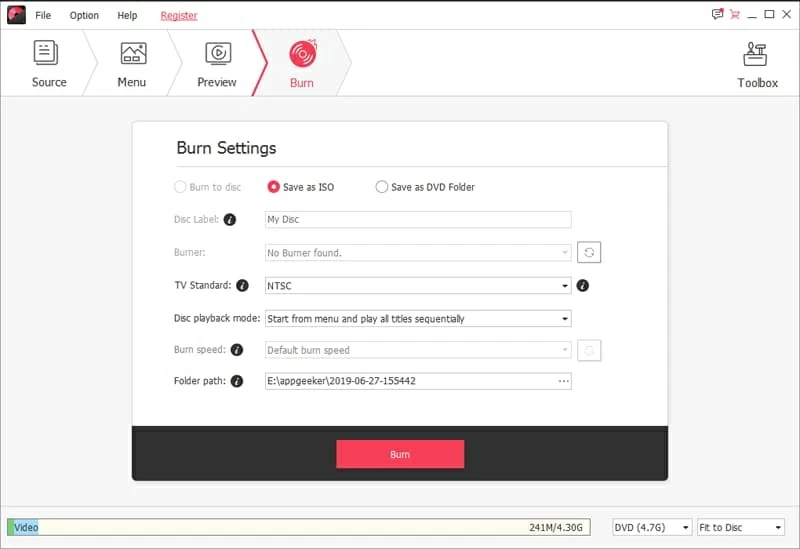
Step 5: Start DVD burning process
Once you're satisfied with the DVD preview, proceed to the Burn tab and preset DVD settings as requested. After that, hit Burn to start burning video file to DVD right away.
That's it!