Screen Recorder for Mac guide - screenshot capture

Support Updated on Dec 13, 2022 2:27 PM
Tip: If you're running a Windows computer and want to take screenshots, see here.
Before you actually start taking screenshots with Screen Capture tool built in Screen Recorder, please download the application from the links below and install it on your desktop. The process is pretty simple, and it's almost identical on both Mac and Windows computers.
Step 1: Run the app and select Screen Capture
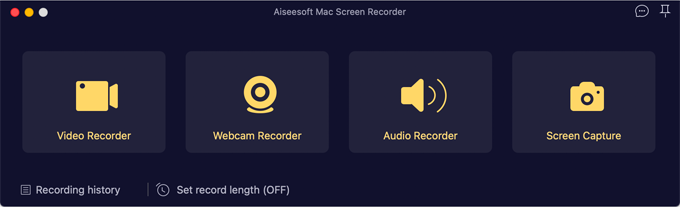
Launch the Screen Recorder application.
To take screen grabs, click Screen Capture to go on.
Step 2: Select your area to capture
An orange crosshairs appear. Move you cursor over the window to select the desired area that you want to take screenshot.
After that, you will see the crop boundaries, which can be dragged and adjusted to fit your own custom size.
Step 3: Annotate the screenshot and save it
After you have selected the screenshot area, a toolbox will pop up under the area, allowing you to mark it up with text, shapes, arrows, lines, squiggles and drawing, step by step numbering, etc.
If everything looks good, click the Save button to save the image to your computer. You may choose a folder and filename for your image when prompted.
The screenshot will be saved in PNG image format by default.
Tip: You can save screenshot in one of 5 formats on your Mac, including PNG, BMP, GIF, JPG/JPEG, GIF, and TIFF. You can change it in Menu toolbar > Preferences > Output.
That's it! You can now use your screenshots in presentations, documents, notes at your wish.