Screen Recorder for Mac guide - Webcam Recorder tool

Support Updated on Dec 13, 2022 2:30 PM
Tip: If you're running a Windows computer and want to record yourself with webcam, see here.
Before you actually start recording yourself with Webcam Recorder tool built in Screen Recorder, please download the application from the links below and install it on your desktop. The process is pretty simple, and it's almost identical on both Mac and Windows computers.
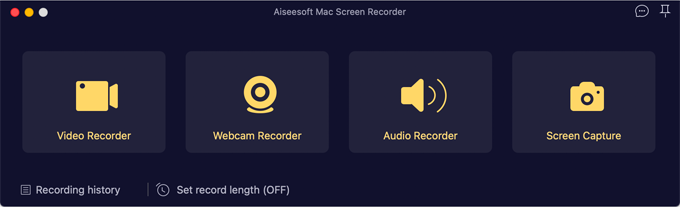
Step 1: Run the app and select Webcam Recorder
Open Screen Recorder if you haven't already.
To record a built-in webcam or external camera device, hit Webcam Recorder tool on the screen.
Step 2: Tweak recording settings
Once the Webcam Recorder opens, you'll see a live preview of your webcam.
At the bottom left of the screen, the software gives you option to select a webcam device if there is more than one camera connected, enable recording audio with a microphone device, as well as take screenshots.
Also, you can resize and move the window as you like.
Step 3: Start recording live video from webcam
When ready, click the REC button in the bottom center of the window, and let the program capture live video from the connected or built-in webcam.
During webcam recording, you're able to temporarily pause the process, resume it, and take snapshots.
Step 4: Stop recording
When you want to finalize your video of the webcam, click the Stop button to end the recording.
Your captured video of webcam will open up in the software. From there, you can take a preview, edit the video.
If you don't want to do anything else, just press the Save button in the lower right corner to store your footage locally. Or, select the Re-record button If it is not acceptable and you would like to do a new webcam recording.
By default, the recorded video will be saved in MOV format.
Tip: you can click the Recording History option located in the lower left corner of the program main screen to see your recordings history. From there, you can choose to play, rename, open the folder, share or delete the recordings as you want.
Edit the video (optional)
In preview window, the software includes a simple trimming tool on the screen to help you trim the beginning and end of your footage before saving it.
It's pretty easy to trim a video: Click the Clip button at the bottom left, just move the Beginning slider to the point you need. The same goes for End, followed by Trim button.