How to find deleted files on iPhone [Full guide]


Platforms
Developed for both Windows & Mac users

Need to know how to scan a passport with an iPhone? I explain how I scan, edit, and manage passport copies using UPDF, plus what to know before storing one on your iPhone.

There have been more times than I expected when I needed a passport copy on short notice. Sometimes it was for travel paperwork, other times for identity verification or account setup. What caught me off guard early on was how unreliable quick photos could be.
A slightly crooked angle, uneven lighting, or glare from the passport cover can make a file unusable. That pushed me to learn how to scan passport with iPhone properly instead of relying on random snapshots. Over time, I settled into a workflow that gives me clean, readable scans that are easy to store and share when needed.
I rely on UPDF when I need to scan a passport using my iPhone. The main reason is control. UPDF treats the camera as a document scanner, not just a photo tool. That difference shows up immediately in clarity and alignment.
UPDF works on iPhone, iPad, and iPod touch, so I can scan documents using the built-in camera and turn them into PDF files. If I already have images saved in Photos, I can import them and clean them up afterward. That flexibility matters when I've already taken pictures but want to improve them later.
One feature I use often is scanning multiple pages into one file. Passports usually require scanning the photo page and sometimes a second page with stamps or visas. UPDF lets me keep everything together instead of managing separate images. It also supports scanning both sides of an ID onto a single PDF page, which is useful for forms that require front and back together.
Auto capture is another feature I rely on. When this feature is enabled, UPDF detects the edges of the passport and captures the image automatically once it's aligned. That helps avoid blur caused by pressing the shutter manually. Auto cropping trims away background areas so the passport fills the frame properly.
Before saving the file, UPDF allows editing. I can rotate the scan, adjust cropping, resize the page, or apply filters to improve contrast. If the lighting is poor, I turn on the flash directly inside the app. Once everything looks right, I save the scan and sync it through UPDF Cloud. That way, the document is available later on my Mac, Windows PC, or even another phone.
1. Open UPDF on my iPhone.
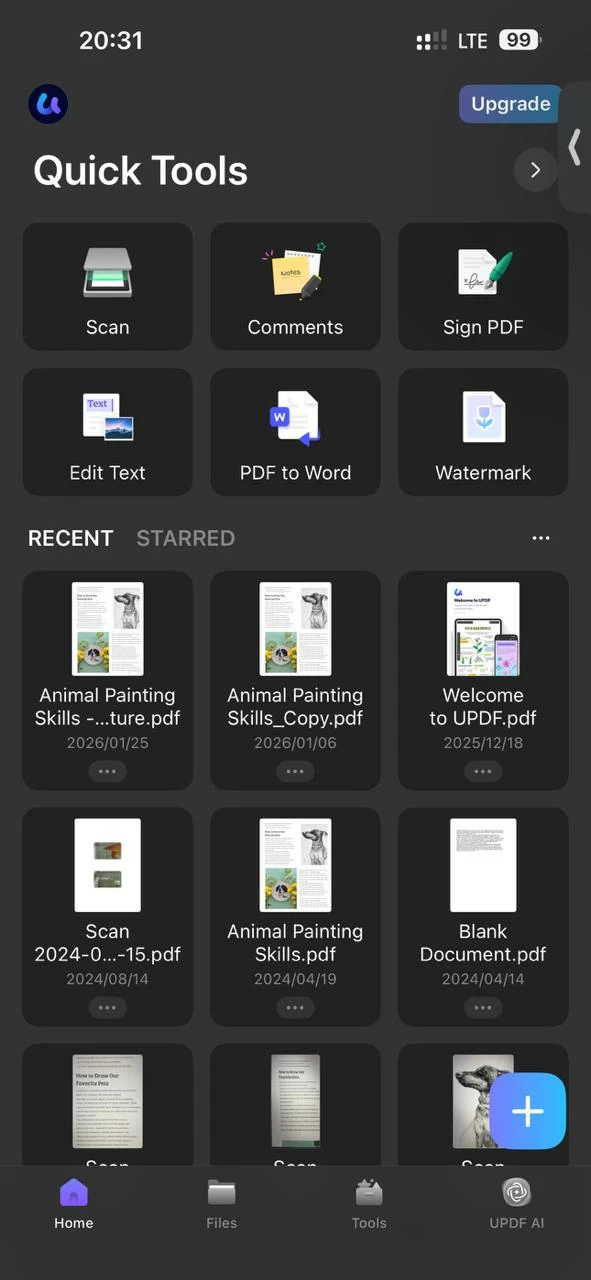
2. Tap the scan option to activate the camera.
3. Place the passport on a flat surface with good lighting.
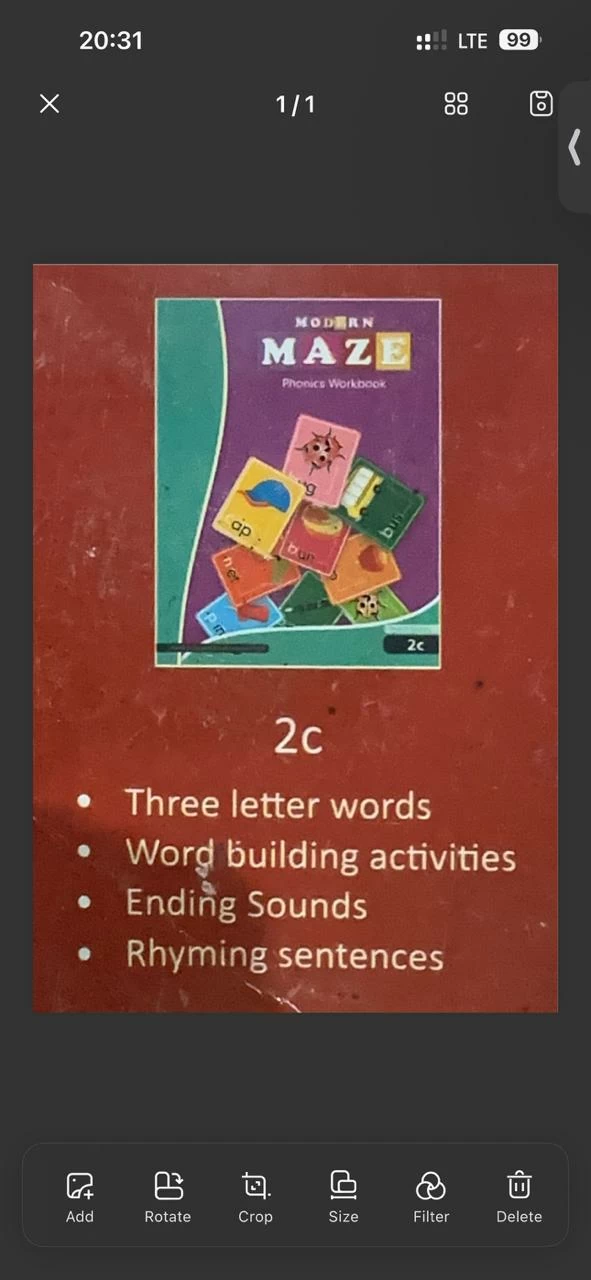
4. Let auto capture detect the edges or tap manually to capture.
5. Review the scan and adjust cropping or filters if needed.
6. Scan additional pages if required.
7. Convert the scanned images to a PDF file manually.
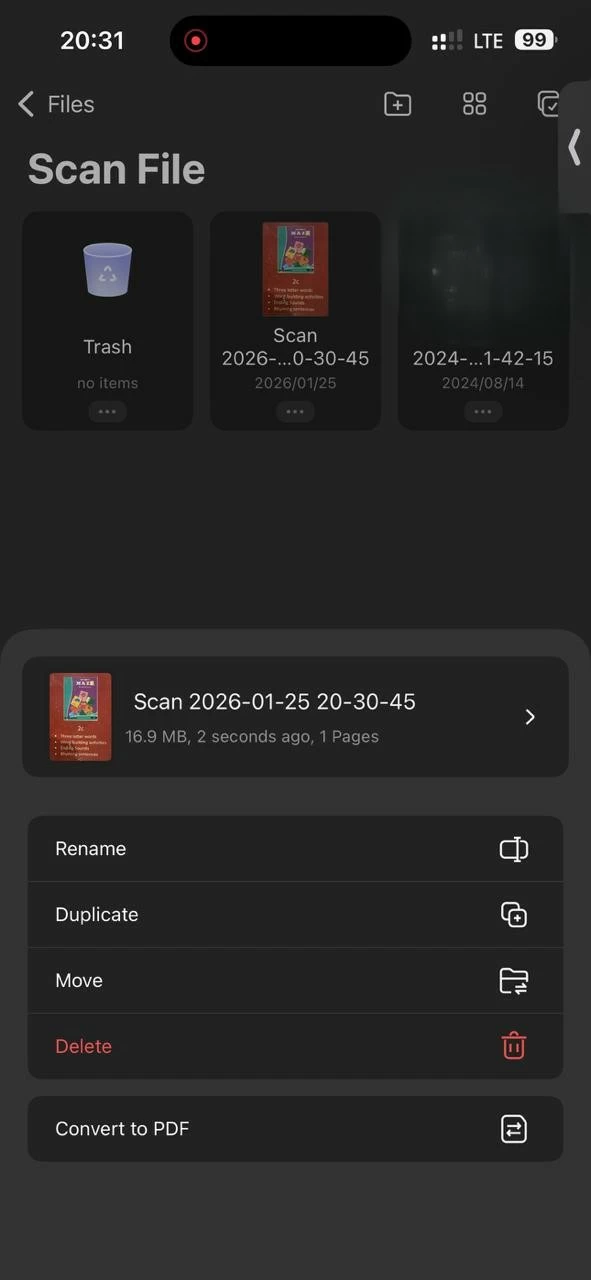
One detail I always keep in mind is that the scanned pages don't convert to PDF automatically. I make sure to tap convert after reviewing the scans. Skipping that step leaves the files as images instead of a single PDF.
Scanning a passport is useful, but it's not the same as having an official digital ID. I realized this after seeing Apple introduce a feature that lets US users add a passport to iPhone using Apple Wallet.
Apple now supports storing a digital passport ID inside the Wallet app. This feature is designed for identity verification at supported TSA checkpoints and select apps. It does not replace the physical passport in all situations, but it can be helpful in specific cases.
Setting this up requires identity verification and device security checks. Apple uses Face ID or Touch ID to protect access, and the process takes a few minutes to complete.
1. Open the Wallet app on the iPhone.
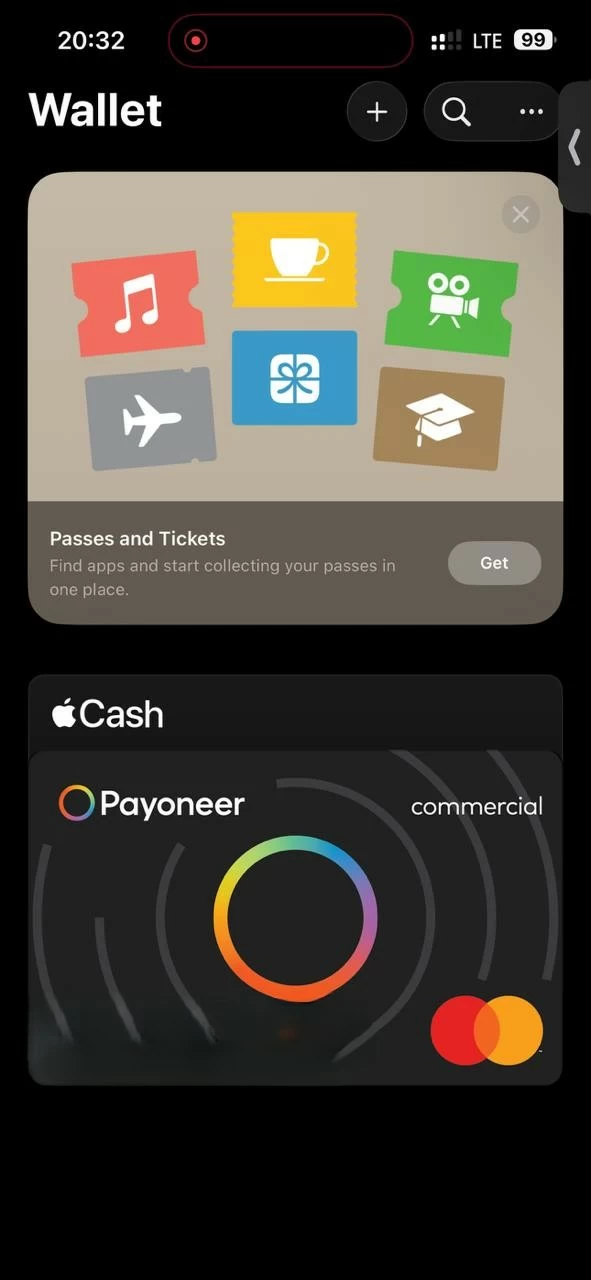
2. Tap the plus icon to add a new item.
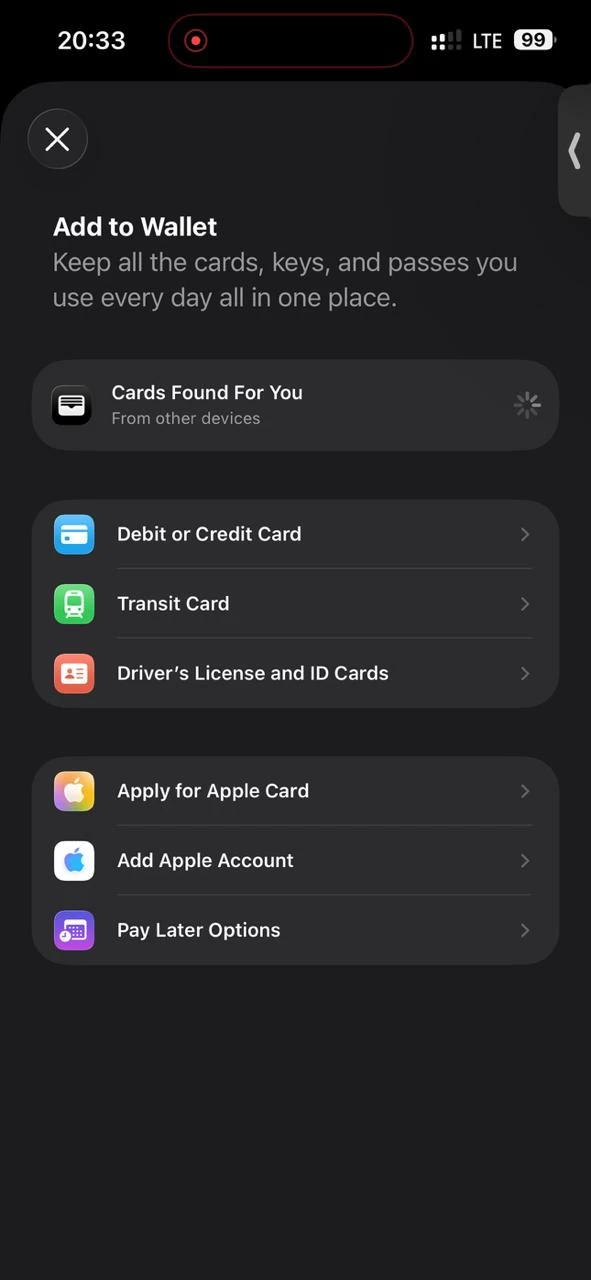
3. Select Digital ID for Passport.

4. Follow the instructions to scan the passport.
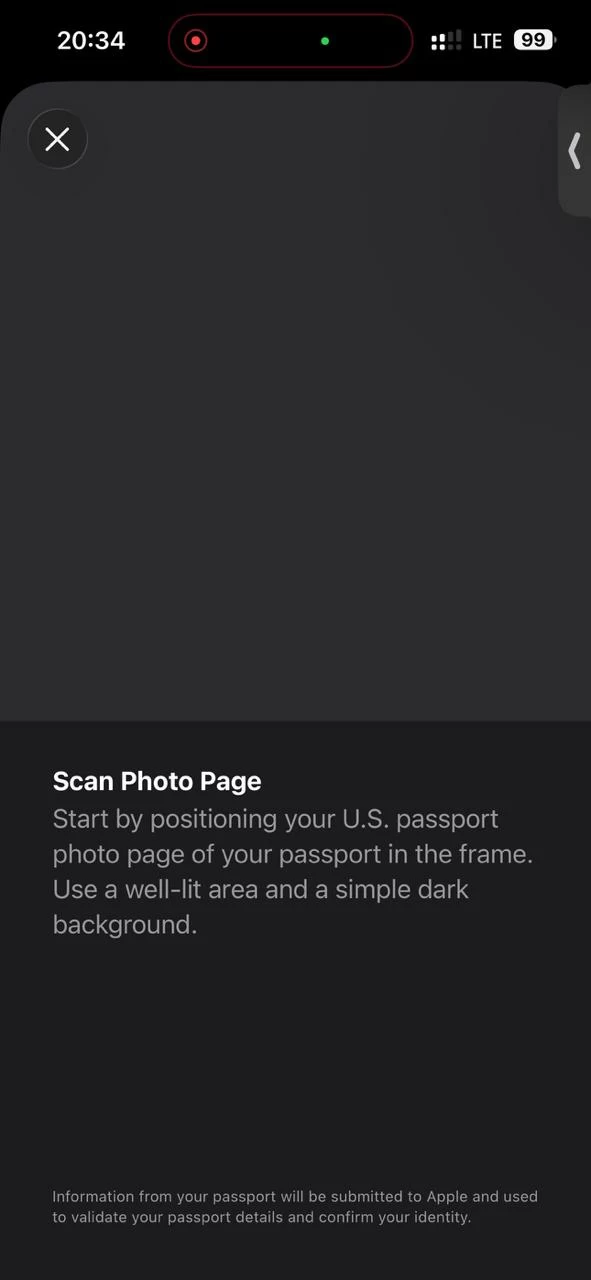
5. Complete identity verification using Face ID or Touch ID.
6. Wait for confirmation once the process is complete.
Approval is not instant for everyone. Apple reviews the information before enabling the digital ID, and availability depends on location and supported services.
Because of these limitations, I treat this feature as a supplement, not a replacement. I still carry my passport whenever I travel.
Even with Apple Wallet support, scanning a passport remains useful. Many online services and forms don't accept Wallet verification yet. They still ask for a PDF or image upload. Having a clean scan ready saves time when those requests come up unexpectedly.
A scanned passport also gives me flexibility. I can store it securely, rename it properly, and share it only when required. UPDF lets me protect files with passwords or restrict editing, which adds another layer of control.
Learning how to scan passport with iPhone properly made a bigger difference than I expected. UPDF gives me clean, well-aligned scans that work for official submissions, while Apple's Wallet feature offers added convenience in limited situations. I use both depending on what's required. Instead of scrambling for a scanner or retaking blurry photos, I now have a reliable way to scan, manage, and access passport documents whenever I need them.

