How to use Phone Recorder tool in Screen Recorder app

Support Updated on Dec 12, 2022 9:05 AM
Before you actually start recording your either Android device or iPhone activities with Phone Recorder tool built in Screen Recorder, you'll want to download the software by clicking the links below. Install it to your either PC or Mac as you would any other application.
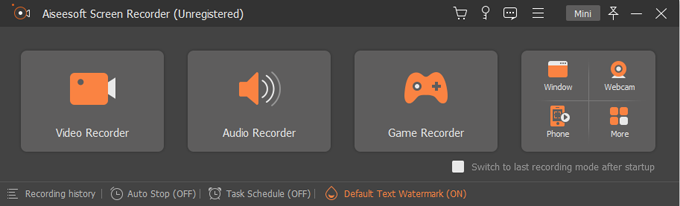
Step 1: Run the app and select Phone Recorder
Open the Screen Recorder application you'll find it comes with a extremely intuitive and user-friendly GUI interface, which provides access to all recording features.
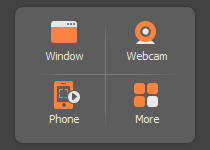
Select Phone icon in the upper right corner of the interface to capture screen activities from your iPhone or Android device.
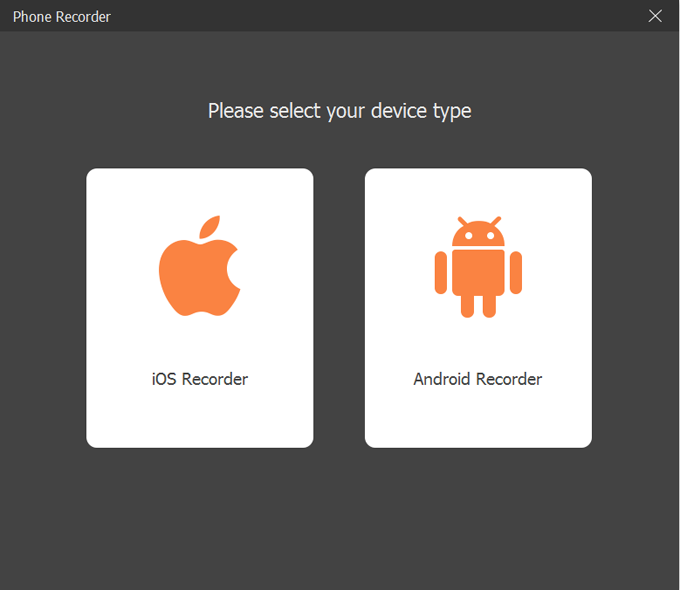
Step 2: Select from Android or iPhone
At this point, you will get a screen asking you to select from your phone. Please note that if you want to record from iPhone screen, you'll need to mirror the phone screen to the computer first.
For iPhone
1. Click iOS Recorder.
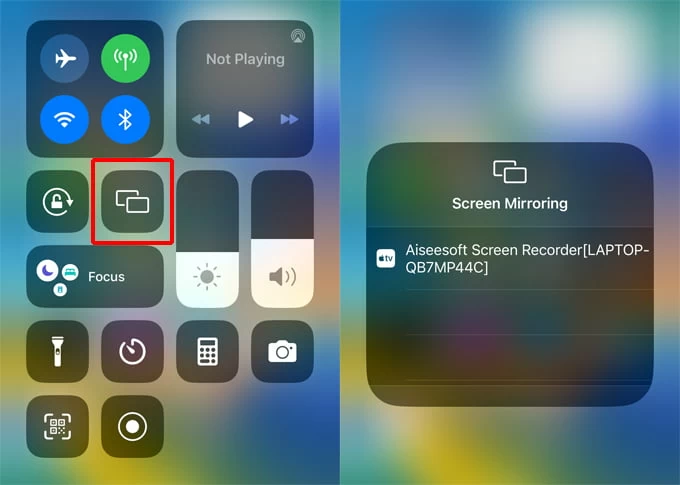
2. Follow the on-screen instructions to mirror your iPhone to computer, it's pretty easy. Do note that your device and the computer are connected to the same Wi-Fi network.
- Swipe down from the top (or swipe up from the bottom, depending on your iPhone model) to open Control Center.
- Tap Screen Mirroring icon to open the drop-down list.
- Select Screen Recorder and wait until the connection is built successfully.
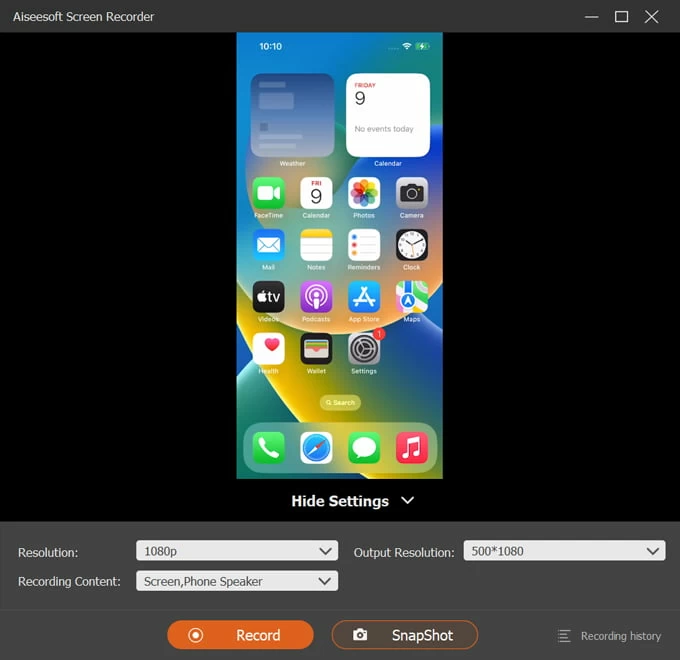
3. Once connected, you will enter the recording screen, just like the image shown below.
For Android devices
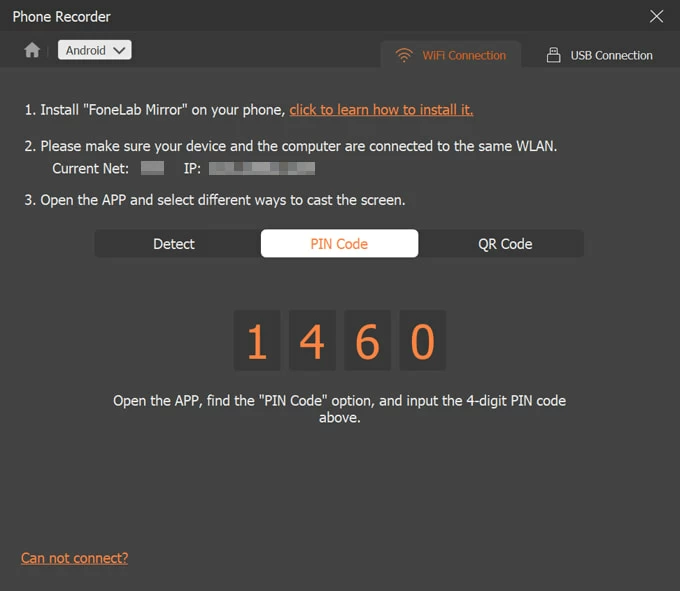
1. Click Android Recorder.
2. Follow the on-screen instructions to turn on USB debugging mode on your Android device and build connection between the software and your device. It's pretty easy.
The software enables you to two ways to build connection: Wi-Fi (PIN Code and QR Code) mode and USB mode
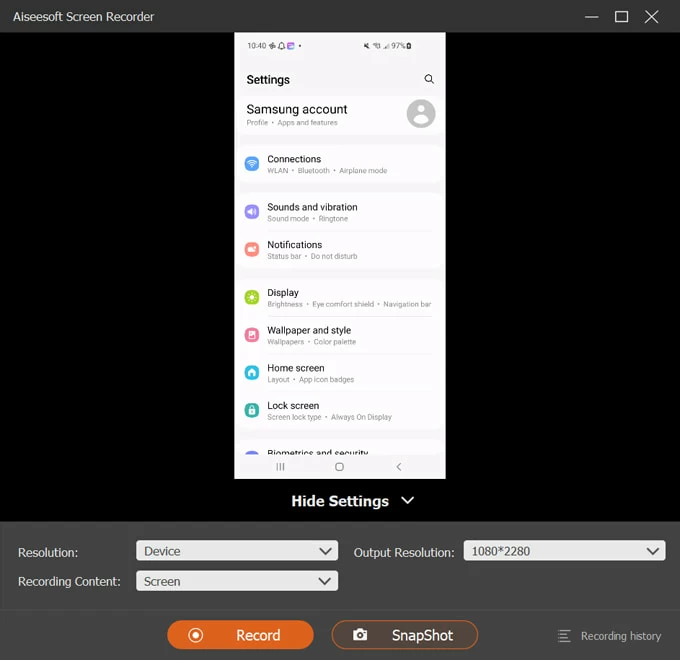
3. Once connected, you will enter the recording screen.
Step 3: Begin recording your Android or iPhone
To begin recording, click on the Record button on the bottom side of the program window. Any action you perform on the device will be recorded automatically.
A float bar will appear under the recording frame on the phone screen. You can pause and resume your recordings from the bar, and take screenshots if necessary.
Step 4: Stop recording
Once you are finished recording your phone screen, click the Stop button on the float bar to end the recording.
Step 5: Preview, edit, and save the recording
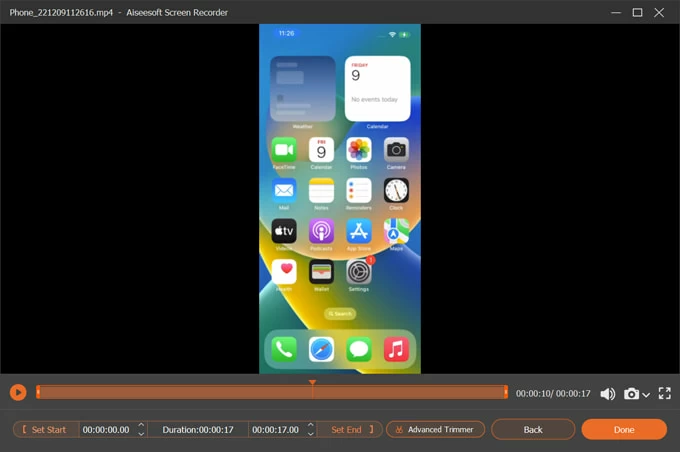
You will be prompted to preview, edit your recording before saving it.
Unless you wish to do that, choose Done button in the bottom right corner of the window to save it to your computer. And a new Recording History window will appear, showing you all of your recording logs, including recent video & audio recording and screenshots.
By default, you will output the recorded video in MP4 (H.264 + AAC) format.
Edit the video (optional)
The software comes with a basic trimming tool on the screen to help you trim the beginning and end of your video in the preview window (see image above). You can cut your video in 3 ways:
- Click the Set Start option on the trimming bar, then slide the beginning to the correct location in preview bar. The same goes for Set End.
- Enter the accurate time in the beginning and end field.
- Use the down or up arrow to fine-tune the beginning and end time.
You can also click the Advanced Trimmer button near the Set End to have a further editing on the video such as splitting the video into multiple parts, merging several clips into a big one, set output formats, etc.
Tip: Alternatively, you can click the Recording History option located in the lower left corner of the program main screen to see your recordings history.
Tips and Tricks
iPhone recording settings
There are several options available to configure the recording settings before you begin to record your iPhone and iPad. You can find those settings when your phone is connected with the software in Step 2 above.
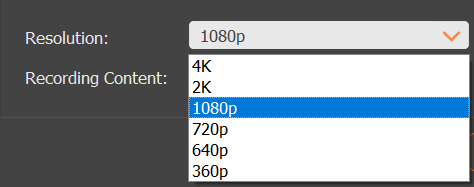
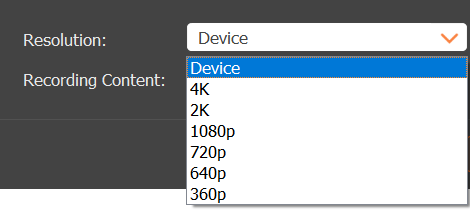
Resolution:
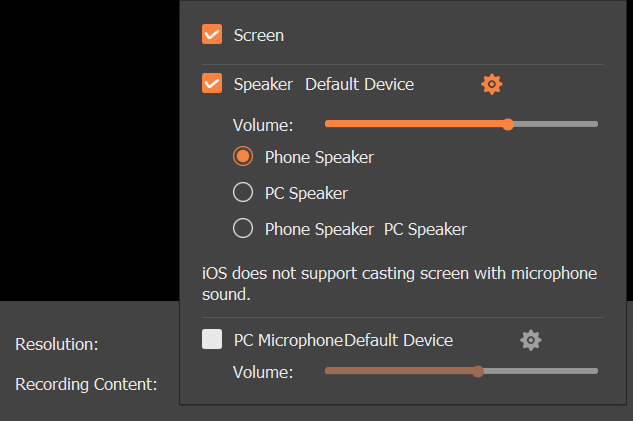
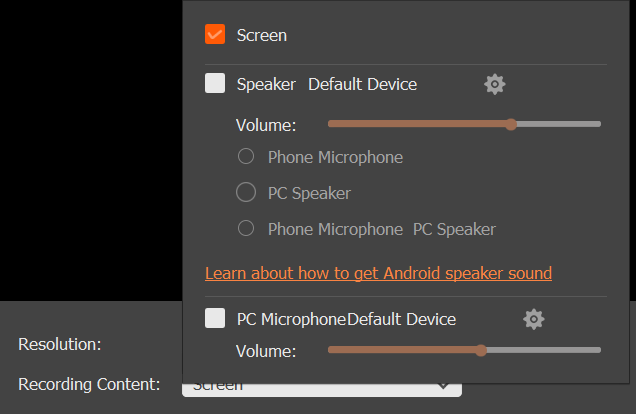
Recording Content:
You can choose record the audio from either phone speaker or PC speaker, or both.
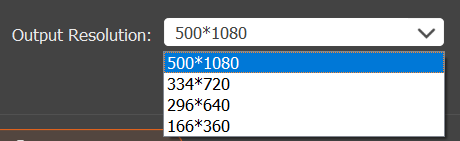
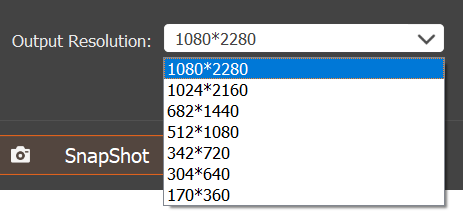
Output Resolution:
Android recording settings
Resolution:
Recording Content:
Output Resolution:
More...
The Screen Recorder application gives you various of settings that can be tweaked for recording.
See recording settings.
Also, you're able to tweak screen recorder preferences, including Recording, Output, Sound, Camera, Mouse and Keystroke, Hotkeys and more.
See Screen Recorder Preferences.