How to access iPhone photos on PC

Do you want to access iPhone files on Mac? Say goodbye to complicated file transfers! Let's learn how to access files on iPhone from Mac using these 4 simple ways.

In today's digital age, iPhones have become an integral part of our lives, storing a plethora of important files and data. However, when it comes to accessing iPhone files on Mac, many users find themselves at a loss. Fortunately, there are several ways to access iPhone files on Mac, allowing for seamless file transfer and management.
In this article, we will explore four different methods that will enable you to effortlessly browse your iPhone files on Mac. Whether you are a tech-savvy individual or a novice user, these methods will cater to your needs and ensure a hassle-free experience. So, let's dive in and discover how to access and view iPhone files on Mac!
![]()
You will learn 4 ways to access iPhone files on Mac in this article.
Tip: If you want to quickly access iPhone files on Mac, then iPhone Data Transfer is your best choice. It can not only identify all files on iPhone, classify your files, but also perform file transfer from iPhone to Mac, Mac to iPhone.
Table of Contents
The seamless integration between Apple devices has always been one of the key selling points for users of the Apple ecosystem. If you are a Mac user and own an iPhone, you may have wondered how to access files on iPhone from Mac. Fortunately, with the help of Finder, Apple's default file management app, you can easily browse iPhone files on Mac.
If you want to know how to access iOS files on Mac using Finder, then you should have macOS Catalina or later, an iPhone with the latest version of iOS or iPadOS, and an iOS or iPadOS app that works with file sharing.
Here are the steps to access iPhone files on Mac via Finder.
Step 1: Connect your iPhone to your Mac using a USB cable.
Step 2: Open a new Finder window by clicking on the Finder icon in the Dock.
Step 3: In the sidebar of the Finder window, you should see your iPhone listed under the Locations section. Click on it to access your iPhone's files.
Step 4: All files on iPhone will be displayed on the right pane. You can click various file type options, such as Photos, Music, Books, Podcasts, etc. to view various files on iPhone.
Step 5: To browse iOS files on Mac, simply drag and drop them from the Finder window to your desired location on your Mac's hard drive.
Step 6: To copy files from your Mac to your iPhone, locate the file on your Mac's hard drive, then drag and drop it into the desired folder on your iPhone in the Finder window.
Are you looking for a way to access iPhone files on pc without iTunes? Look no further! With a safe and efficient iPhone Data Transfer tool, accessing files on iPhone has never been easier. With its user-friendly interface and reliable performance, it ensures hassle-free data transfer without any data loss or compatibility issues.
Whether you want to transfer photos, videos, contacts, or any other type of data, this step-by-step guide will walk you through the process, ensuring a seamless and efficient transfer.
Main Features:
To access iPhone files on Mac with iPhone Data Transfer, simply click the following button to download and install this tool. Then launch it.
Step 1: Attach iPhone to your Mac using the USB cable, then it will detect your device and display its information.
![]()
Step 2: Click on the menu bar on the left, you will see various file categories such as Music, Photos, Videos, Contacts, Messages, etc.
Step 3: Select the file category you want to access on your Mac, for example, Photos. The main interface of the software will then display all the photos inside your iPhone.

Step 4: You can now browse and access iPhone photos on Mac. You can also transfer photos from your iPhone to your Mac by selecting the photos and clicking on the Export to PC button.

Tip: To access other file categories, just click the appropriate tab on the left menu bar and follow the same steps.
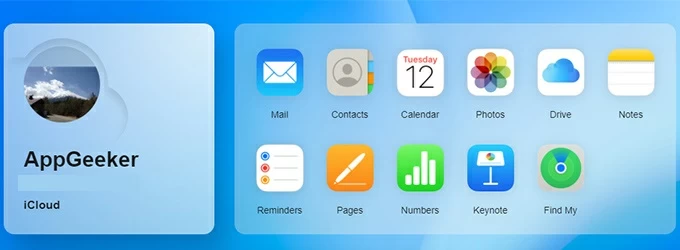
iCloud is a powerful cloud storage service provided by Apple that allows users to store and access their files across multiple devices, including iPhone and Mac.
With iCloud, you can easily browse iPhone files on Mac without the need for any physical connection or transferring files manually. This seamless integration between devices makes it convenient to access your files, photos, videos, and documents from anywhere, anytime.
To view iPhone files on Mac via iCloud, follow these steps:
Step 1: Ensure that you have signed in to the same iCloud account on both your iPhone and Mac.
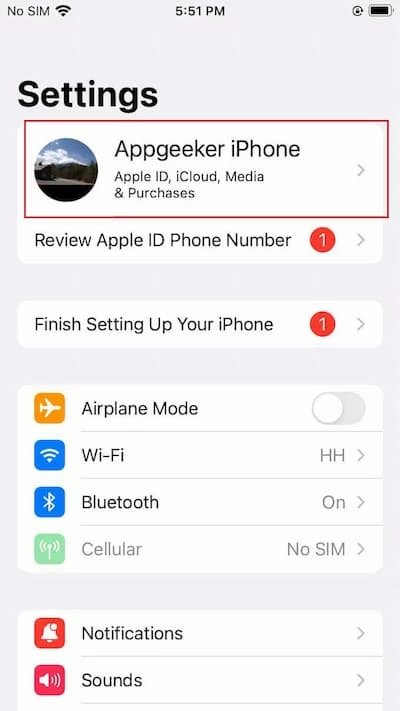
Step 2: On your iPhone, go to Settings and tap on your Apple ID at the top of the screen.
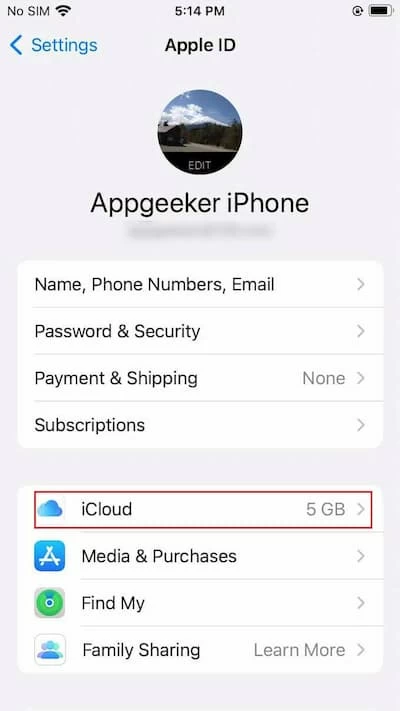
Step 3: Tap on iCloud and make sure that the apps whose files you want to view on your Mac are enabled for iCloud syncing.
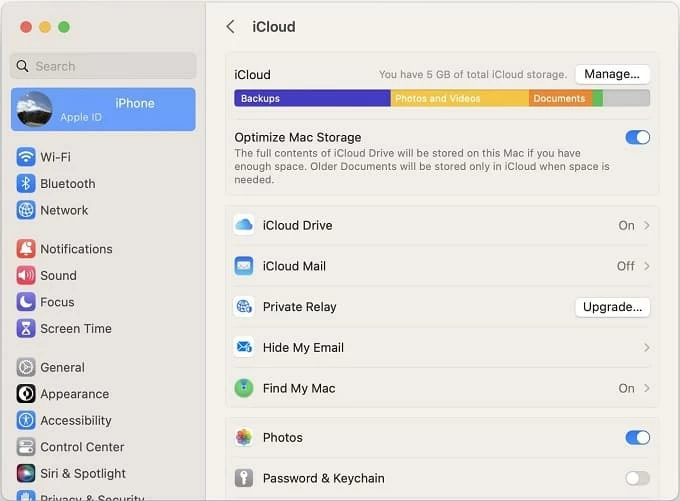
Step 4: On your Mac, click on the Apple menu at the top-left corner of the screen and select System Settings. Then click on Apple ID.
Step 5: Click on iCloud on the left sidebar. Ensure that the checkboxes next to the apps whose files you want to access are enabled.
Step 6: Now you can open apps that have enabled iCloud synchronization, such as photos, calendars, mail, contacts, etc., and browse them on your Mac.
Tip: You can also enable iCloud Drive in iCloud, then navigate to the corresponding app folder within iCloud Drive to view a specific app's files. But this cloud service is only available on iPhones or iPads running iOS 13 or later.
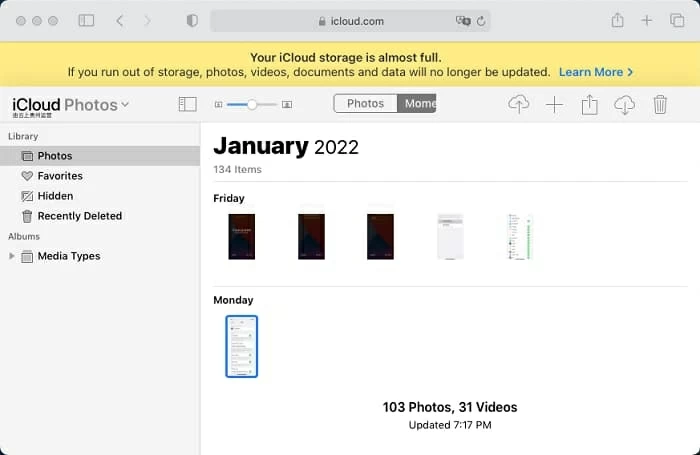
You can also access iPhone files on Mac through the iCloud web page. The specific steps are as follows.
Step 1: Open any browser on your Mac and go to the iCloud website.
Step 2: Sign in with the same Apple ID and password as your iPhone.
Step 3: On the main interface of iCloud, you can see icons of various apps, click on any app you want to view on your Mac.
Step 4: You can click the file to preview it, or click the download button (down arrow) to download it to your Mac.
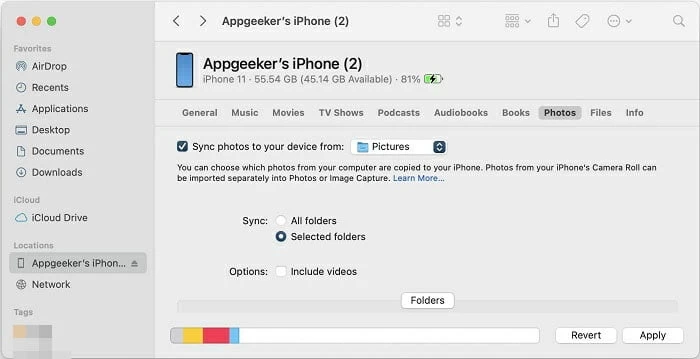
iTunes is primarily used for managing music and other media files, but it also allows you to browse and access files stored on your iPhone directly from your Mac. This feature comes in handy when you need to transfer files, back up important data, or just organize the contents of your iPhone.
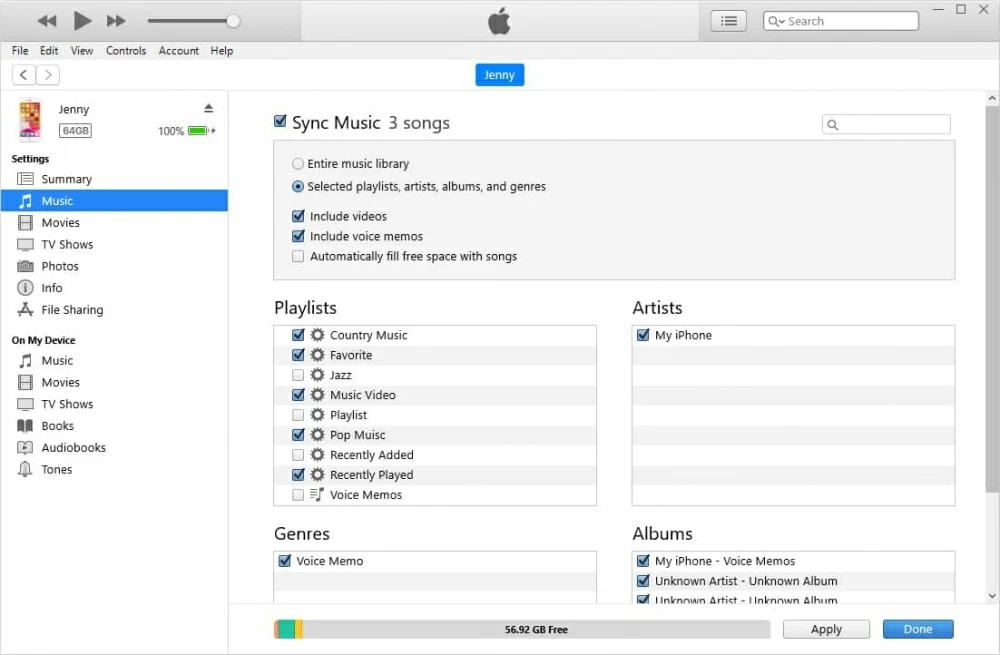
Step 1: Connect your iPhone to your Mac using a USB cable. Then launch iTunes on your Mac.
Step 2: Click on the device icon that appears in the upper-left corner of the iTunes window. This will open the Summary page for your iPhone.
![]()
Step 3: You will see different categories like Music, Movies, TV Shows, audiobooks, etc. Click on the category that corresponds to the type of file you want to browse.
It is believed that through the above four ways, you have mastered how to access iPhone files on Mac. For the fastest way to solve your problem, we recommend that you get iPhone Data Transfer for free and use it to access your iPhone files on your Mac.
We can take advantage of Finder app on Mac to access iPhone system files. Here are the specific steps.
iOS files on a Mac refer to the files and data associated with iOS devices such as iPhones and iPads. When you connect an iOS device to a Mac, it creates a connection and allows you to manage the device's files and data using the macOS operating system.
Some common iOS files on a Mac include:
If iPhone photos don't appear on your Macbook, make sure iCloud Photos is enabled, which makes your iPhone photos available on all your devices. If you've set up iCloud Photos on your Mac, there's no need to import or transfer photos from your iPhone.
Besides, make sure that both your iPhone and MacBook are running the latest software updates. Older versions of macOS or iOS may not be fully compatible with each other, leading to issues with accessing photos.