
How to Copy a DVD and Upload onto iPad Via iTunes


See more about: All-in-one Blu-ray Converter to Convert Blu-ray & DVD & Video & Audio to format you need
I was wondering if someone could help me with a problem I am having with copying DVD to Windows Movie Maker? I need to get a short video clip from DVD and edit in Windows Movie Maker for my presentation. When I trying to import the DVD into WMM, it fails to read the disc. Any help?
Windows Movie Maker (WMM) is the video editing software manufactured by Microsoft and is available for free. It allows you to create and edit home movies, photo albums and business presentations. The accepted video formats for import in Windows Movie Maker project are WMV, ASF, MPG, AVI.
If you have a home-made DVD and want to extract the .vob clips from the DVD VIDEO_TS folder to add them to Windows Movie Maker timeline, you can simply copy them to a folder on your hard drive, and rename the .VOB files to a compatible format Windows Movie Maker can import. However, how about commercial DVDs?
As the DVD files you need for editing in Windows Movie Maker are copy protected, you'll need to use a program to handle decryption duties—whether you're on OS X or Windows, and convert it in either WMV (preferred) or other formats your WMM can work with, then you can import the DVD video file into Windows Movie Maker for editing purposes. To do that, we will use DVD Ripper.
The program doesn't requires you to have another software installed on your computer to strip copy protection used in commercial DVDs - it decrypts DVD as well converts DVD file to Windows Movie Maker supported WMV and any other formats in one place. At the same time, you can tweak the video settings and edit them manually. This could be useful if you want to convert video that will look good for your particular needs.
Mac users have a lot of DVD Ripping software options, and here we suggest DVD Ripper for Mac.
Step 1
Now, we're going to assume that you've installed the right version of this DVD Ripper for your platform of choice.
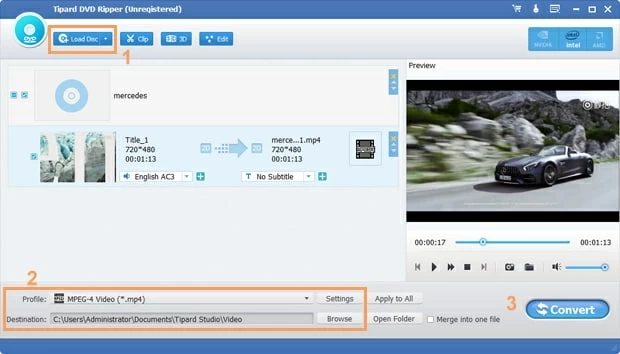
Insert the DVD you want to rip into Windows Movie Maker and then open the program. You then click on the "Load Disc" located in the top left of the window to locate and select the DVD files.
Step 2
The next thing you need to do is make sure the program is going to save your ripped DVD movie as a Windows Movie Maker friendly file such as .WMV and decide what to name the video and where to save it.
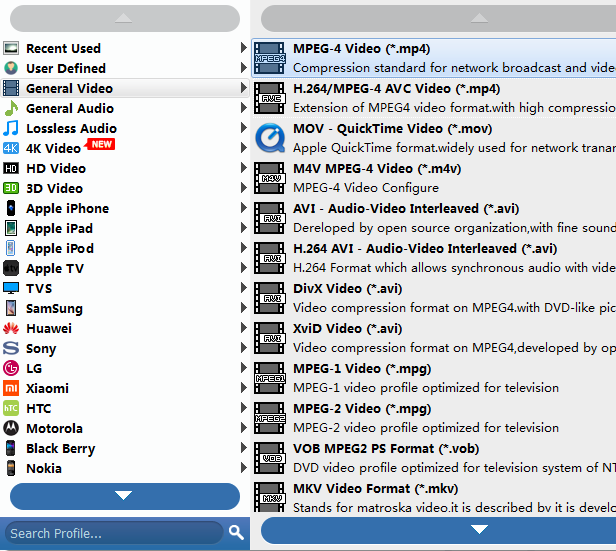
On the lower left side of the main screen, change the output format in "Profile" drop down box (see bottom left) from the default "MP4" to "WMV". Then specify a destination folder to save the resulting file. This can be done by clicking on the Bowse button to the right of "Destination" option.
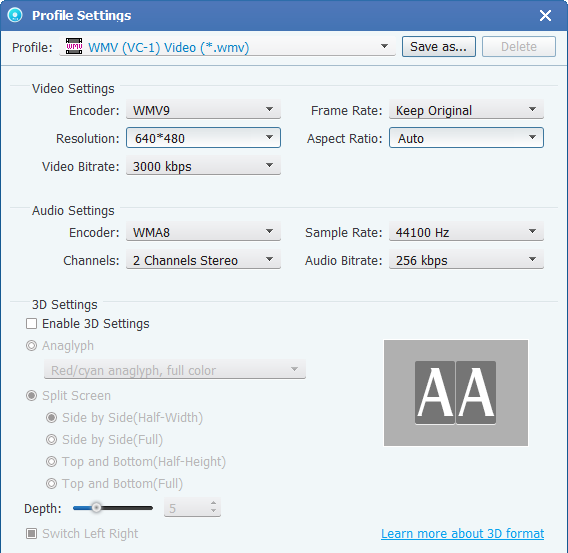
You may want to adjust encoding settings such as bit rate, frame rate, codec to produce a good-looking video, you can do this by clicking the "Settings" button next to "Profile", but for most of users, go to default.
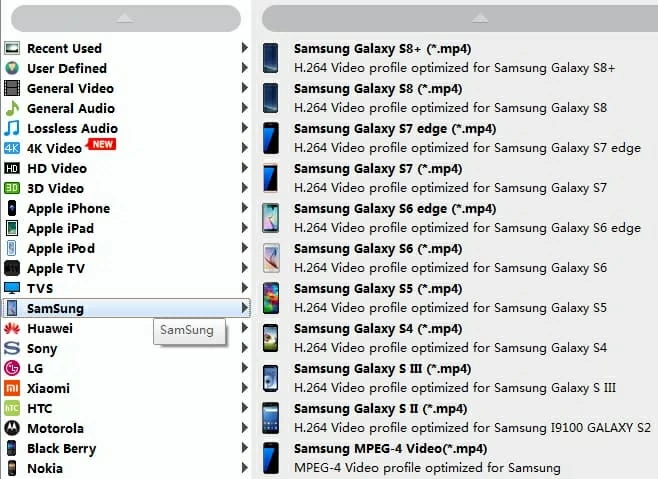
The program allows you to choose from among the ready made presets if you want to rip the video for a particular device. This will save a lot time for those who are confusing about choosing the most appropriate settings for the device of choice.
Below the top menu, there are also a few icons (Effect, Trim, Crop and Preference) across the bar. They are very useful — the app aims to make video editing as easy as possible. You can try everything yourself.
Step 3
Once you have chosen the file format, click "Convert" button on the bottom and the app will start to rip the content on your DVD to a Windows Movie Maker wmv file.
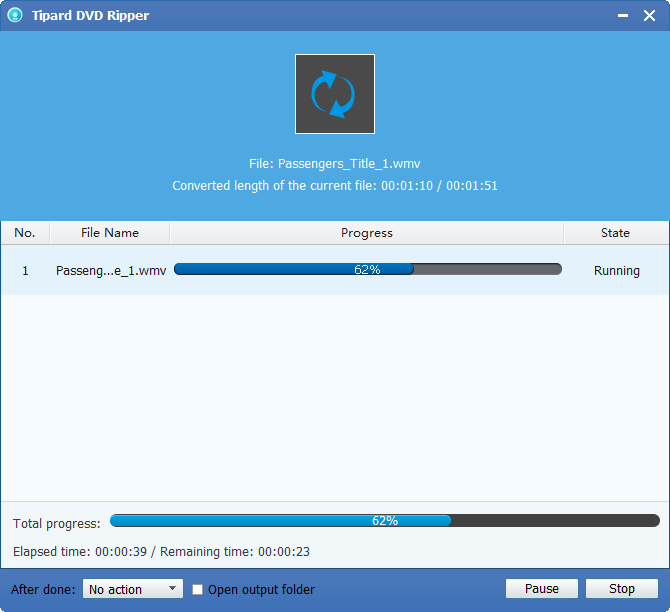
As the DVD is being ripped, you can track the progress with two green bars.
Step 4
Now, it's time to import the ripped DVD movie and edit in WMM.