
How to Put DVD File onto iMovie on Mac Lion


See more about: All-in-one Blu-ray Converter to Convert Blu-ray & DVD & Video & Audio to format you need
You might have paid a good amount of money for your DVD collections and they can get be quite bulky. Now, you may be wondering how you can get those movies from DVD to iTunes to sync with your iOS device, like an iPhone, iPad, Apple TV. Apple does not create software to allow you to copy DVD into iTunes directly. You need another third-party app to rip the DVDs to your hard disk on your computer.
Today we are going to take a look at using DVD Ripper for Mac to handle this job. It is a lean and incredibly versatile DVD ripping tool that can remove copy protection on a DVD disc and rips disc content to your hard-drive. These rips can then be stored to create backups of your media, played on media center, burnt to disc later or even exported as iTunes ready file in one click.
Aside from converting DVD to iTunes or other digital formats, there are some very nice extras in this program, such as being able to edit the video to produce good-looking result, adjust the conversion settings.
If you are running a PC and want to put DVD to iTunes library, please go and get its Windows version — DVD Ripper for Windows.
Step 1: Import DVD disc
Once you've launched the program, get the DVD and insert it into your computer. Click Load Disc icon on the main menu to open DVD, or drag-and-drop DVD files into program window.
Here you will see a thumbnail of the contents of DVD in the left pane with relative information such as file name, file size, original format, resolution, length and subtitle.
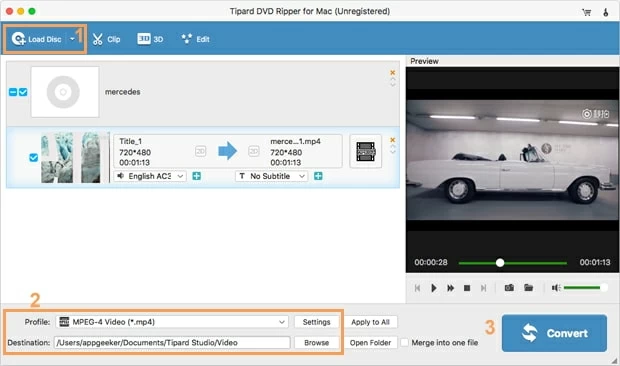
Step 2: Configure output settings
iTunes supports QuickTime and MPEG-4 movie files that end in ".mov", ".m4v", or ".mp4" file extension.
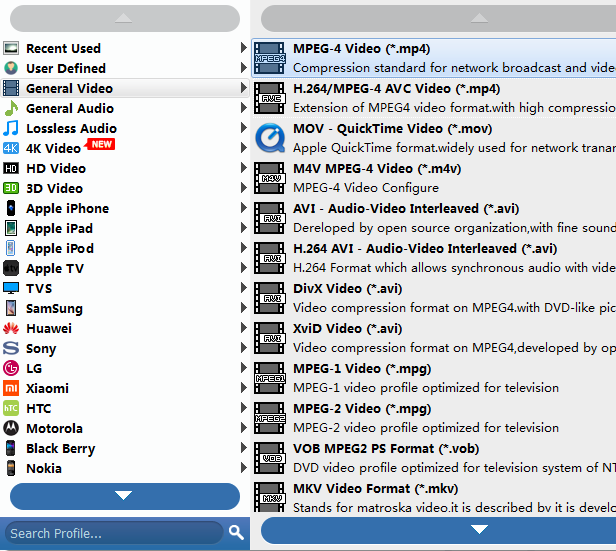
Click on the Profile drop-down menu on the lower left side of the window and it will bring up a drop-down panel where there are a huge number of output file types you can choose from.
In our case, go to General Video category, then select a profile as output file, such as: MPEG-4 Video (*.mp4), MOV - QuickTime Video (*.mov), M4V MPEG-4 Video (*.m4v).
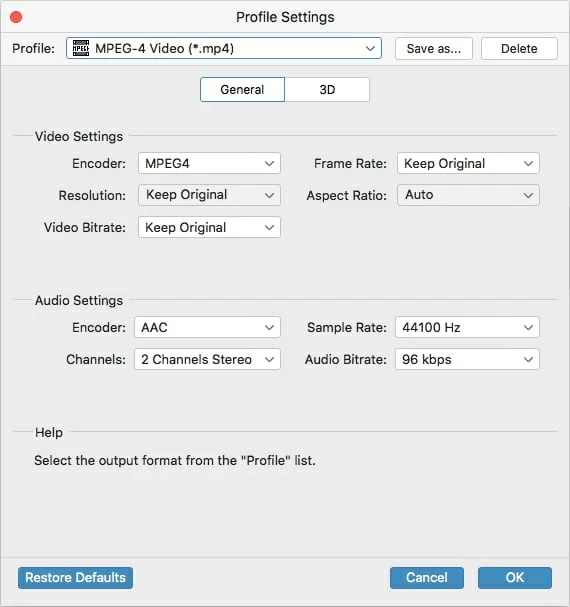
There are an array of tweaking options can be manually handled by clicking the Settings button next to Profile menu. You can make changes at this point such as video codec, aspect ratio or video size.
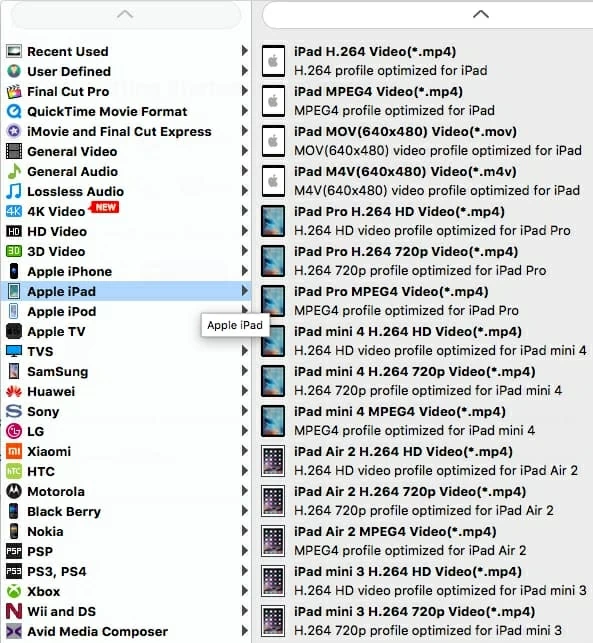
Alternatively, you may also choose the ready presets for iPhone, iPad, iPod, Apple TV and other popular media player in the presets list to the left, and this Mac DVD to iTunes tool will automatically simplify the process of choose the output settings.
Step 3: DVD Conversion
Now we are ready for the ripping. Click the Convert button at the bottom-right of the screen to begin the DVD to iTunes ripping process. A progress bar will display how far along you are in the process, and when the conversion is complete you will see the succeeded status displayed.
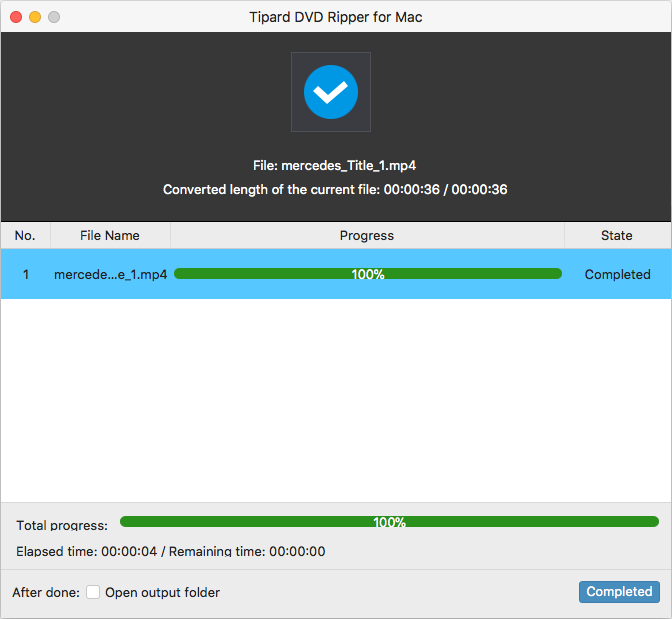
Typical ripping time may be around a few minutes, but will vary depending on your hardware of computer, output parameters you set, and size of the disc.
Step 4: Copy ripped movies from disc to iTunes Library
All that remains is to start iTunes. Choose File -> Add to Library and then select the file or folder you want to add, or drag the files into the appropriate icon. iTunes will automatically add it to your library.
Now you are ready to sync MP4 file onto your iOS device. Have fun!
More Related to DVD to iTunes Conversion