How to Convert AVI Movies and Play on QuickTime


Are you looking for a simple solution of loading AVI to iTunes library (top 5 iTunes replacements), or even want to convert them to work on your iOS Devices like iPhone or iPad? AVI is a common video format widely used on Windows platform, but it cannot be supported by Apple iTunes (Mac applications only accept avi files format with Motion JPEG (M-JPEG) up to 35 Mbps, 1280 by 720 pixels, 30 frames per second, audio in ulaw, PCM stereo audio). Today we take a look at what might be the easiest way to convert those unaccepted AVI files to iTunes supported format (MOV/MP4/M4V) effortlessly.
Since iTunes only accepts MOV, MP4, and M4V formats, to compress .avi and add to iTunes and then transfer to iPad and other iOS devices, you will need an omnipotent video converter that can convert AVI to iTunes compatible formats. Video Converter for Mac is just such a video converter you need, which comes with super high conversion speed and keep the output files in good quality simultaneously. Out of the box, the software supports over 180 different video & audio formats and can easily convert between them without a hitch.
If you running a Windows computer and looking for a solution for converting file format from AVI to pretty much any other video file, please check out Video Converter for Windows.
Read Next: How to add MTS footage to your iTunes Library
Step 1: Import AVI videos
Start up the Video Converter, you will find that the home screen is simple and clear, icons on the toolbar reflect their function and attach descriptive text on the right side so you're unlikely to get lost.
Drag & drop the AVI files to the converter, or click the common "Add File" button to open the file browser window and locate the AVI files you want to add.
Batch conversion is available, so you can add multiple files to the queue and convert them at one time. You can even combine several files into one by clicking "Merge" button.

Step 2: Select iTunes supported files as the output format
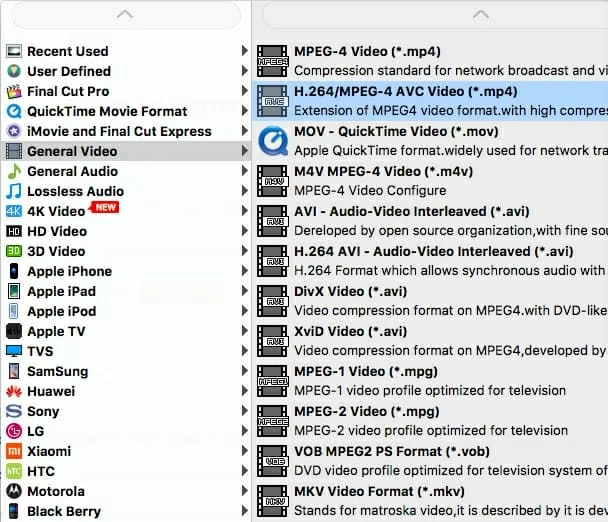
Now select a format to which you want to convert the AVI video. Click "Profile" drop-down menu to open the format list, and then choose a format (mp4, mov, m4v) from "General Video" category.
The app allows users to have a basic amount of control over output parameters which they may like or require such as bitrate, resolution, quality, codec.
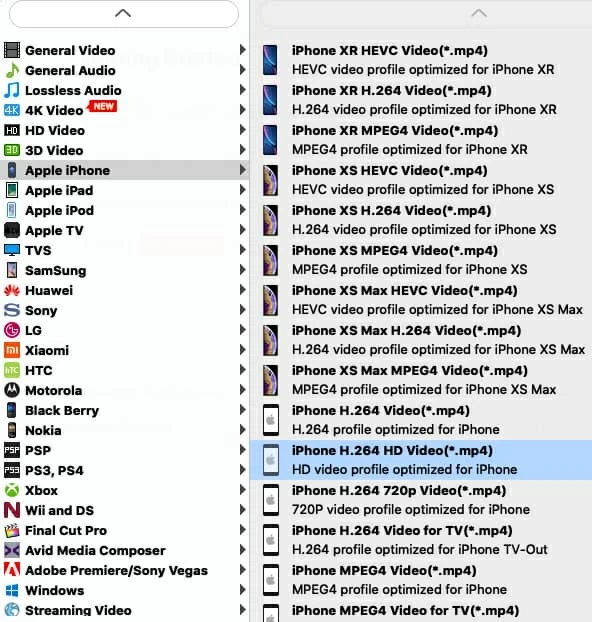
Keep in mind here I am converting the AVI to iTunes specific file format. If you're converting the AVI file for Apple devices like iPad, iPod, iPhone, you can choose the "Apple iPad/iPhone/TV" from the presets list on the left. The program includes various pre-configured profiles that will simplify the process of choosing conversion settings.
Step 3: Start converting AVI to iTunes file
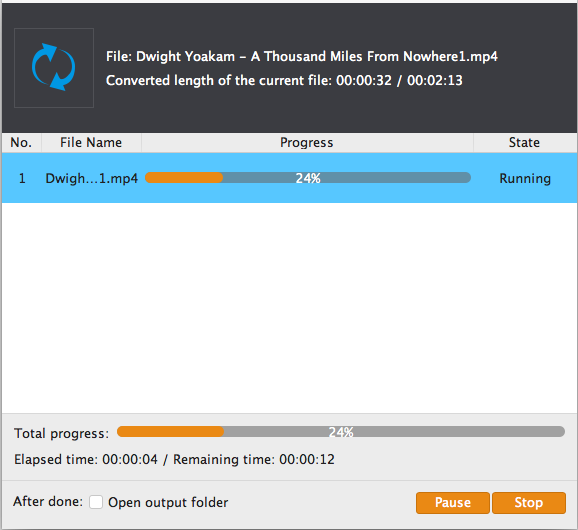
When you are ready to encode, click the "Convert" button on the lower right corner of the interface, and this AVI converter for Mac will begin encoding all queued AVI video files. You can track the conversion status (see blue bar) at the same time.
Here you can have the folder storing your output files automatically opened by ticking the "Open output folder when conversion completed" option at the end of the screen.
Step 4: Import files into iTunes
That's it. After encoding process has finished successfully, go into the destination directory and drop the converted files into iTunes or use the "Add to Library" option on the "File" menu. Once all this is done, sync your iOS device with iTunes and your videos will be ready to play, enjoy them!
More Related to AVI to iTunes Conversion