How to Back iPhone Notes Up


iPhone get lost or damaged all the time. Before your iPhone X/ XS (Max) abandons you, making regular backups of the device is a decent way to ensure that the data inside it is still available. While you can back up these data to cloud server or to hard drive on computer through Apple's iCloud or iTunes & Finder, another convenient alternative is to use external hard drive.
Backing iPhone X/ XS (Max) to external hard drive has its benefits. Unlike iCloud, which provides you with only 5 GB of free space, external drives are cheap nowadays and always possess large storage, making it really ideal for storing large files. In particular, backup files saved on the drive can be always accessible as long as the drive is physically nearby.
Let's have a look at how to back up iPhone X/ XS (Max) data to an external hard drive. In this article, we'll feature two of the best ways for iPhone backup on external hard drive.
Option 1: Back up iPhone X/ XS (Max) to external HDD with Fonelab
This is a perfect way to start your backup work. Fonelab (iOS Data Backup & Restore) wins among most software when it comes to iOS backup. This reliable tool allows you to seamlessly back up iPhone, iPad and iPod stuff to internal drive on Mac or PC machines, as well as an external HDD. It supports the backup of just about everything on your iPhone: Contacts, Messages, iMessages, Call history, Calendar, Notes, Safari bookmark, Safari history, WhatsApp, Camera Roll, Voice memos, App videos & audios, Documents, or just certain kinds of files.
Getting iPhone X (XS, Max) data backed up to external hard drive using Fonelab is straightforward and quick, Here's how to do that.
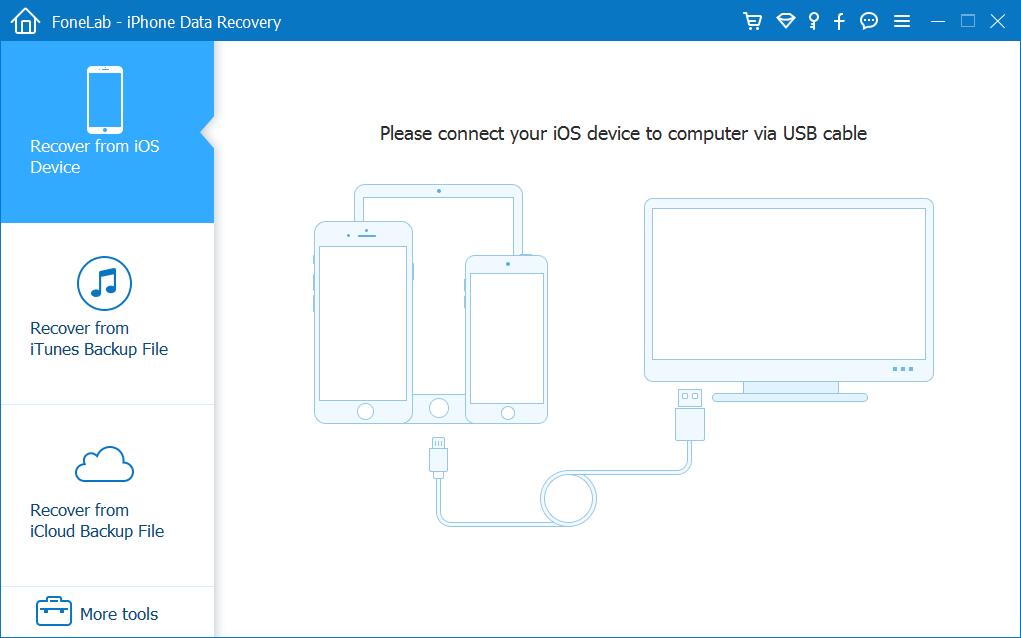
Step 1: Connect iPhone to computer and run the utility
Connect your both iPhone and external hard drive to the computer.
Run the program, and choose "More tools" tab from the lower left side of the interface.
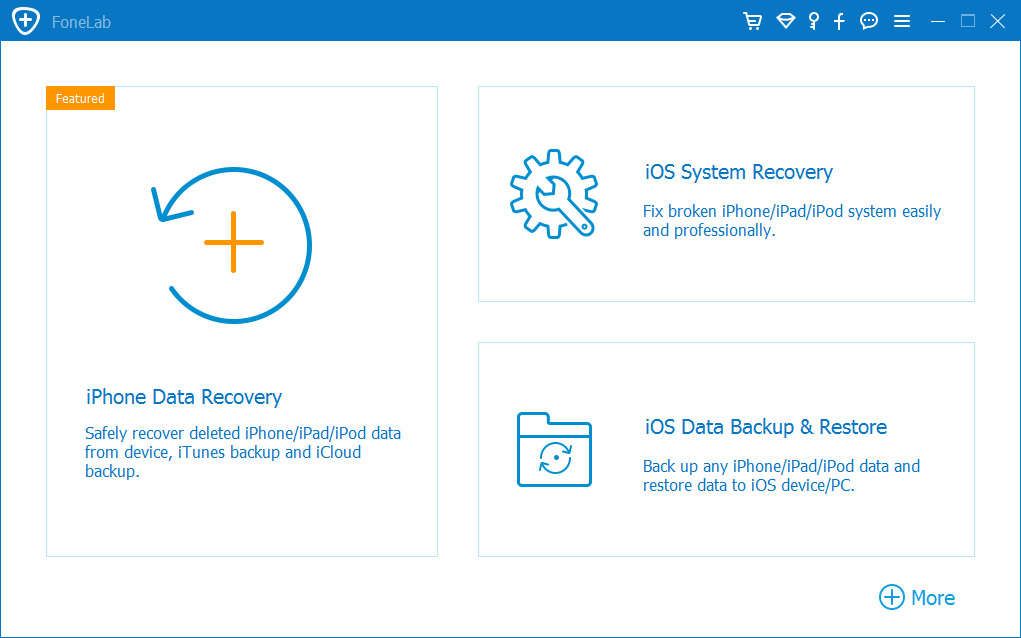
Next, select "iOS Data Backup & Restore".
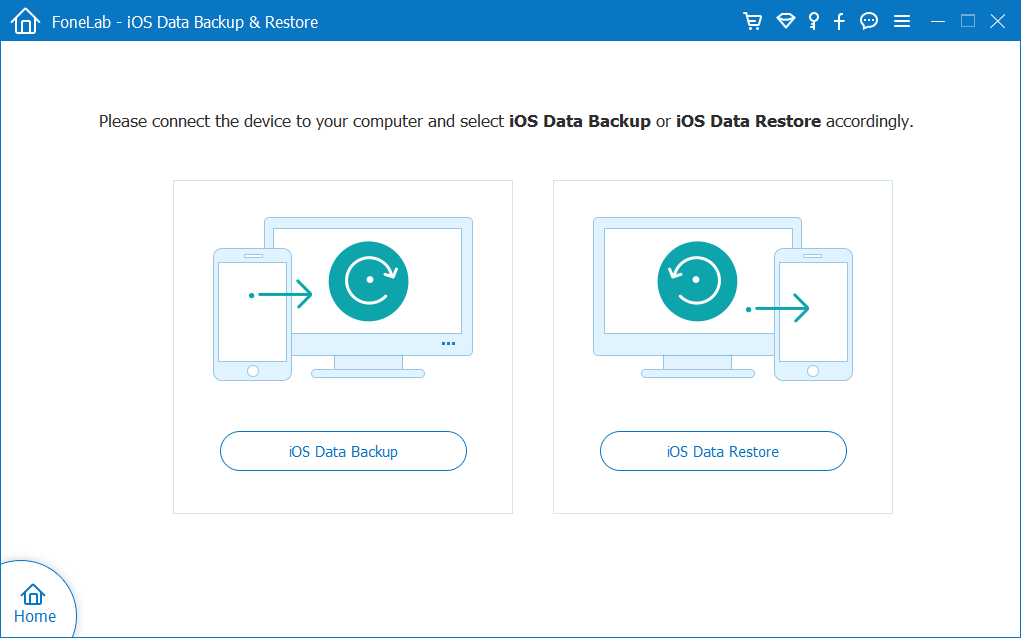
Then select "iOS Data Backup" option.
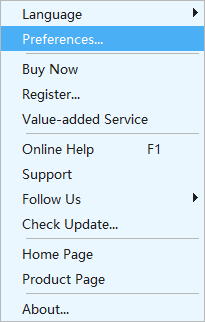
Go on and move mouse over to the top right corner of the screen, select the icon with three horizontal lines to enter settings screen.
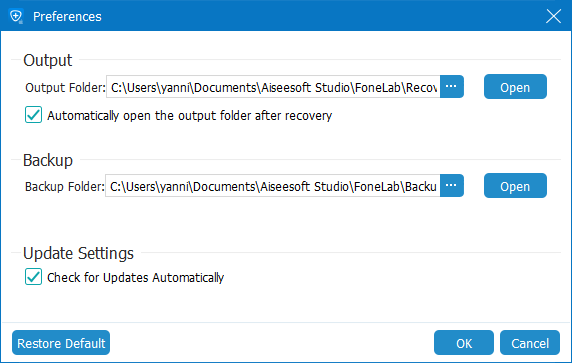
Click "Preferences".
In the opening dialog box, select a path to save backup file. In this case, we'll be backing up iPhone XS to an external HDD, so here click the three dot icon, navigate to the drive where your external HDD locates and specify the (or create a new) folder. When it is done, click on "OK".
Step 2: Select the kinds of files
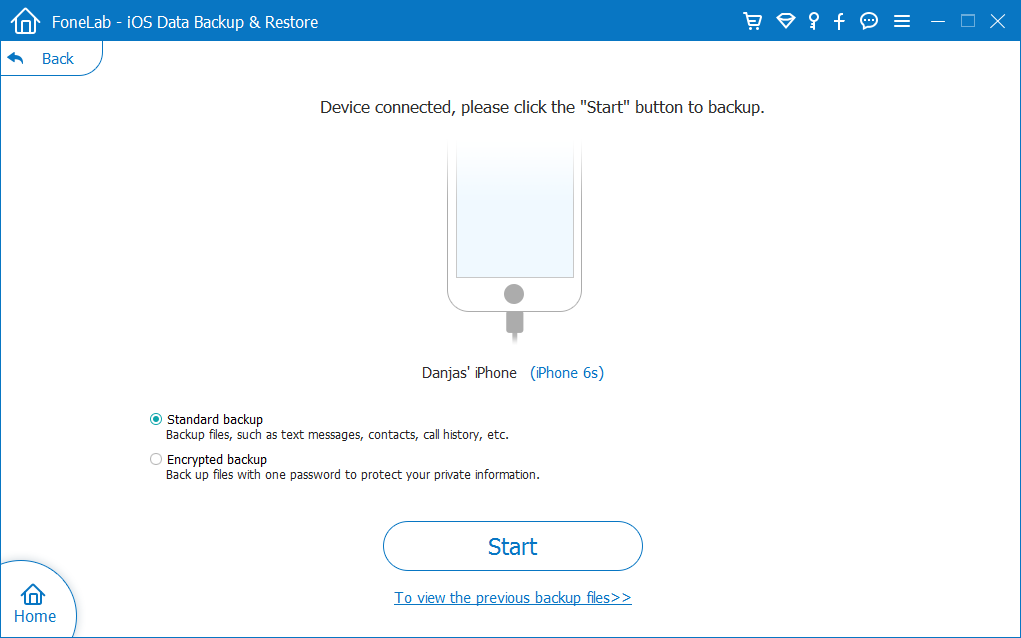
In the next screen that presents, there're two options available for you to choose from: "Standard backup" & "Encrypted backup".
You can keep the backup file in a normal access level with "Standard backup", or protect it with a password using "Encrypted backup" option instead.
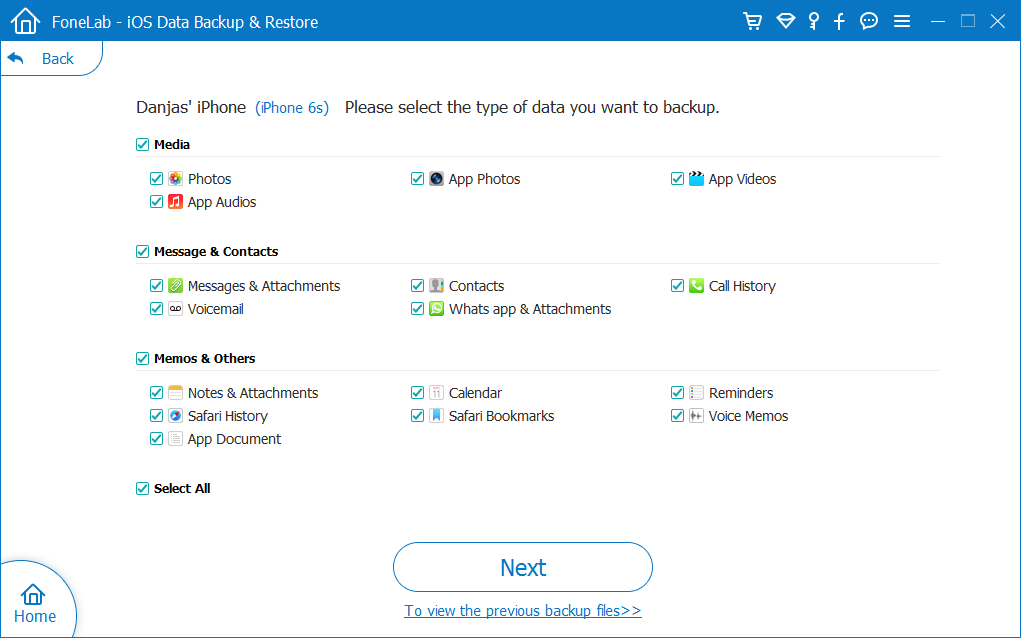
After that, you will get into a window which requires you to select what kinds of files to back up.
Also Reading: How to Back Up iPhone 7 (Plus) without iCloud
Step 3: Back up iPhone XS (Max) data to external HDD
When you've selected the types of data, click the "Next" button to initiate the iPhone X to external hard drive backup process instantly.
Option 2: Back up iPhone X/ XS (Max) to external hard drive with iTunes
If you've been used to backing up your iPhone through iTunes, you can also back up iPhone X/ XS directly to an external hard drive when you perform backups with iTunes — by changing the default backup location. This will involve command prompts, but it's not difficult.
On a Mac with macOS Catalina 10.15 and later:
Set symlink to back up on the external drive
On a PC or a Mac with macOS Mojave 10.14 and earlier:
Connect external drive to the computer and locate the original backup.
Point iTunes backup to the library on the external hard drive.
After all these settings are completed, your backup file will be saved at the folder of your external hard drive as long as you back up iPhone with iTunes.


