How to Use iTransfer: Toolbox

Rob Parsons Updated on Sep 12, 2025 3:47 PM
iTransfer (download link: for Mac, for PC) is a robust and full-featured utility that makes it easy to manage and transfer contents amongst your iOS devices, Android devices, iTunes and computer. It does everything from migration of media content between your mobile devices and computer all the way through to rebuilding your entire iTunes library, to creating, deleting, renaming playlists, fixing music ID3 tags and moving tracks from one playlist to another on your iPhone library, and even to rooting your Android phones and more.
Now, we will show you how to manage and transfer your different types of media files respectively. Click any article on the list below to get into the detailed instructions. Note that the process is exactly the same whether you own a Windows PC or a Mac.
Part 2: Toolbox
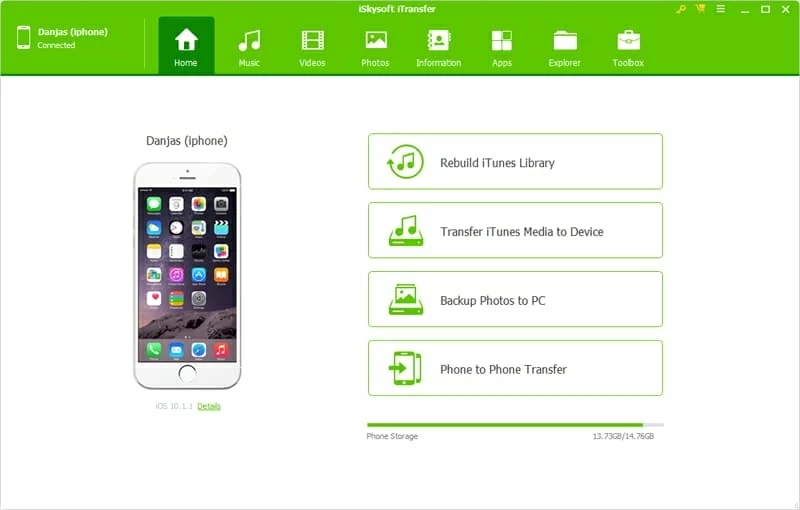
Launch the software, attach your device with the computer via USB cable. You phone should appears on the upper left corner of the main interface.
Next, click on the Toolbox button on the top menu, this will bring up its window like this:
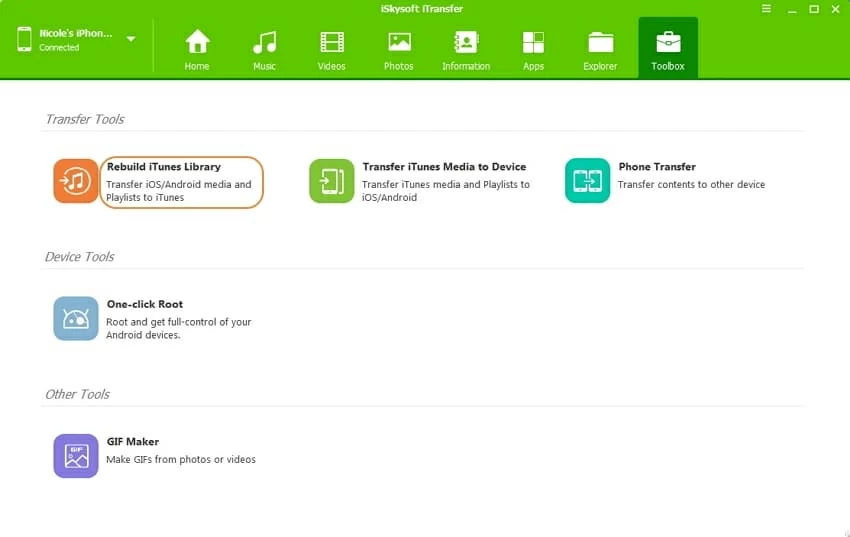
Transfer Tools
There are three tools available: "Rebuild iTunes Library", "Transfer iTunes Media to Device", "Phone Transfer". Since we've covered these 3 tools in the previous article, you can refer to Shortcuts: one-click to Transfer to get more information.
Device Tools
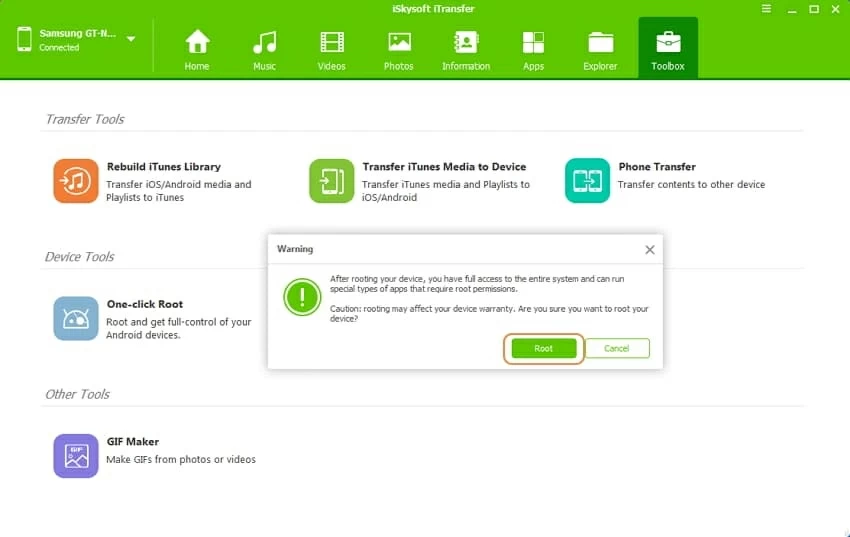
One-click to Root: this tool only works for Android devices, and it only comes up when you select an Android device from the upper left corner of the interface.
- Click on "One-Click Root" option, click Root button to confirm the warning message.
- It will start rooting your Android device. This may a while, be patient.
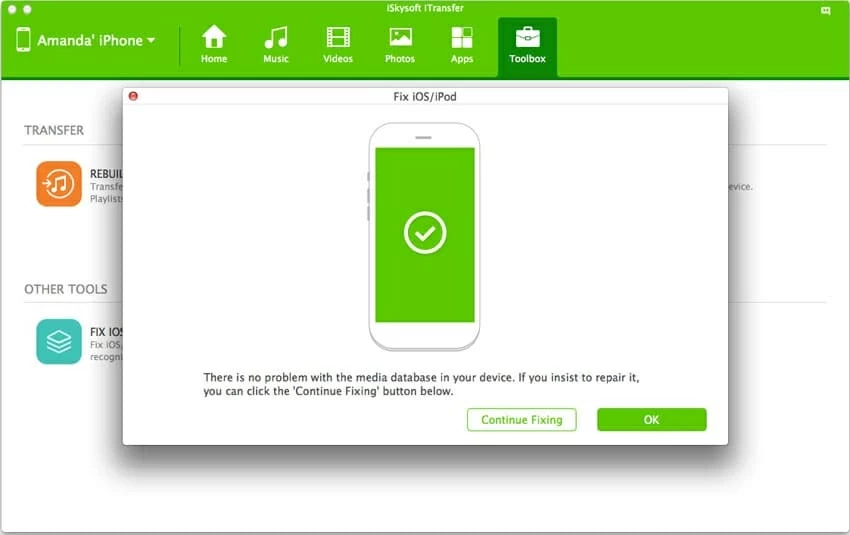
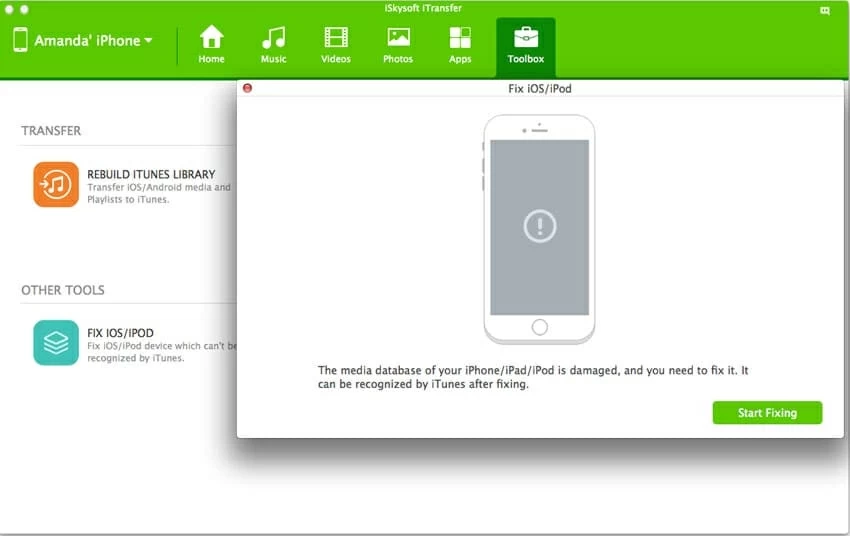
Fix iOS/iPod: this tool only works for iOS devices, and it only comes up when you select an iOS device from the upper left corner of the interface.
- Click on "Fix iOS/iPod" option.
- On the pop up window, click Start Repair button to let the software scan and identify the problems. After then, you might see the one of the 2 prompts according to your device situation: 1) The database is in normal situation; 2) The media database was damaged.
- For situation 1, you can continue the fixing or let it go.
- For situation 2, you're supposed to click Start Repair to let the software fix the issue for you.
Other Tools
GIF Maker: it converts Photos/Videos from your local computer to GIF file(s), you don't need to connect any iOS & Android devices with your computer for this feature, but you need to install a program which enables you to view GIF pictures.
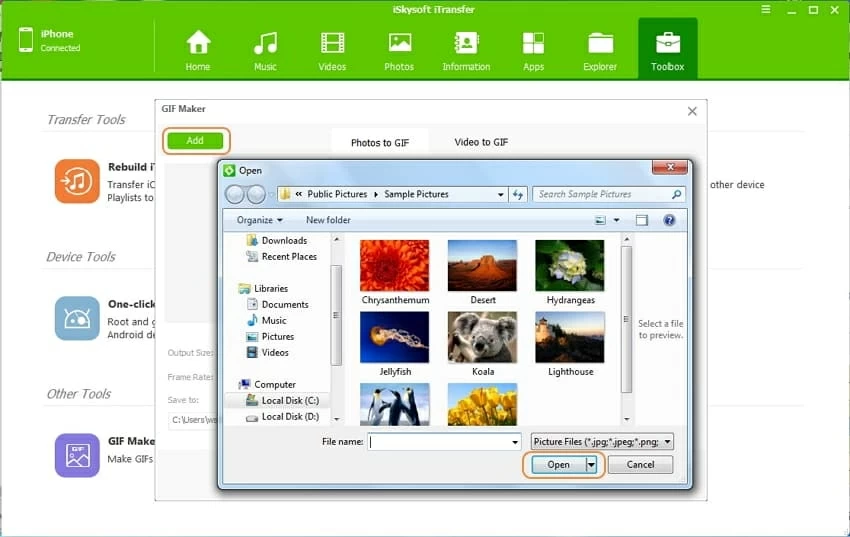
1) Convert Photos on your computer to GIF
- Click on the "GIF Maker" option
- On its opening window, click Add button on the top left to browse and select the photos you want to convert from your PC or Mac, multiple photos are supported. Click Open to proceed.
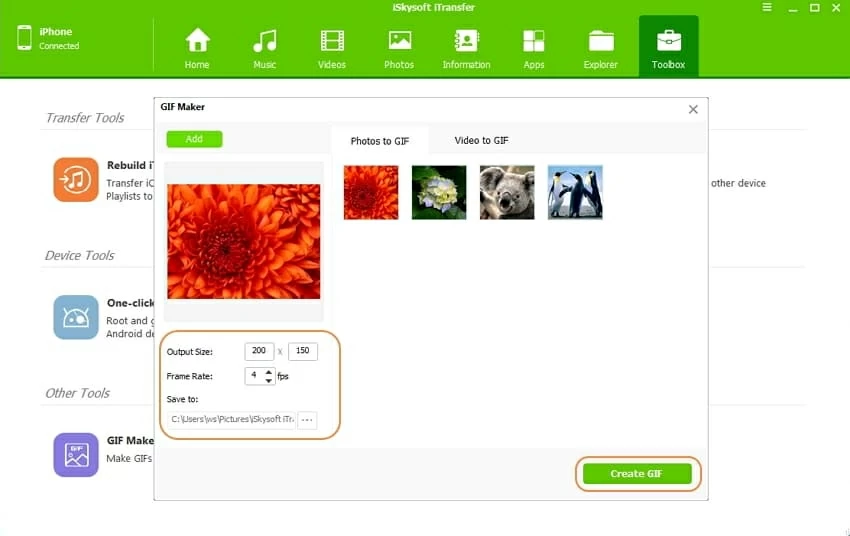
- Set the parameters such as Output Size, Frame Rate, and choose the destination folder, then click Create GIF.
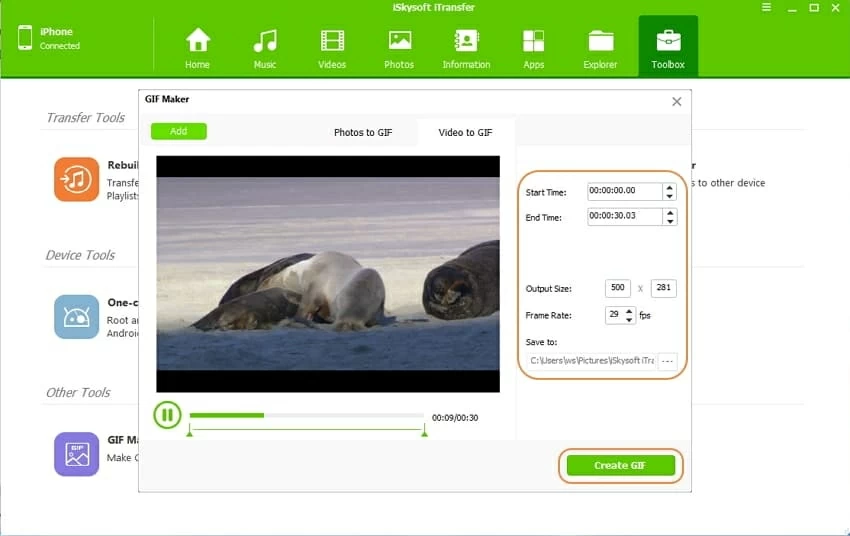
2) Convert Videos from your computer to GIF
- Click on the "GIF Maker" option
- On its opening window, switch to Video to GIF tab on the top menu, and then click on Add button on the top left to browse and select the photos you want to convert from your PC or Mac. Click Open to proceed.
- Set the parameters such as Start/End time, Output Size, Frame Rate, and choose the destination folder, finally click Create GIF.
3) How to set SD card as the default sync path on Android devices
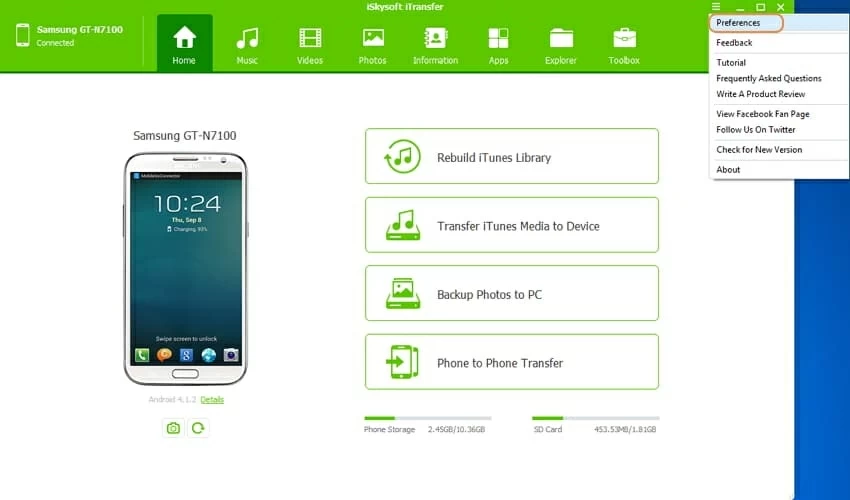
Click Menu icon at the top right of the interface, select Preference from the drop down list.
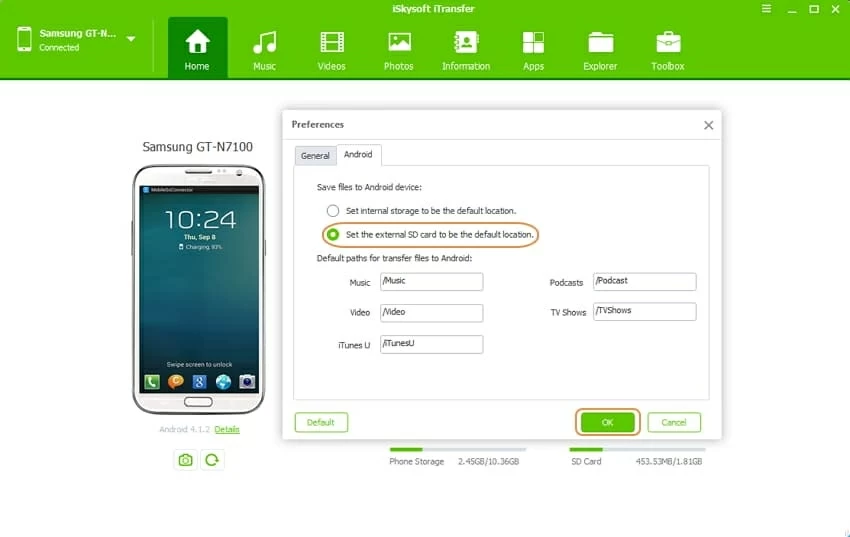
Switch to Android tab, check the radio icon next to Set the external SD card to be the default location under Save files in Android Device.
That's it!