Huawei Phone Photos Recovery


I recently deleted the Notes app on my iPhone SE by mistake. I have tons of old notes in there. I don't know if they were synced to iCloud. Is it possible to recover notes to my iPhone SE? Thanks in advance for any advise.
Don't let your past mistakes ruin your life. If you lost notes on iPhone SE by accidental deletion or failed upgrade, or even disappeared all of a sudden, fear not: there are some tips and tricks you can follow to recover notes on iPhone SE.
The ways of retrieving notes vary depending on how they were stored on the iPhone SE.
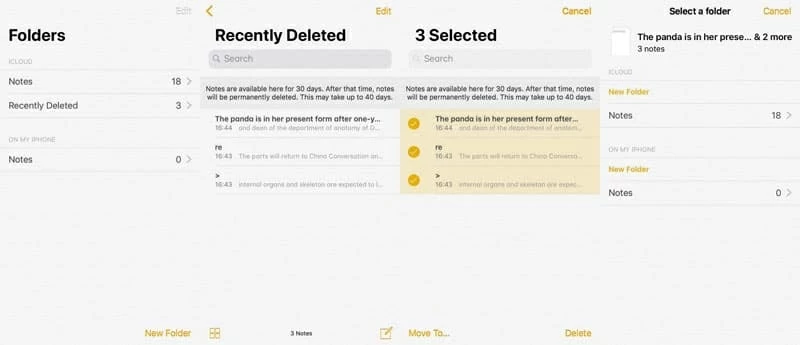
If you've turned on Notes toggle in iCloud on iPhone SE, your notes are stored on iCloud. When you deleted a note or a complete folder of notes from the device, you can check the Recently Deleted folder and get back deleted notes to iPhone SE if they're on there SE by following the steps below.
Also see Apple's support articles: iCloud: Delete and recover notes on iCloud.com; and If you're missing notes on your iPhone, iPad, or iPod touch
No recently deleted folder in the Notes app on iPhone SE? It's possible that you didn't store your notes with iCloud but synced to other accounts like Google, Yahoo, Outlook, Exchange, etc. You will want to check your email accounts that you had but removed, and default account for Notes. If that's the case, you just need to set up the account again and turn on Notes toggle to let all your missing notes re-appear in iPhone SE. Here's how to.
If you can't find notes from Recently Deleted folder nor get notes that disappeared by re-syncing with accounts you've ever used for Notes, don't fret. You could resort to a file recovery program to recover notes from iPhone SE memory. Appgeeker iOS Data Recovery is a very simple but powerful file recovery utility that you can start using without any difficulty. You just need to connect your iPhone to computer, start it and scan the device, and you're ready to recover what it finds. It can recover multiple types of files — not just notes. It offers fast scanning speeds, and a good detection rate.
What's more, it includes options to help you extract just data you want from backup using iTunes or iCloud without resorting to a full restoration the Apple's way does.
This guide should help you figure out how to recover permanently deleted notes on iPhone SE with iOS Data Recovery.
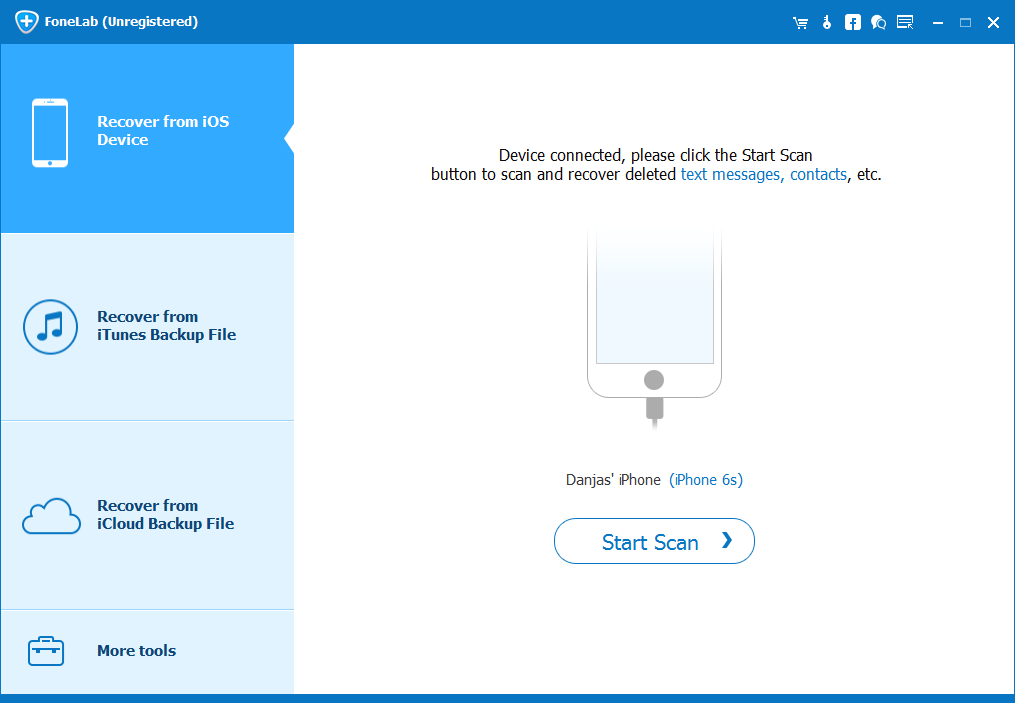
Step 1: Connect iPhone SE to computer
The program opens with a simple interface, which asks you to connect your iOS device to computer to build connection between the device and the program.
Simply plug your iPhone SE into the computer via a Lightning cable.
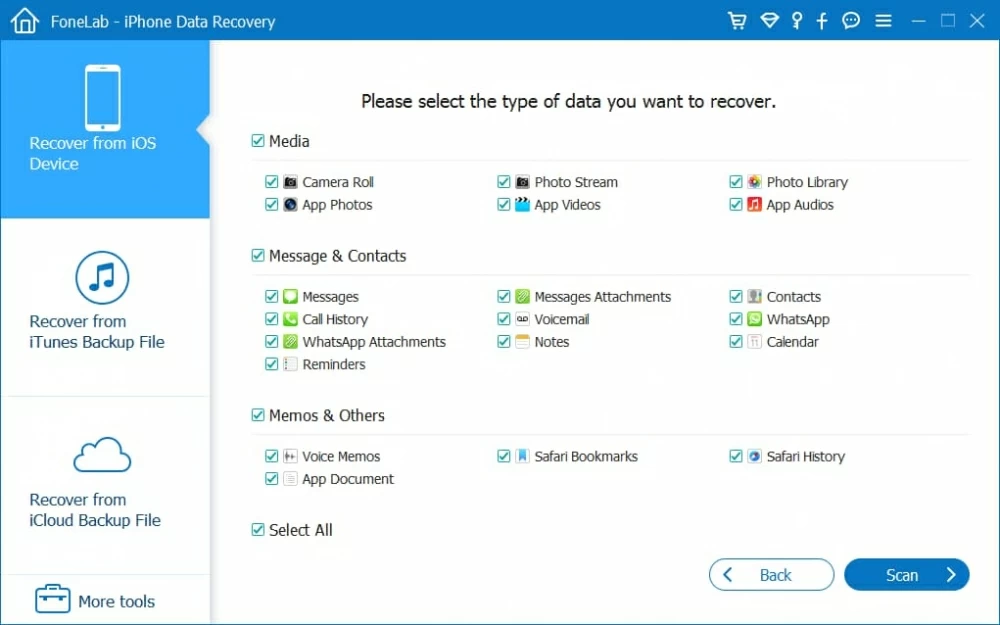
Step 2: Choose Notes file type to scan
Next, select the type of data that you want to recover and then click Scan button. In this example, we are searching for notes that we accidentally deleted, so we selected the "Notes" option.
Now you get to a screen from which you can monitor the search process. Sit back to watch the magic happen.
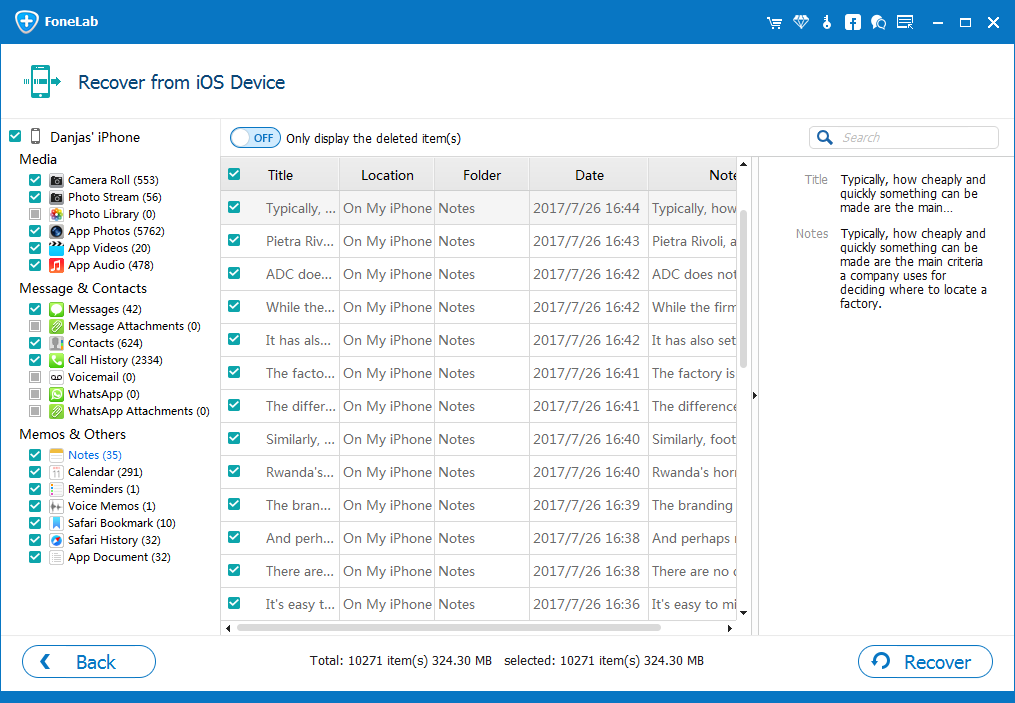
Step 3: Preview and retrieve notes from iPhone SE storage
When the deep search process is done, the both deleted and existing notes it found are displayed in a list. You can preview the specific note and see more details about it, such as its title, location, creation time, folder, content.
Go ahead and check the box near each note you want to get back, and then hit the Recover button. In opening dialog, browse to the folder you'd like the files saved to on computer.
Click the Recover button again, let iOS Data Recovery does its things. It often only takes a few seconds.
When you have got all your notes recovered, you can close the program.
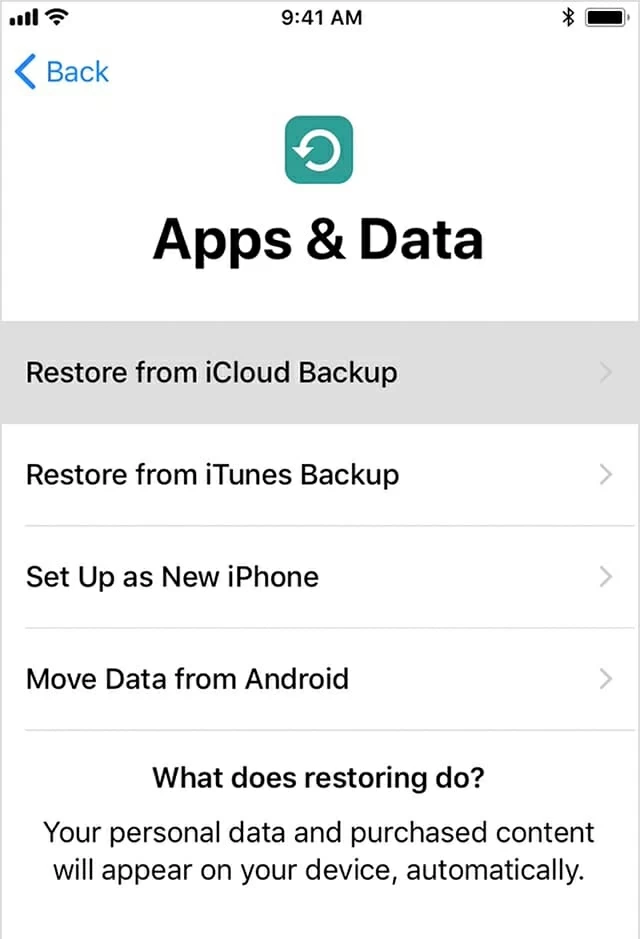
If you have ever backed up your iPhone SE to iCloud you should be able to restore your notes from the backup. Do note that the way to restore iPhone SE notes from an iCloud backup is to completely erase your iPhone and try restoring it from the backup.
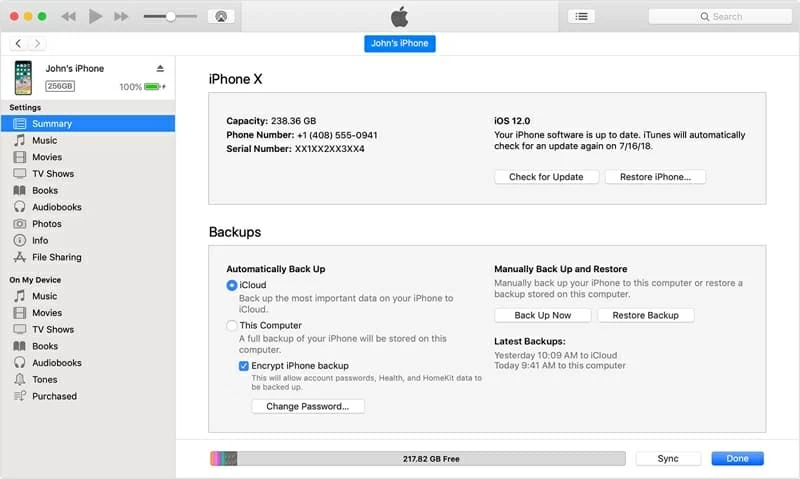
If you're the one that like to use iTunes to manage iPhone and open automatic sync when you plug the device to computer every time, you probably have a backup of your notes locally. If this is the case, you can extract notes from an old iTunes backup and get back to iPhone SE. Here's how to.
Wait for the process to complete before disconnecting your device.
Once you've disappeared notes recovered on iPhone SE, you'll want to regularly back up them so you won't lose them again. Here's how to get your notes in "On my iPhone" folder synced to iCloud.