
How to Transfer Music to iPhone without iTunes

Want to know how to transfer photos from iPhone to a Windows 7 computer? Here's a guide to show you how to import pictures from iPhone to Windows 7.


It's easy to transfer your photos from iPhone to Windows 7 PC by different methods.
Nowadays, it's essential to edit your pictures before posting to your social platform. And you may need to transfer your iPhone pictures to your computer to edit more, since some professional photos editing functions only can be found on Windows 7 computer. Therefore, it's necessary for you to know some ways about how to transfer a photo from iPhone to a Windows 7 computer.
In this guide, we will introduce several ways to transfer pictures to Windows 7 with internet and without internet. Among these tools, Appgeeker iPhone Data Transfer is a relatively convenient way to download photos from iPhone to Windows 7 PC as it's easy to use and won't compress the photo's quality.
Table of Contents
See also: How to transfer photos from your Windows PC to your iPhone
iCloud is widely used by Apple users because it's an easy way to store and transfer important pictures, contacts and documents on the iCloud. After you open the Sync this iPhone function in your iPhone, all the photos will be synced to iCloud automatically when your device is connected to network. You can then check the photos in iCloud on your Windows 7 computer. And if you delete one photo on iCloud, it will not exist on either your iPhone or your computer.
Here are the steps on how to use iCloud to import a photo from an iPhone to Windows 7 PC.
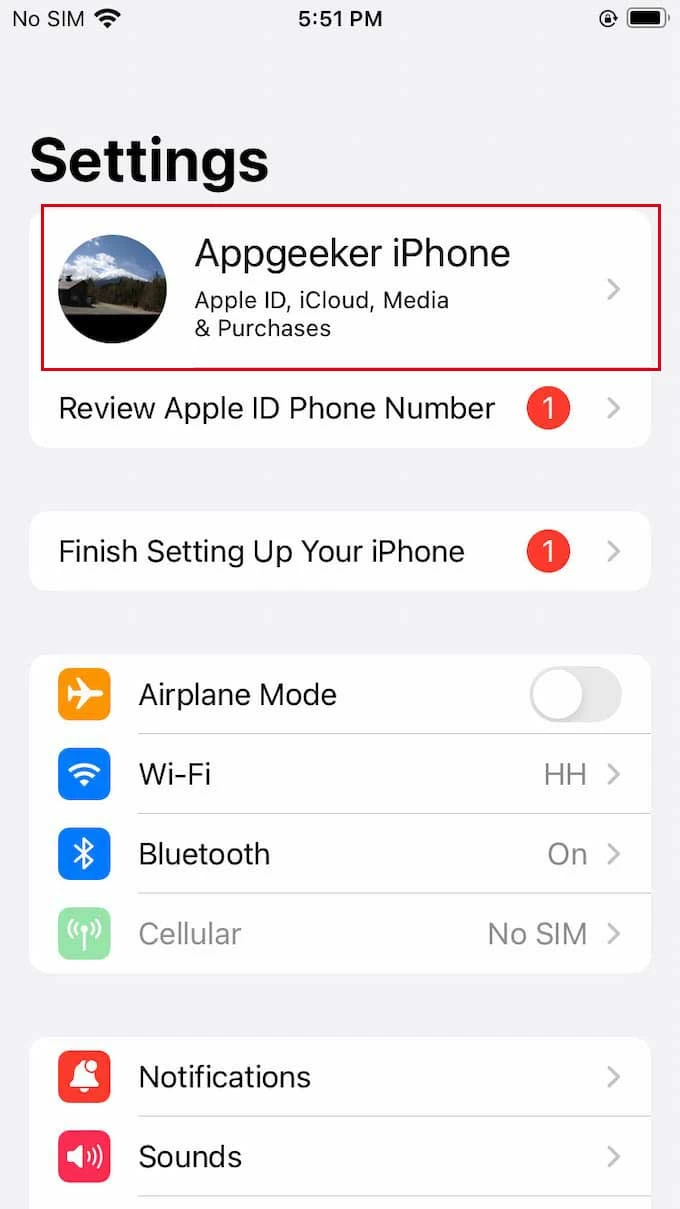
Step 1: Go to Settings in your iPhone, then click your name on the top.
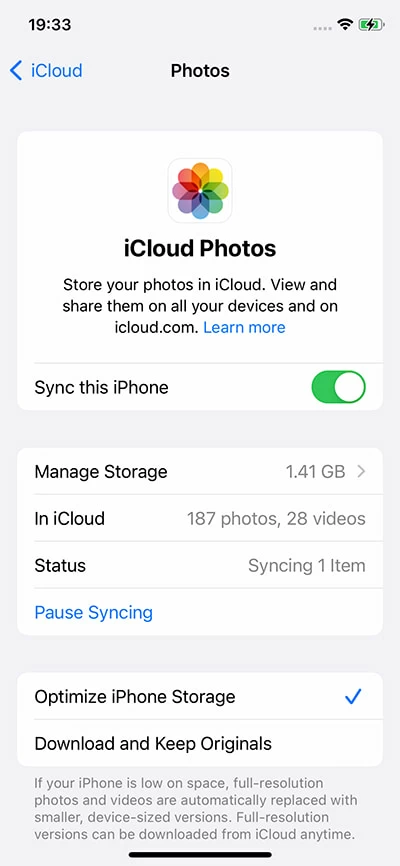
Step 2: Click iCloud > Photos and make sure Sync this iPhone is toggled on.
Step 3: Search iCloud.com on your web browser and log in with the same Apple ID.

Step 4: Click the Photos icon on the iCloud menu.

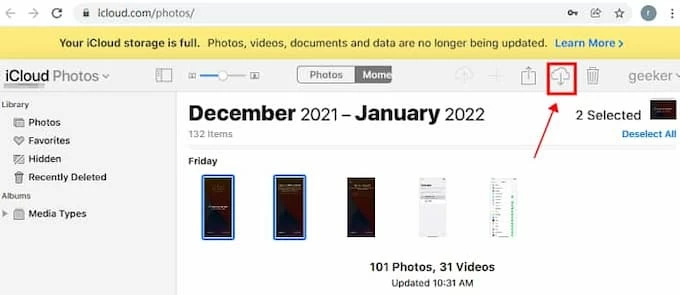
Step 5: Select the photos you want to transfer and click the download button on the upper right corner. After the download process is finished, you can then check the photos on the Win 7 PC.
Read next: How to transfer photos from Mac to iPhone efficiently
By using iTunes, you can transfer and sync photos form iPhone to your Windows 7 computer. However, it may take a long time when you transfer a bulk of pictures.
Step 1: You need to make your iPhone connected to your computer via a USB cable.
Step 2: Click on the Phone icon on the upper left corner in the iTunes window.
![]()
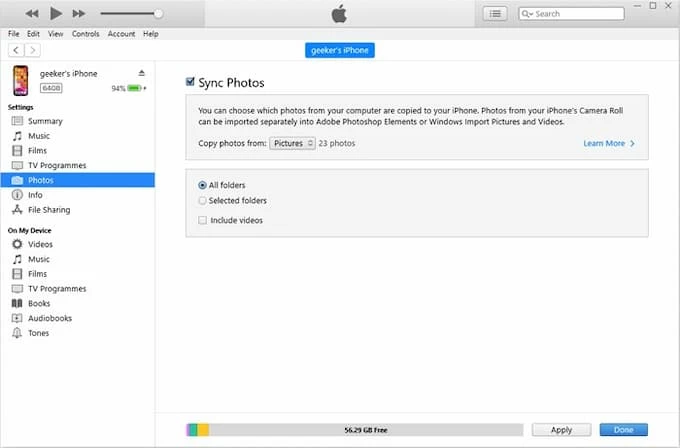
Step 3: Select Photos on the left column and check the Sync Photos box. If you want to transfer all photos from iPhone to your computer, click All folders. Or else, choose Selected folders so that you can choose the individual photos you wish to transfer.
Step 4: After you finished choosing, click on Apply, then the photos you want to transfer will be on your computer.
There is another efficient tool for you to get your photos from iPhone to Windows 7, and that is Appgeeker iPhone Data Transfer. With this expert program, you can transfer your iPhone photos to your Windows 7 PC without any effort.
On one hand, iPhone Data Transfer is an ideal option to import multiple photos at once. It won't get stuck even if you upload a bulk of photos. On the other hand, it enables you to download pictures from iPhone to PC or iPhone to iPhone at will. In addition, photos quality will not be compressed after the transfer and you can manage your photos with a clear album structure in this tool.
Here is the guide on how to use iPhone Data Transfer to import photos from an iPhone to a Windows 7 PC.
Step 1: Connect your iPhone to your computer with a USB cable. Tap Trust and enter your passcode so that the computer can access your iPhone.
The software will read your iPhone, and later you can see your iPhone's specific information on the main page.
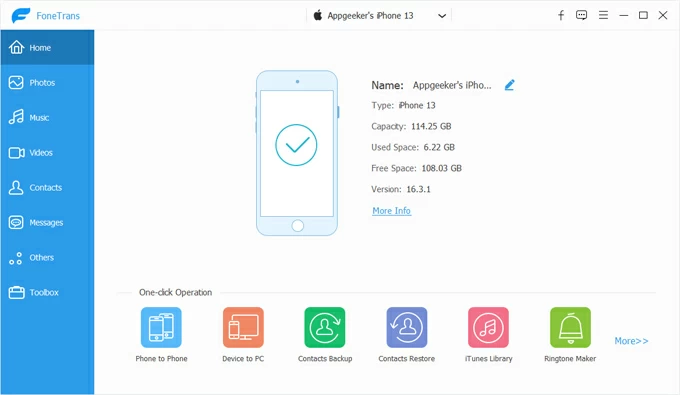
Step 2: Click Photos on the left selection bar. You can then view all your iPhone photos in the software.

Step 3: Select the photos you want to transfer and click on the computer icon on the top of the page.

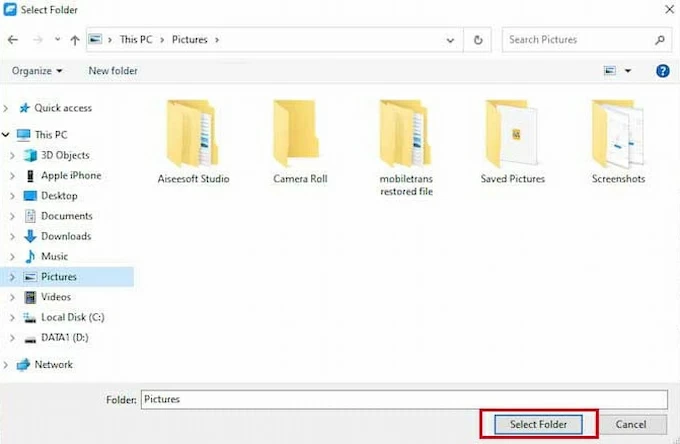
Step 4: Pick the folder you'd like to store your photos to, and click Select Folder to confirm.
Step 5: When you see the message Export photos to folder successfully, it means the whole transfer process is done. You can click on Open folder if you want to check your import photos.

Related article: How to transfer music from iPhone to iTunes: A complete guide
If you're using Windows 8/10/11, then you can use the Photos app, a built-in tool on Windows PC to copy your photos from your iPhone to computer without internet. Since it has already in the Windows system, you don't have to download it to your computer.
Another guide: How to transfer photos to new iPhone [Full Guide]
Step 1: Take a USB cable to link your iPhone with computer.
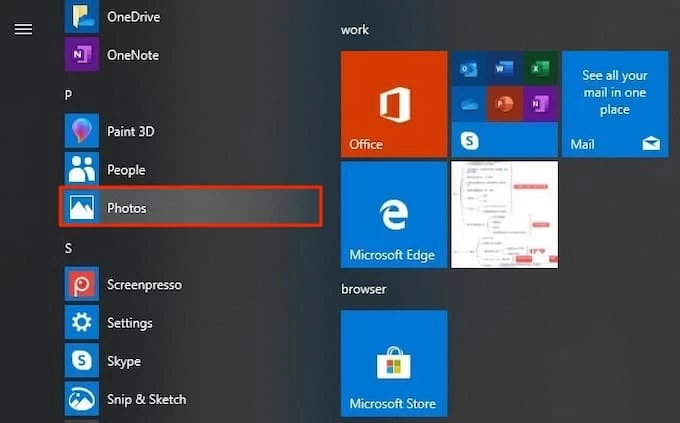
Step 2: Click the Start menu and locate the Photos app to open it.
Step 3: Click Import on the upper right corner on the Photos app and then select your iPhone.

Step 4: Choose the photos you wish to import and click Add items on the top right.

Step 5: Choose the folders you want to transfer and click Import.
File Explorer is a traditional way to move photos from iPhone to Windows 7 PC. Just right-click your device on a specific file and you can then select the photos for transfer.
Step 1: Connect your iPhone with computer using a USB cable.
Step 2: Enter your passcode to give the computer permission to access the photos on your iPhone.
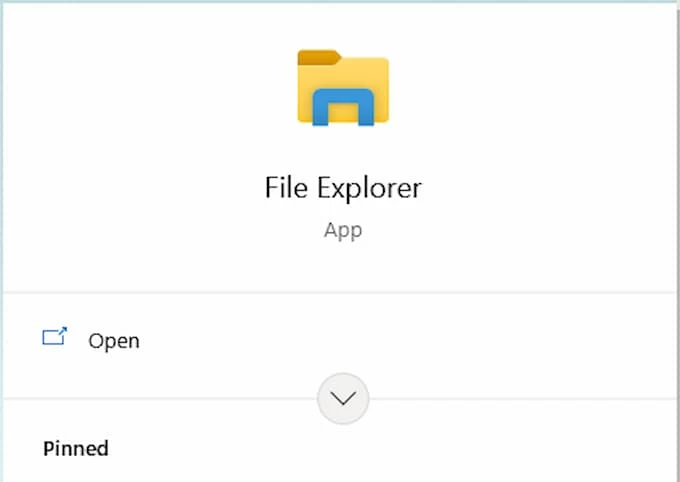
Step 3: Search File Explorer on your start menu. Select the result that is the most appropriate one.
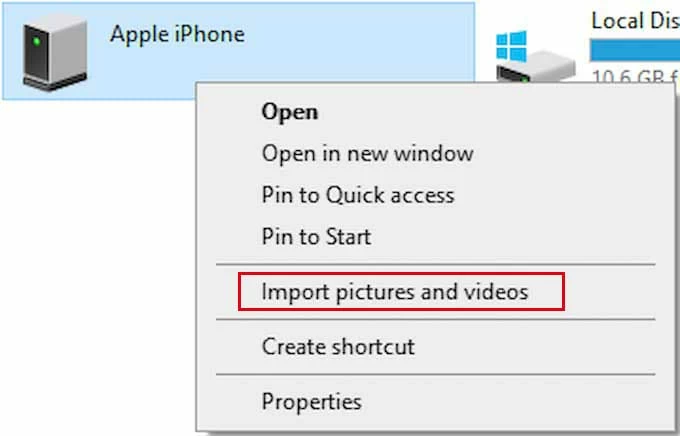
Step 4: Right click on Apple iPhone below Devices and drives, and choose Import pictures and videos.
Step 5: Choose Import all the new items now to import all your pictures. Or you can select Review, organize, and group items to import to select specific photos you wish to transfer.

Step 6: Click Import, and your photos will be transferred to your computer.

Conclusion
In conclusion, you can select the one that suits your demand most.


