
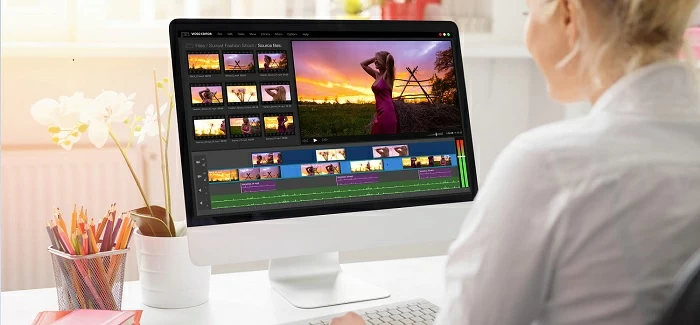
How to Use QuickTime to Record Computer Screen and Audio

Mac is equipped with multiple webcam recording tools to help you record yourself. And there are other options for you to record webcam on Mac in high quality with ease.

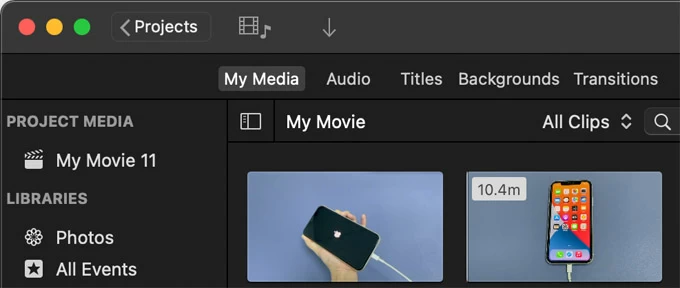
Overview on how to record webcam on Mac:
It can't be easier to record with webcam on a Mac with simple and quick steps.
Let's say you're looking for an easy way to record webcam on your Mac. Maybe you want to record something memorable, or make video notes to preserve important details, or record your meeting presentation. Whatever the purpose, you can always find ways to get the job done.
Recording a webcam video on Mac is easy. In fact, there are quite a few programs for macOS to record webcam on Mac. You can simply open a native Mac webcam recorder like Photo Booth, QuickTime Player, or iMovie, and start the recording directly. Also, there are various third-party webcam recording tools that can help you record video from Mac webcam without efforts. Some of them even let you record your Mac screen and webcam video at the same time.
There are several different options to record webcam with Mac, whether using the default Mac camera recording software or other 3rd-party webcam recorders for macOS. And here are some preparations you need before digging into how to record webcam with Mac:
Mac has its own camera recording app that allows you to record webcam with Mac's built-in camera or an external video camera connected to your Mac.
The first webcam recorder you can use is the Photos Booth that comes pre-installed on most Mac and MacBook, allowing you to take a single picture, a set of photos, and record video with Mac webcam for free. Also, it provides various video effects that can be added your webcam video recordings to make them more vivid.
No need for extra installation, here's how to record with webcam on Mac using Photo Booth. If you're using an external webcam, ensure it's well-connected to your Mac.
1. Open the Photo Booth from Mac's Applications folder. When it's activated, you'll see yourself in the webcam capture frame.
2. Click the video camera icon at the bottom-left to select Record Video or Record a movie clip.
3. When you want to start, click the Record Video button in the middle. A stopwatch should appear at the bottom, telling how long you've been recording.
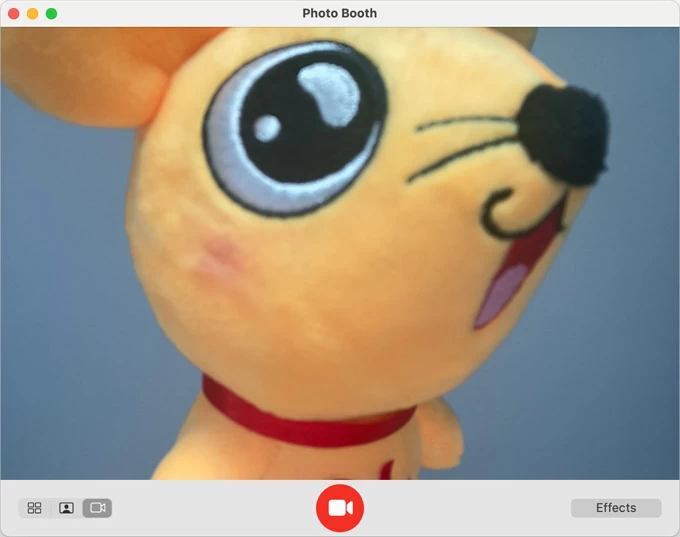
Record webcam on Mac to capture a video of yourself.
4. Press the record video button again to end webcam recoding when you finish. The thumbnail will show up for you to preview the webcam recording.
Photo Booth also offers fun video effects and quick shortcut to share the recorded webcam video from Mac. If you right-click on the new webcam video, you can select Export to save the webcam recordings on Mac in MOV format.
QuickTime Player is another built-in Mac webcam recorder to record yourself. As the default media player on macOS, it also has the ability to record screen and audio on Mac. With no additional software, QuickTime enables you to record webcam on Mac in MOV video format, so you can share and play the webcam video recording on your other Apple devices directly.
Easy steps on how to record with a webcam on Mac using QuickTime Player:
1. Access the Applications folder on your Mac and launch QuickTime Player.
2. Navigate to File > New Movie Recording in the menu bar at the top. Alternatively, press Option + Command + N shortcut to open Mac's default webcam.
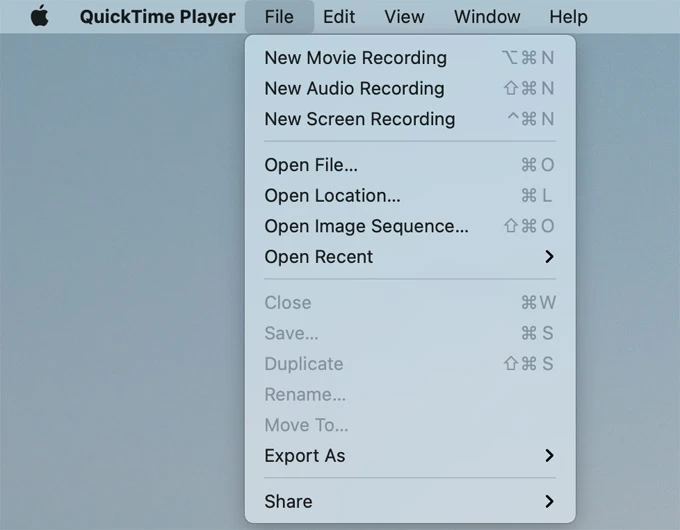
Open New Movie Recording in QuickTime to record Mac webcam video.
3. From the movie recording window, select a camera and microphone you want to use.
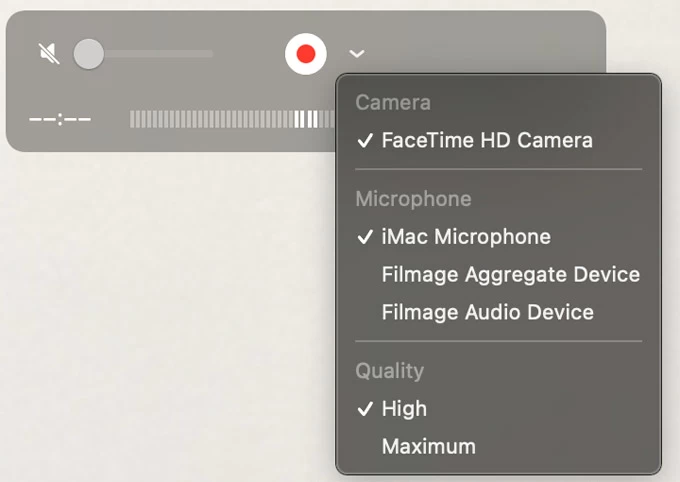
To record a webcam video on Mac, select an available camera and microphone.
4. Press the red Record button on the floating bar to start, and hit it again to end recording.
You'll be allowed to preview the video and make some basic edits after you record webcam video on your Mac. Or, save and rename it by File > Save or using the CMD + S keys. After that, you can play or share the webcam recording from your Mac as MOV file.

If you want additional features to record webcam videos on Mac and add advanced edits, iMovie would be a better Mac webcam recording tool for your needs. Compatible with macOS and iOS, iMovie provides more beneficial features, letting your Mac record webcam in 4K resolution and edit the video the way you want it to be. You may also release and share the recorded Mac webcam video to media platforms as you want.
Follow the steps of iMovie to record video with Mac webcam. If you don't have iMovie, download iMovie from App Store on macOS for free.
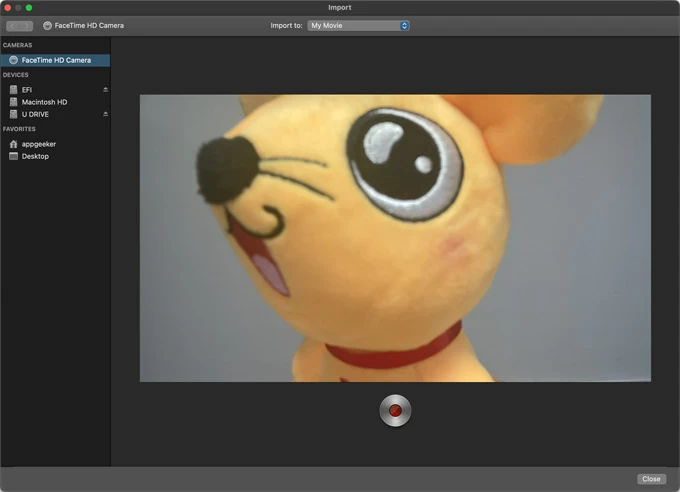
1. Launch iMovie on Mac and go to File > New Movie on the menu bar. You can also select the Create New option on the home screen.
2. Now, click on the down arrow icon at the top to access Import option.
Click on the down-arrow icon to select Import option.
3. Select the FaceTime HD Camera option from the Camera section at the left panel. Allow for the permission to access your camera if you're using the iMovie app for the first time.
4. Choose Import to option to import a project you are working on; and hit the red Record circle to start recording. You can finish the recording with the same button.
5. Close the recording window and save the webcam video by clicking the Projects option.
Using a native webcam recorder on Mac, it's easy to record yourself. However, if you're looking for more powerful video recording software that's not limited to record Mac webcam only, try the all-in-one tool, AppGeeker Screen Recorder, which is equipped with multiple webcam recording options, such as recording webcam on Mac from an internal or external camera, with your microphone or system sound, and adding your desktop or screen activities at the same time.
What's better, you can also customize your webcam recordings in your desired video quality (up to 4K) and choose different output formats like MP4, MOV, GIF and more. After you record with your Mac webcam, make use of its built-in video editor to trim and clip the webcam videos as you want. Now, use this Mac webcam recording software to record your own webcam videos:
Step 1. Launch the program and select Webcam Recorder on your Mac.
Tip: You may also select Video Recorder to record Mac webcam and screen in one frame.

Select Webcam Recorder for Mac from the main interface.
Step 2: Turn on Camera & Microphone options. In the live webcam window, check if everything is okay. If you have multiple cameras, switch to another from the webcam selector in the bottom left.
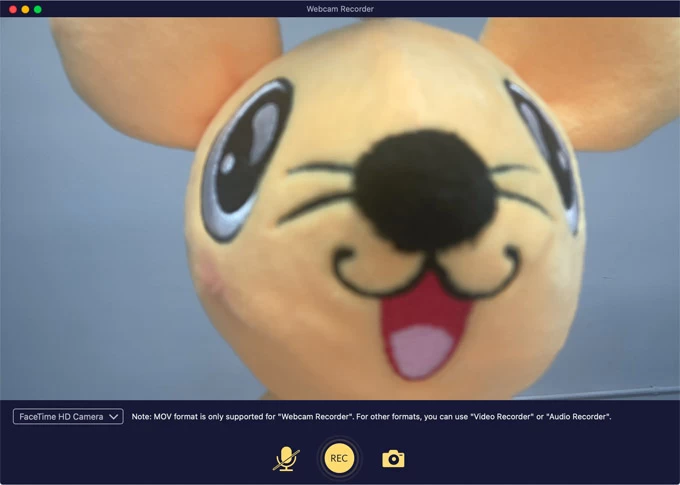
Step 3: When you're ready to start, hit the REC button; click the same button to stop recording.
Step 4: Once done, click the Play button to preview the webcam video you just recorded. After that, you can clip the video and save it to your Mac. If you don't like the webcam video recording, click Re-Record to start it over again.
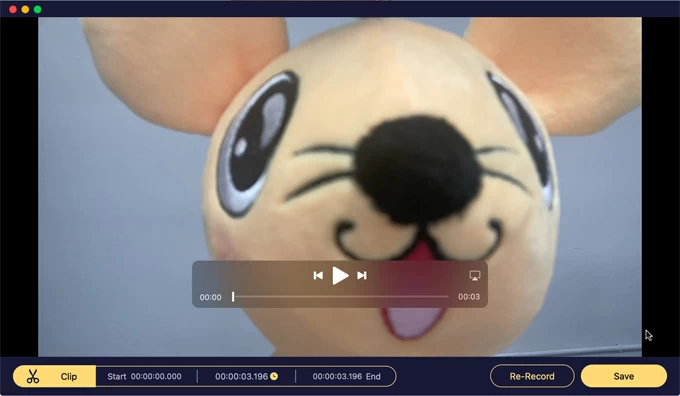
Preview and save the webcam recording on Mac.
To make better webcam videos, you can record a short video to test before you actually start.
So now you know how to record webcam video on Mac with the built-in webcam recording software or alternative professional Mac webcam recorders. All methods in this guide are great picks for Mac users to record video with webcam in high quality.
1. How do I record with my webcam on Mac?
When you want to record a webcam video on Mac, use the Photo Booth that's pre-installed on macOS.
2. What is the software to record video from Mac webcam?
There are several options for Mac to record webcam videos easily, here's a quick comparison of them:


