Recover Permanently Deleted Photos iPhone

Each time you enter passcode to your iPad, you expect it to unlock. But if your iPad disables itself and says connect to iTunes, thing gets tricky. Here's how to solve it.

Whether you have an iPad mini, iPad Air, or the more powerful iPad Pro, everyone knows the feeling of entering the incorrect passcode multiple times to the Apple's tablet only for the Lock Screen to display an error message: iPad is disabled connect to iTunes. It won't accept your passcode attempt anymore. Also see: iPhone is disabled connect to iTunes.
And then, to make matters worse, when the disabled iPad connects to iTunes, nothing happens. You stare at the tablet with no clue about how to solve this problem no matter how hard you try. Now what?

You need to unlock a disabled iPad saying connect to iTunes by booting from recovery mode or resetting remotely.
Don't worry. To help you deal with Lock Screen issue, here are some tips you can try when your iPad says disabled connect to iTunes or it enters this state "iPad is disabled try again in X minutes," though you will have to wipe and recover all of your data.
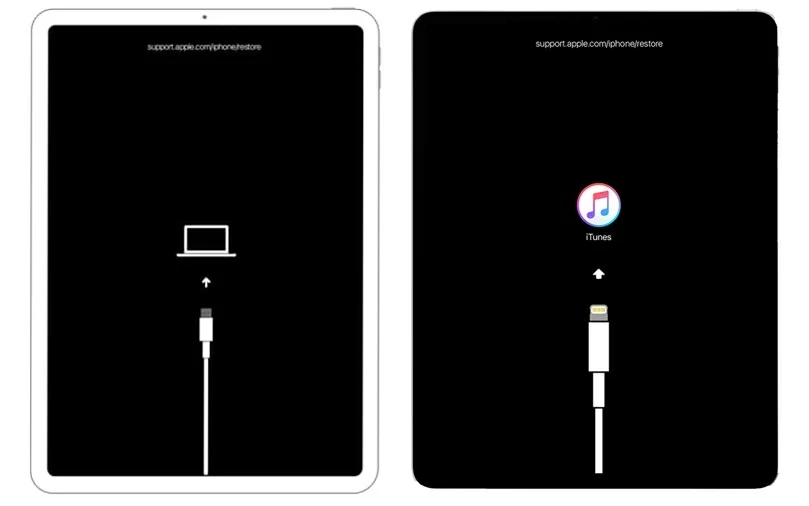
After you type the wrong passcode 10 times in a row, it will disable your iPad and says connect to iTunes. There is no way to bypass the issue unless you connect the iPad to computer and use Finder (macOS 10.15 and later) or iTunes to restore it from recovery mode.
Once your disabled iPad connects to iTunes or Finder and boots from recovery mode, you are able to restore the iPad to its factory settings and remove the disabled Lock Screen so that you can use it again. If you didn't back up your iPad, you won't restore your data, downloads and settings. Also see: How to fix iPhone "support.apple.com/iphone/restore" error.
If your iPad says disabled connect to iTunes, you no longer have chance to enter your passcode even if you suddenly remember it. You need to find a way to boot the device into recovery mode and then select restore option to unlock it by resetting it to factory settings.
1. Enter recovery mode.
For iPad with Face ID: Plug the device into your computer. Press and hold the Top button and Volume up (or down) button until you see the power-off slider. turn off your iPad with the slider. Next, hold down the Top button. Continue holding the button until the recovery mode screen appears.
For iPad with Home button: Press and hold the Top button until you see the power off slider. Drag it to the right and wait your iPad to shut off completely. Next, hold down the Home button while connecting your iPad to your computer. Release the Home button only after the recovery mode screen appears.
You'll want to press right button combo to connect to iTunes when iPad is disabled to enter recovery mode.
2. Restore your iPad.
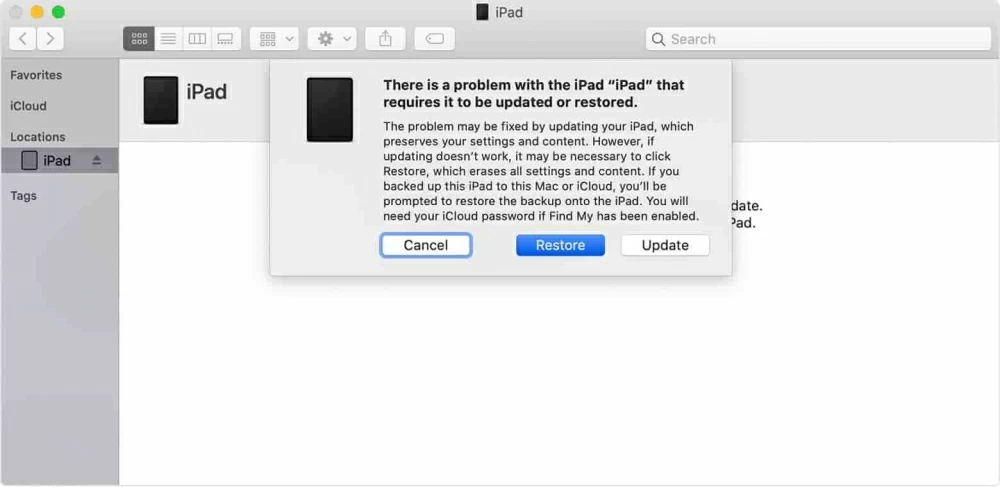
Open iTunes or Finder if it doesn't open automatically, and then locate your iPad. When you see the options "Restore" or "Update," choose Restore.
You have about 15 minutes to download software for your iPad and reset it before it automatically exits. Make sure you have a decent internet connection and keep the device connected stably. If for some reason your iPad exits recovery mode, repeat the steps as explained above to start over.
3. Set it up.
When the restore process has been completed, you're going to set it up. If you backed up your iPad before, restore your data and settings when prompted.
If the official route doesn't fix your iPad disabled connect to iTunes problem, there is another solution that gives you an effective way to get the tablet working again. It's a third-party tool named Appgeeker iPad Unlocker.
Don't let the name fool you, iPhone Unlocker is a versatile tool that will download appropriate firmware package from Apple Server and install on your locked iPhone, iPad or iPod to reset it completely. Your device will return to out-of-the-box state, no more lock screen existence.
To proceed, download iPhone Unlocker and install on your either Mac or PC.
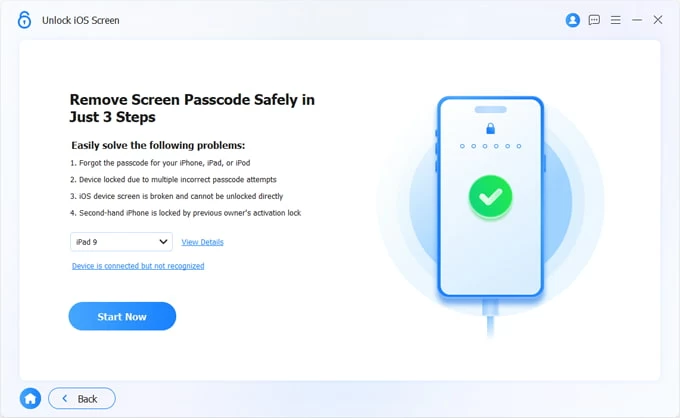
1. Open the utility, select the option labeled Unlock iOS Screen for resetting an iPad that is showing connect to iTunes.
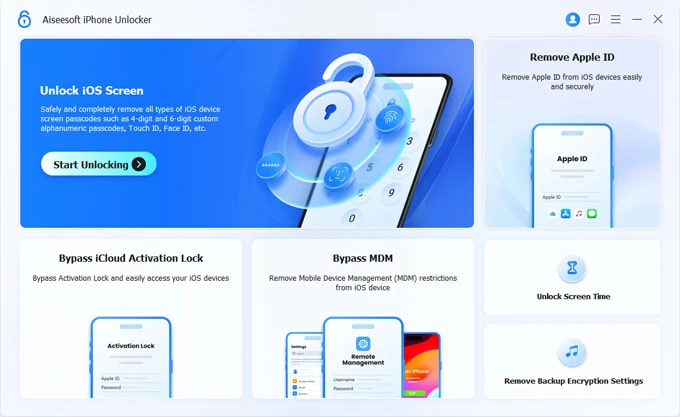
After you do, follow the onscreen directions to place the iPad into recovery mode when prompted.
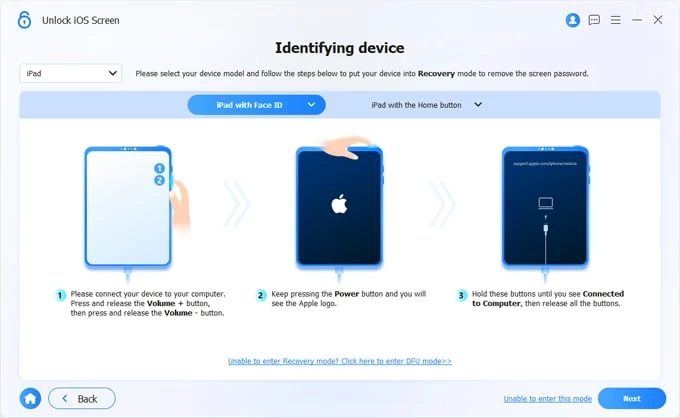
2. Once detected, confirm your device model and click Start Now.
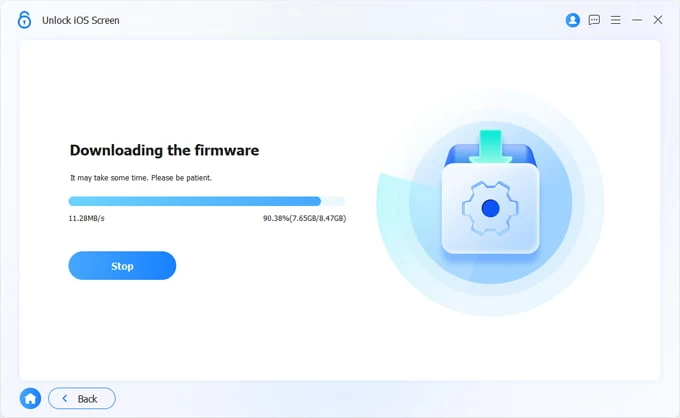
3. The software will download the iPadOS firmware.
Wait for the firmware download. If there's a stable and strong internet connection for your computer, this may finish quickly. Anyway, it depends on the speed of your Internet connection and how fast Apple's download servers are for you.
4. As soon as the firmware is done downloading, you'll be asked to hit the OK button to confirm your action. Do it as required and confirm it again to begin reinstalling iOS firmware on your iPad.
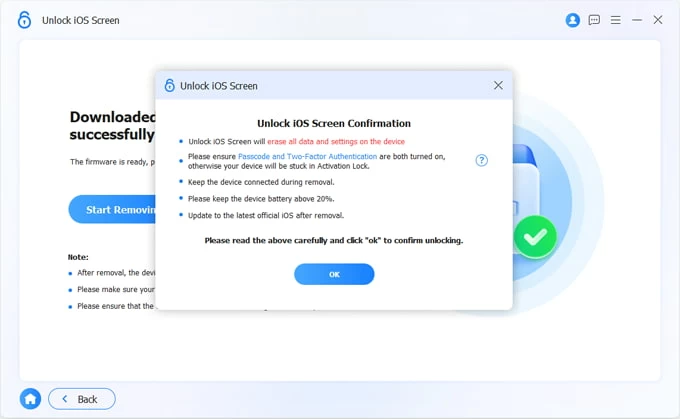
5. When it finishes reinstalling the firmware, there will not be a Lock Screen for entering passcode, and your iPad should work normally again. Go through the steps to set it up now.
Apple has also produced a Find My service for its products, including iPad lines. It bundles together a list of options that can locate, lock, and remotely erase a missing device to factory settings. If your iPad is disabled and says connect to iTunes, you can use the service to wipe it completely.
Check to make sure Find My is enabled on your iPad. Any time you sign in to your device with your Apple ID, Find My is automatically turned on. If you didn't close it manually, you're luck.
Here's how to use Find My iPad to unlock a disabled iPad.
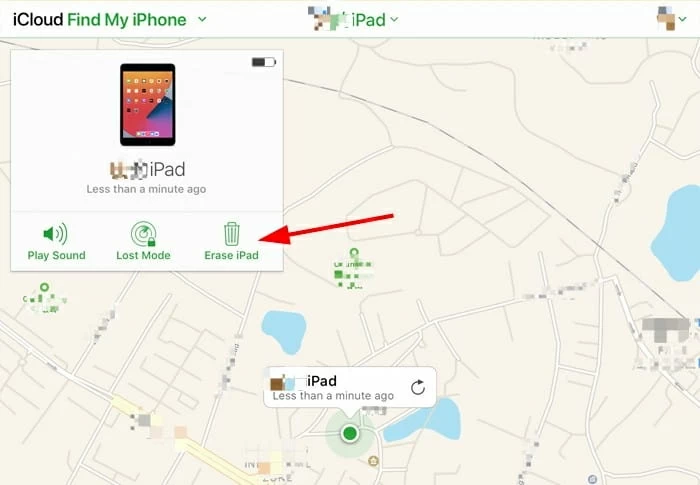
1. Navigate to icloud.com/find on your computer browser. Make sure to sign in to the same iCloud account that's linked to your iPad. Not near a computer? You can also use another iOS device to access the Find My app with your Apple ID and password.
2. Immediately after you log in to the website, select your iPad from "All Devices" drop-down menu at the top of the screen.
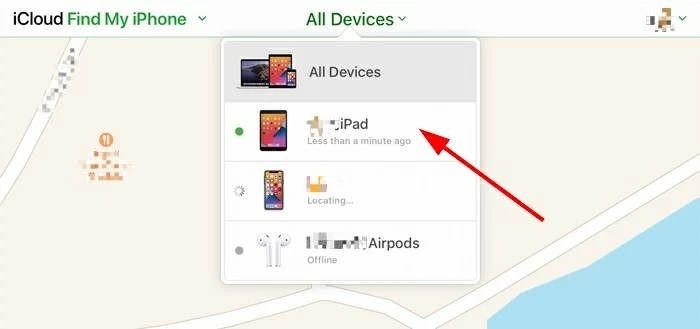
3. Your iPad will display on the map showing the exact location, and a menu of options will show up. In our case, click "Erase iPad." Follow the remaining to complete the process.
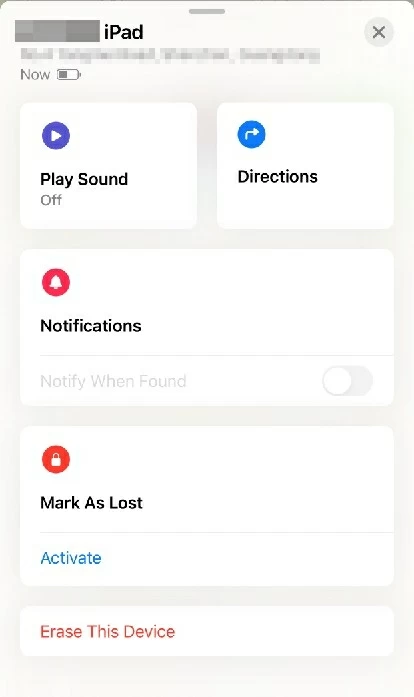
If you're on a Find My app. once logged in, tap the name of your iPad from Device tab, then tap Erase This Device.
Apple will reinstall iPadOS on your device and restore it to factory settings. After the process, it should fix your problem and your iPad should now work normally without any disabled messages.