iPhone Call History Recovery

Did you forget the passcode for your iPod touch and get it locked down with disabled message? You can unlock disabled iPod touch using several ways.

What to know:

If you forgot passcode to a completely disabled iPod touch, there are different methods to unlock it.
You'd think that unlocking an disabled iPod touch when forgetting passcode would be easy just as you do it for an iCloud account. Unfortunately, that just isn't the case.
iPod touch screen doesn't include a "forgot password?" or similar prompt that walks you through the steps to reset your passcode. If you reach 10th incorrect passcode attempt, the iPod touch will lock you out and display "iPod is disabled connect to iTunes" error. You have no choice but restore the device to factory settings, which deletes everything, including passcode. Also see: What to do if you forgot passcode to iPad
Thankfully, there're different of options for fixing a disabled or unavailable iPod touch. Here's what you need to know about fixing iPod Touch disabled connect to iTunes.
If your iPod touch is disabled, the first thing you should do is check if you have synced it to iTunes or Finder on Mac with 10.15 or newer version. If you've done this before, it's pretty easy to unlock your device.
1. Update your iTunes to the latest version if it's available.
2. Connect your iPod touch to computer and launch iTunes or Finder.
3. When you see your iPod touch icon appear on the upper left corner, click it. You may select it from Locations in Finder app.
4. Click Back Up Now. This will help you create a copy of all your data on the iPod touch that you can then restore from after iPod Touch is reset and unlocked.
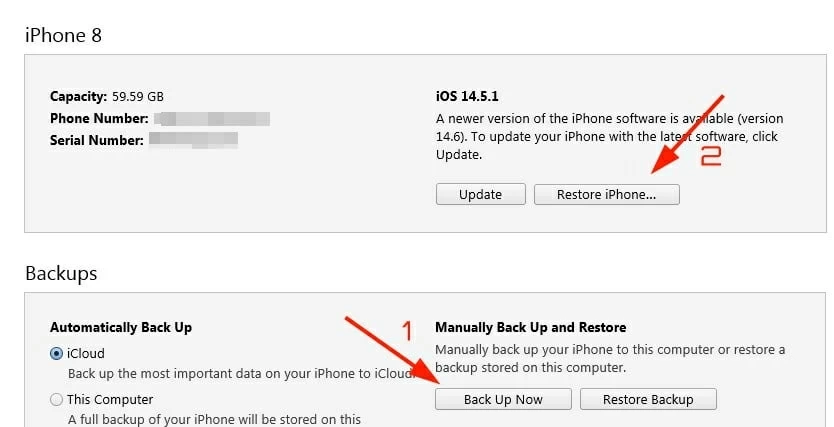
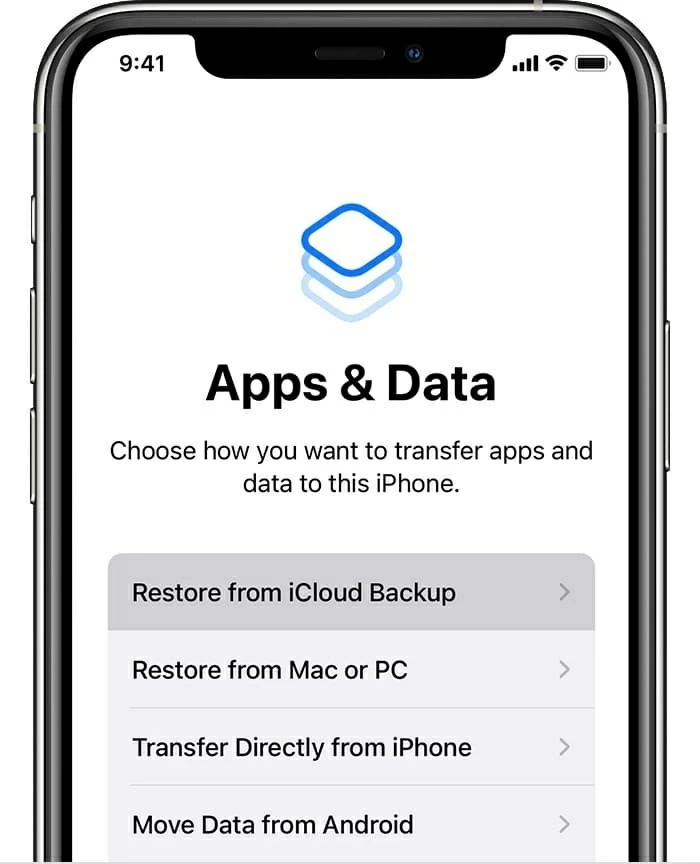
5. Click Restore iPod. iTunes will completely erase the device and reset it to factory settings. Once the process is finished, you'll be taken through the initial setup process as you did the first time. Make sure select "Restore from Mac or PC" when asking how you want to deal with your data with your iPod touch.
If you've never synced your iPod touch with computer before, or are frequently asked for passcode even if you enter the correct one, you may need to restore your disabled iPod touch from recovery mode instead.
Your iPod Touch is disabled but won't connect to iTunes? No worries. It's impossible for iTunes application to recognize a disabled iPod touch if it isn't in Recovery mode (or more advanced DFU mode). Once you get into this mode, there will be an option available for you to reset your disabled iPod touch to default settings and unlock the device.
Note:
Here's how to do.
1. Open iTunes or Finder on your computer, but don't connect your iPod touch.
2. Press and hold the Top button until you see the power off slider. Turn off your iPod touch by swiping the slider to the right. Then use a USB cable to connect your iPod touch to the computer while pressing the Volume Down button (7th generation) or Home button (6th generation or earlier). Release the button only after you see a cable pointing toward computer or iTunes icon. That means you're in recovery mode.

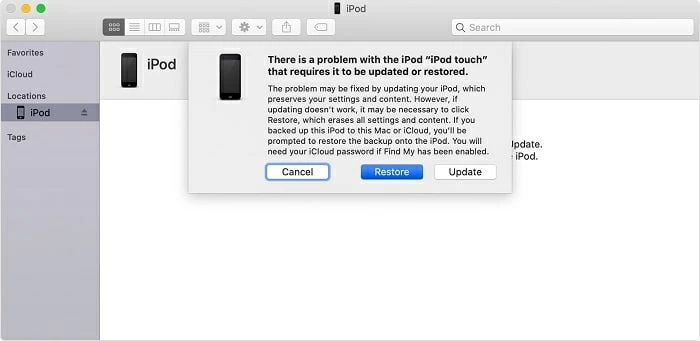
3. On your computer, locate your device from iTunes or Finder. You should now get a pop-up dialog box, from which you'll be able to choose if you want to restore or update the iPod you connect. Click Restore.
Wait for the iPod touch restore process to complete. If you encounter exiting recover mode during the restore process unexpectedly, you will repeat the steps above and try it again.
Once you know how to connect to iTunes when iPod touch is disabled, there is option to restore it.
5. Set up your iPod touch as new or replace your data from an existing backup.
We also have a similar walkthrough on fixing "iPhone is disabled connect to iTunes" issue.
If you don't have iTunes installed on computer, or iTunes won't recognize your iPod touch when you try connecting the device to it, you still can reset disabled iPod touch to factory settings and get into it without passcode again.
With Appgeeker iPhone Unlocker, you can unlock an iPod touch that says disabled quickly and easily. Don't let the name fool you, it's a lightweight and universal desktop tool that's well worth keeping installed for resetting screen passcode for any model of iPhone, iPod touch, and iPad.
There are no skills to require. You just put the device into recovery mode for successful recognition, confirm your risk of data erase, and away you go.
Here're steps you need to take to unlock a disabled iPod touch.
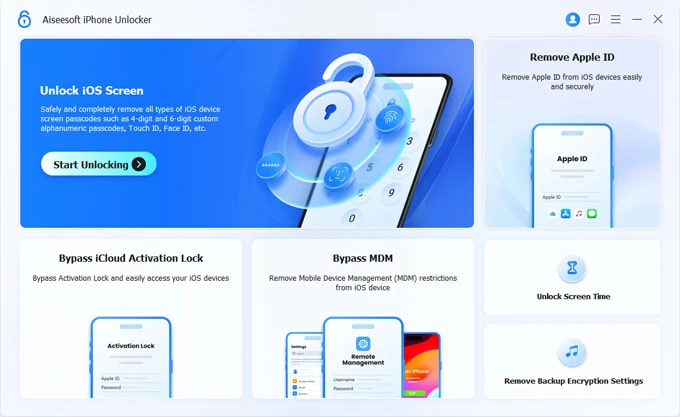
1. Plug your device into your computer and start the iPhone Unlocker application. On its main screen, you're able to choose the tool best suited to your task. Since we're going to remove a screen passcode, select "Unlock iOS Screen."
If required, follow the onscreen prompts get the device into recovery mode.
2. The application then display your basic information.
3. You begin download latest software for your iPod touch by clicking "Start Now" button at the screen.
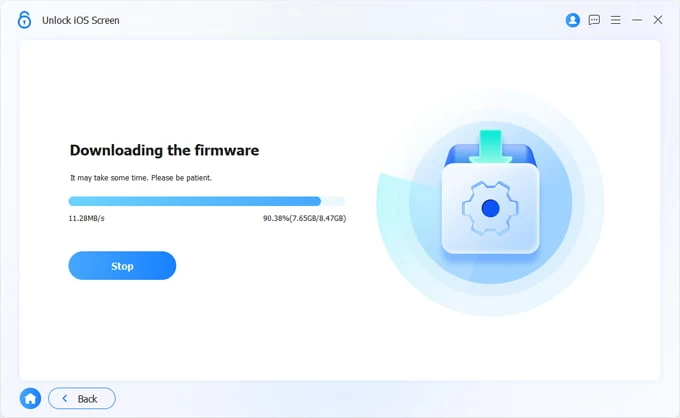
4. With your software downloaded it's time to reset your disabled iPod touch. Once you click the "Start Now" button on the screen, you will see a "Unlock iOS Screen Confirmation" message pop up.
Have a carefully view of the warning information, then press "OK" to confirm.
Finally, click "Confirm Again" button to initialize the reset process.
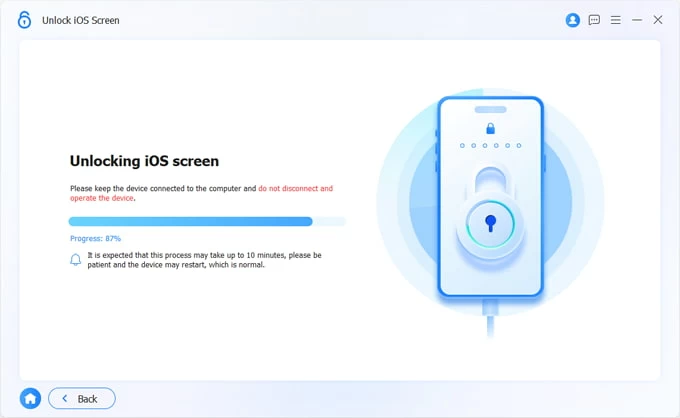
Wait while the application shows a progress window indicating the status of erasing the data and settings.
After restoring your iPod touch to factory settings, the device screen will restart and display a Hello screen similar to the one when you power up it the first time. You can now follow the wizards to set up your iPod. Check out: How to fix iPad if it is stuck on reboot loop
Considering the fact that some of you likely don't have access to computer or have another iPhone on hand, this method is ready for you.
One thing to note, you will have Find My option enabled in iCloud menu in Setting app, and your iPod touch is currently connecting to a wireless network. Both are indispensable to wipe your iPod touch using iCloud. If not, you'll need to try other methods in this article.
1. Visit https://www.icloud.com/find/ from a web browser on your computer or any device. You can also open Find My app on your another iPhone (or iPad).
2. Sign in with your Apple ID and password you used in your disabled iPod touch.
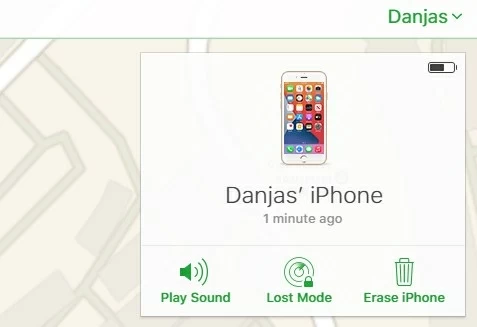
3. Click "All Devices" menu on the top center of the page, find your iPod, select it. If you're on a Find My app, simply tap your iPod from the list of Devices.

4. In the next page that opens, click "Erase iPod." Confirm your choice if asked. Now it will contact your iPod touch to begin wiping it in a complete way.
Tip: You will have to tap "Erase This Device" instead in Find My app.
5. Once the reset is finished, you're able to set up your device, either from scratch or get your data back from a backup you've made in the past.
That's it!