iPhone Won't Show Up in iTunes


Here's a rundown of the passage:
When you have trouble connecting Wi-Fi on iPad (mini, Air, Pro), this network connection issue can usually be narrowed down three causes: network not working on router or modem, iPad Wi-Fi not working, and hardware issues on the device or router or modem. To fix the problem, eliminate each factor using the instructions below until you manage to get iPad connected to Internet.

All the Wi-Fi connectivity troubleshooting tips can be applied to an iPad, iPad mini, iPad Air or iPad Pro and work well with all currently supported versions of iOS and iPadOS. Remember to reconnect iPad to the Wi-Fi network that's in question after each step.
1. Examine the status of router or modem. Your iPad won't connect to Wi-Fi anymore when the router or modem is offline. Power it on, then move your iPad and the router or modem close to each other so that the device can get strong and stable signals from wireless router.

2. Ensure that the Wi-Fi router or modem is sending signal properly. If your iPad connects to Wi-Fi but is not working, or it won't stay connected to the Wi-Fi network, you'll need to firmly plug the cable into the router and modem to build a solid Wi-Fi connection.
Noted: The cables you're using to connect must be in good condition.
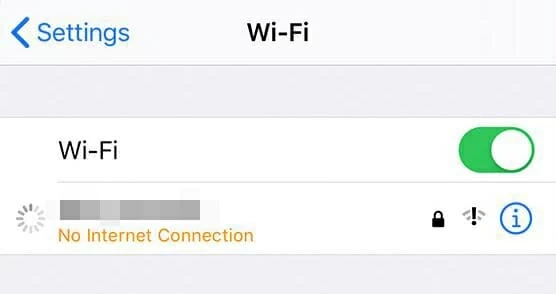
3. Restart the router and modem. Sometimes, you could receive an "Unable to join the network" message after entering the password, or an alert saying "No Internet Connection" under the name of the connected Wi-Fi network. The good news is that, the fix on an iPad that can't connect to Wi-Fi to get online can be simple as restarting the router.
To do that, unplug the router for about 30 seconds and then plug it back in again. If you're using a router and a cable modem, you'll need to unplug them both. After they're completely turned off, plug them in again to turn on. You can seek help on this step from your router's user manual.
4. Update the Wi-Fi router. A router running outdated firmware can also cause problems with Wi-Fi not connecting on iPad. To get rid of this, it might be necessary to have the latest firmware installed into the router from its manufacturer's support page.
5. Connect the Wi-Fi network on a different device. If your iPad doesn't connect to the Wi-Fi but iPhone, laptop, or other devices will, then there might be something wrong with your iPad's network settings that prevents it from connecting to the network. Move on to check it out.
Related: iPad won't connect to iTunes
When the router and modem is functioning well to send a stable Wi-Fi signal, your next attempt is to see if your iPad is ready and able to receive the signal and join into the Wi-Fi network. Make sure that your iPad is free of any case and screen protector to avoid resisting the Wi-Fi signal.
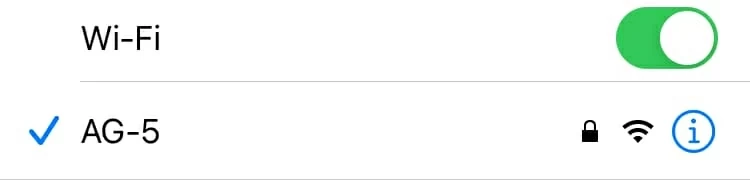
1. Turn off the Wi-Fi then back on. Go to Settings > Wi-Fi, and turn on Wi-Fi to enable Wi-Fi connection on iPad. From the list of Wi-Fi networks, tap the name of the one you'd like to join and enter the correct password. When a blue checkmark appears next to the network name, it means that your iPad is connecting to Wi-Fi again.
If your iPad is not prompted to join the nearby network, odds are that the Ask to Join Networks switch is turned off. Just head to Settings > Wi-Fi and scroll down to turn it on. Do the same if you're not asked to join the nearby personal hotspot.

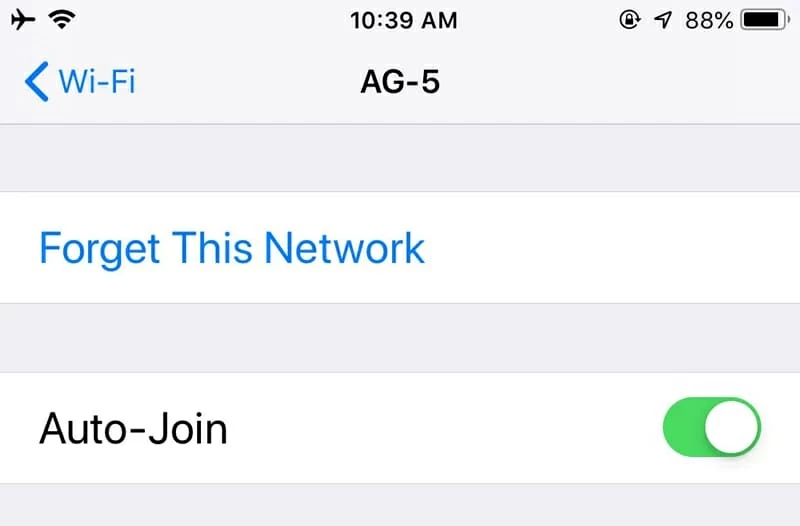
2. Forget Wi-Fi network then reconnect. In the case that your iPad is unable to join Wi-Fi network automatically, or it can't connect to internet with correct Wi-Fi password, you're required to forget the network then rejoin. Go to Settings > Wi-Fi and tap the blue info icon next to the Wi-Fi network name. Then, choose Forget This Network option and confirm by tapping Forget.
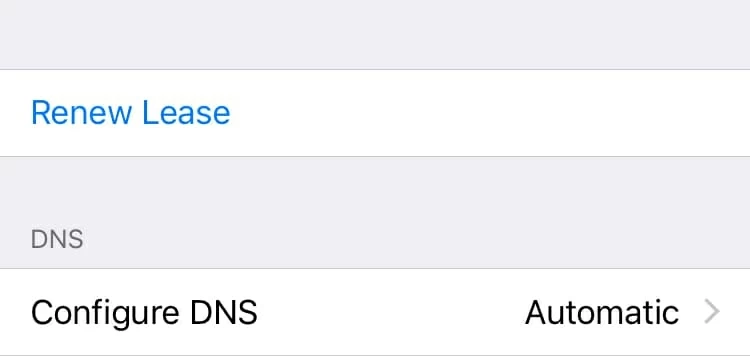
After forgetting the network, try reconnecting iPad to the network by entering the password again correctly and see if it works now. If you're suffering an iPad Wi-Fi issue related to the quickly dropping internet connection, a quick trick is to renew the IP Address.
Open Settings app and choose Wi-Fi. To the right of the Wi-Fi network you've hooked up, tap the blue "i" icon. In the following screen, scroll down to find Renew Lease and choose it.
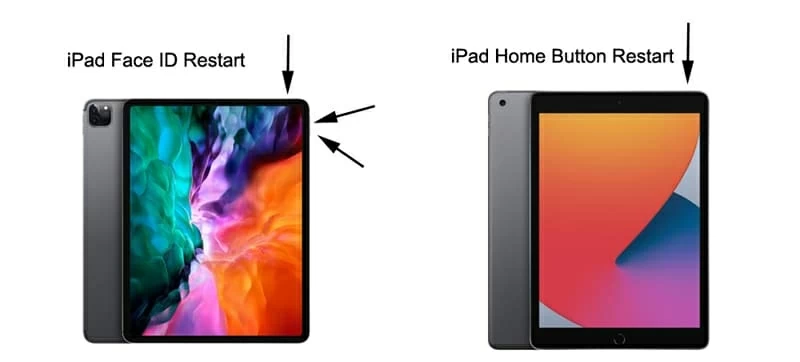
3. Restart your iPad. Aside from rebooting the router and modem, your iPad also needs to be turned off then back on when it keeps saying that it cannot connect to the server or delivering "incorrect password" message even when you type in the right password for the wireless network.
In an iPad with Face ID, hold down the either Volume button and the Top button. When the power off slider shows up, drag it to turn off iPad. Then, hold down the Top button until Apple logo appears. In an iPad with Home button, hold down Top button. When you see the power off slider, move it to the right to power if off. Then, hold down the Top button and release when it displays the Apple logo screen.
If the iPad Wi-Fi still stops working, you might want to try a forced restart. See how to do here.
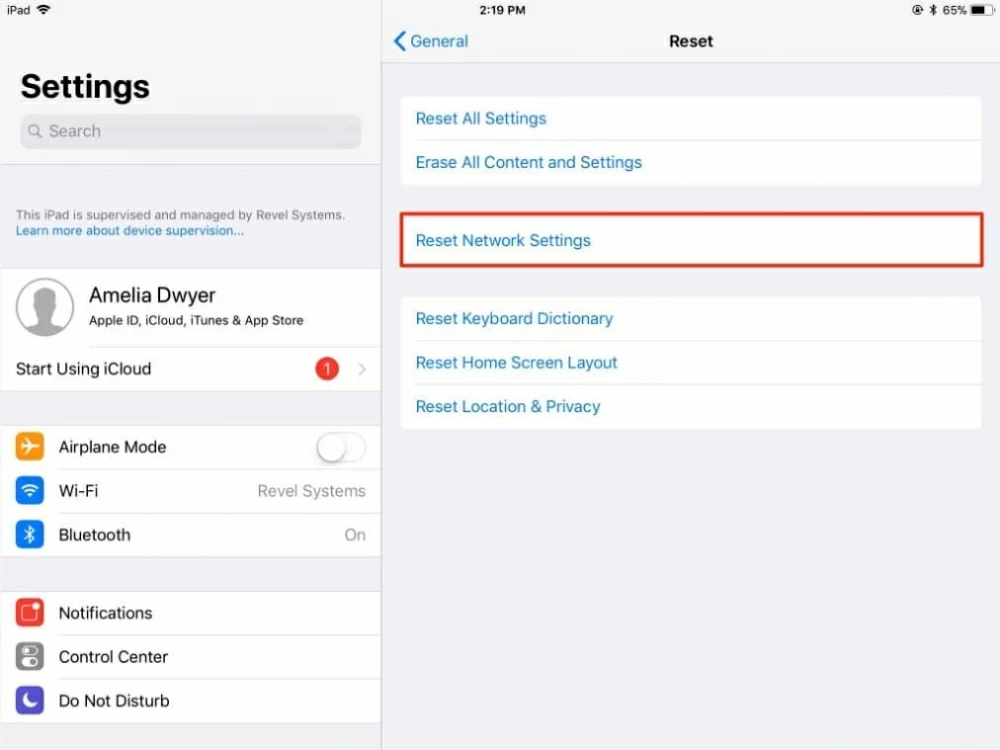
4. Reset network settings on iPad. This method focuses on restoring all the networks settings back to their factory state to fix most of iPad Wi-Fi connection problems like that it can't find, detect, join or stay connected to the Wi-Fi network. This action won't remove your media data and device content.
Attention: Apart from the Wi-Fi networks and passwords, the "Reset Network Settings" option will also erase all your personalized information saved in cellular settings, VPN and APN settings, Bluetooth connection, and so on. So, make sure you have a copy of all the log-in information to get back in before doing the reset.
On your iPad, navigate through Settings > General > Reset > Reset Network Settings. When prompted, enter your passcode. Then, tap Reset and it'll start resetting all your network settings back to their defaults. Once done, rejoin the Wi-Fi and you should have a wireless connection on iPad.
5. Turn to iOS System Recovery. With this all-inclusive tool, the process of fixing the not working Wi-Fi on iPad can be broken down into three simple part: run a diagnostic tool to unearth the Wi-Fi or Internet not working errors, select preferred repair type, and download a given iOS & iPadOS firmware to address an iPad not connecting to Internet through Wi-Fi.
If your iPad doesn't open a webpage in Safari due to no internet connection from Wi-Fi network after update, restart or reset, don't hesitate to try this software to bring things back to normal. Go ahead to the following download link to get the software. It's available in both Windows and macOS computer.
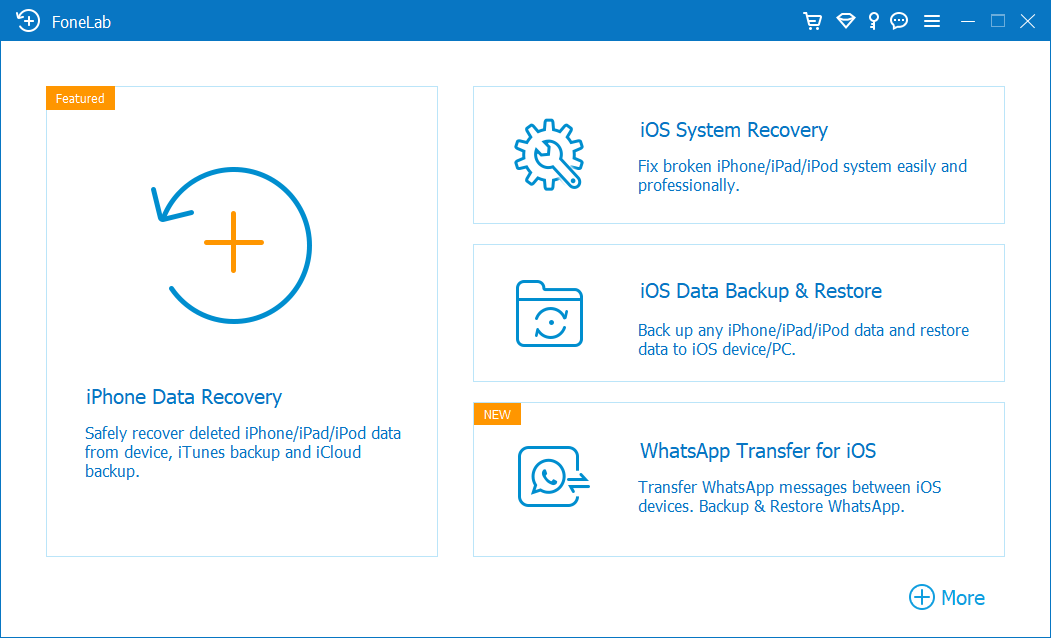
After successful installation, launch the program on your computer. From the bottom left corner of the opening screen, click on More tools. When you're brought to a window showing four function modes, choose iOS System Recovery part.
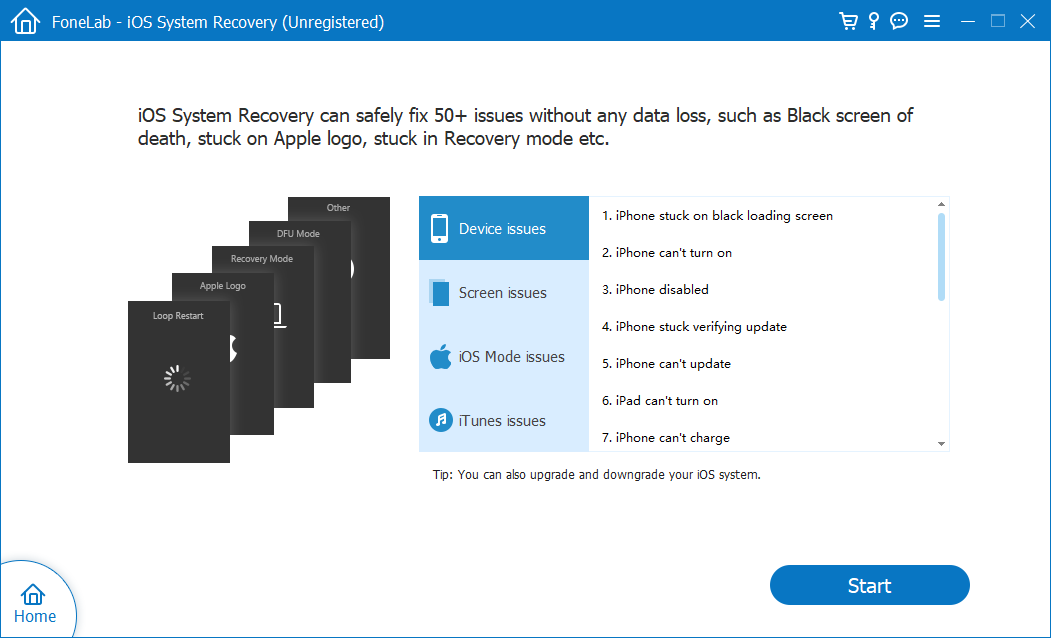
It'll then display the information on how to make optimal use of the software to fix iOS & iPadOS system issue. Just glance through the tips and then hit Start button to move on.
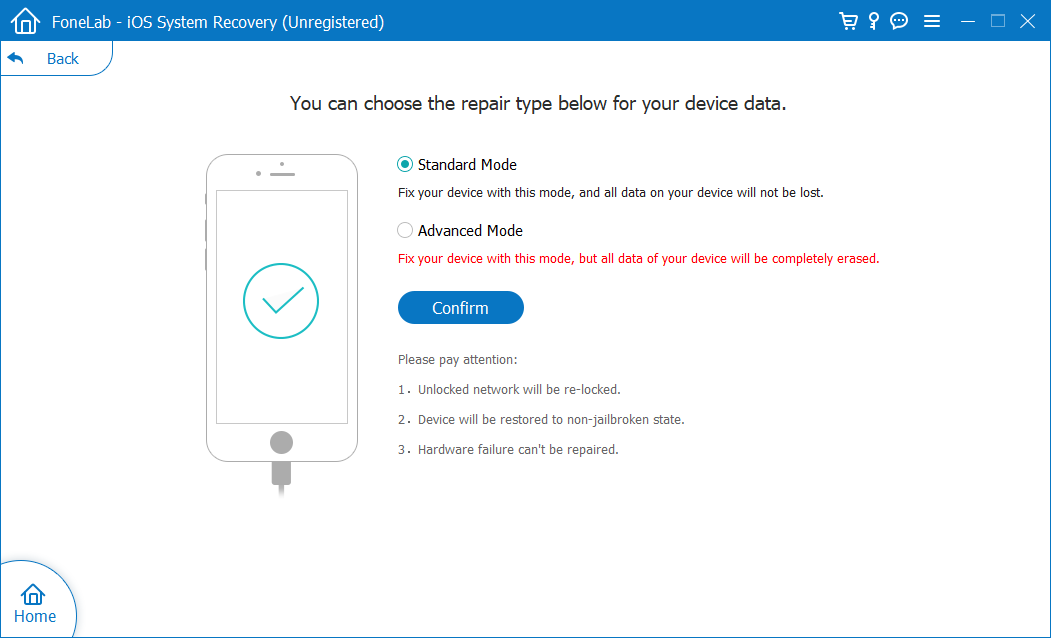
Now, use a USB cord to plug iPad to the computer. When software successfully makes a connection to your iPad, you'll get options for using Standard Mode or Advanced Mode. To do iPad Wi-Fi troubleshooting without losing data, go with Standard Mode. Then, press the Confirm button.
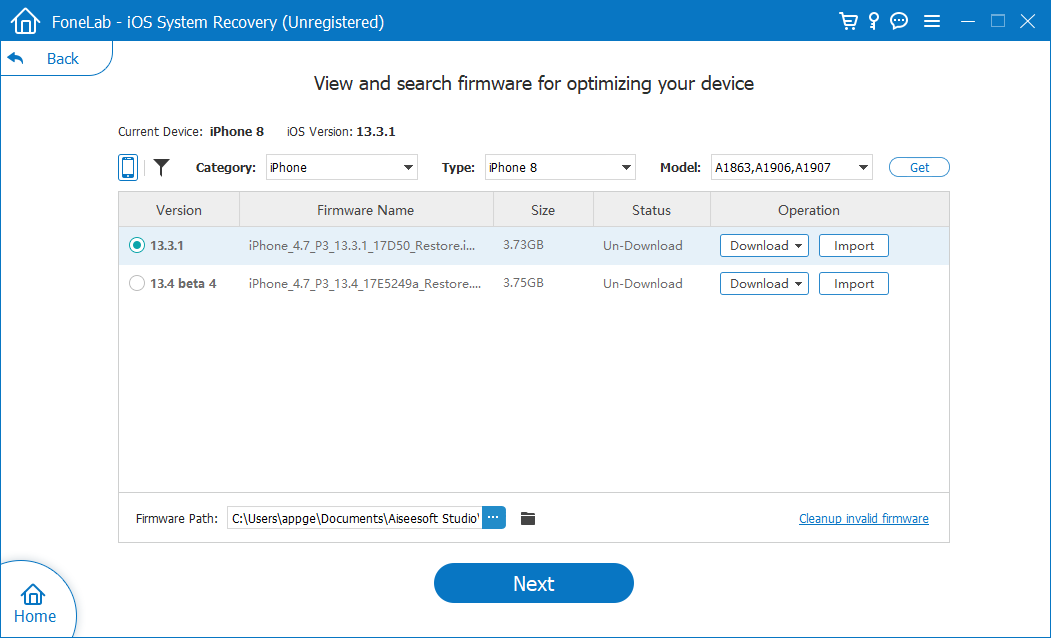
On the next screen, you should see the detailed information of your device and the supported iOS & iPadOS firmware packages. To deal with the iPad not picking up Wi-Fi issue, choose the latest version of firmware package from the list and hit Next button to download.
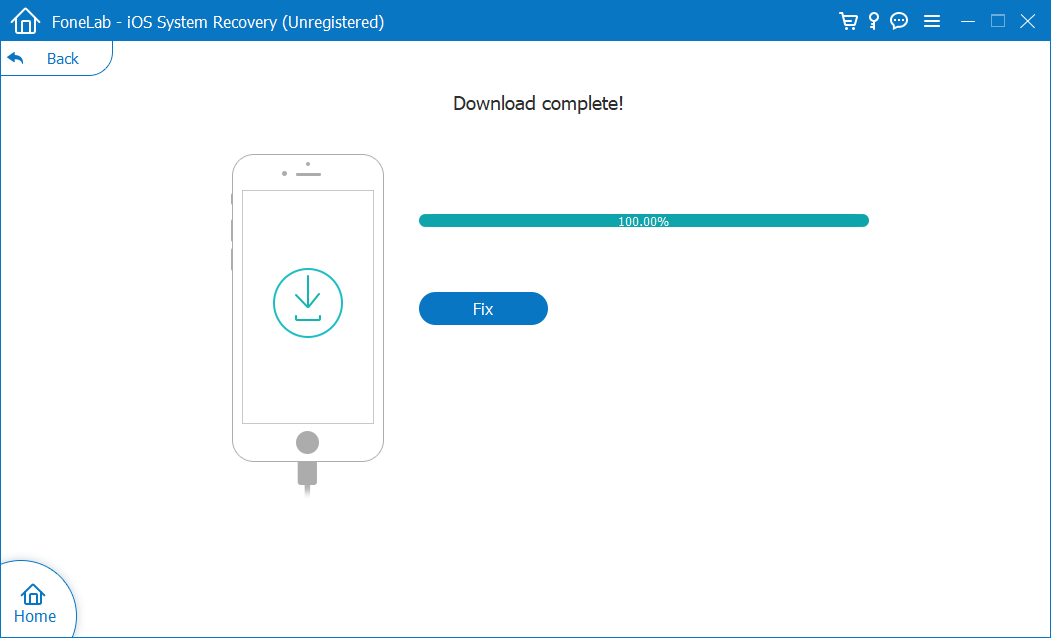
Once finished, hit Fix button. This application will go through your device internal memory to figure out why iPad is on but not connecting, and then install the downloaded firmware into your device to tackle the Wi-Fi network connection failure.
See the video: Easy Ways to Fix iPad That Won't Connect to Wi-Fi Connection
If your iPhone is experiencing the same disaster, get help from Why Does an iPhone Keep Disconnecting from Wi-Fi And How to Fix It.
1. Call Internet provider. At times, you might be able to connect iPad to a Wi-Fi network and the Internet is not working, which means that you can't get online to view videos on YouTube and the website you're visiting doesn't load properly.
In this case, connect other devices to the Wi-Fi network. If they all don't have the Internet access after connecting to the Wi-Fi, the Internet service might be either no longer available or it is impaired and entails evaluation from your Internet Service Provider (ISP). Find out your ISP here.
2. Contact Apple Support. It's possible that your iPad can't recognize the Wi-Fi network or connect the Internet while other devices all can be connected to the server and go to any website because of the hardware failure on the device like the broken Wi-Fi antenna. To test it out, go to another place with Wi-Fi network like the home Wi-Fi, public Wi-Fi, hotel Wi-Fi, etc. to connect your iPad to a different wireless network. If your iPad is unable to join all the networks, Apple is your best bet for getting help.
On a related note, when you're connecting to a public Wi-Fi network, it'll require you to agree to the terms and conditions to get the Internet connection. If you're joining the network at home, you might need to configure the settings for the router on iPad properly. Specifically, if you find that the Wi-Fi option is greyed out on iPad, the Airplane Mode might have been toggled on. Just turn it off.

3. Contact the manufacturer of the router or modem. When both the Internet service and your iPad is working well but the device still stops connecting the Wi-Fi or intermittently disconnects from the Internet, it's time to call the router's manufacturer and consult the expert for repair.
You've done performing all the solutions for iPad no internet connection. Now, and the device should accept the Wi-Fi network connection and have no problem connecting to Internet. If you find it helpful, please share this passage on your social media platforms like Twitter, Facebook, Pinterest, or more to do a favor to someone who is also troubled with Wi-Fi connection on an iPad.