Fix an iPhone 11 when it's Stuck on Apple Logo


Platforms
Developed for both Windows & Mac users

Here we offer you three different ways to record a video on Windows 10 using webcam.

Webcams are considered the most useful business communication tool ever created. However, webcam makes big impact not just in business field but also in entertainment industry. As short videos are prevailing on the Internet, more and more people are involved in making them. To better create high quality videos, photographic equipment, including a camera, ring light, tripod, and microphone are usually needed.
However, with the upgrade of webcams and cellphone cameras, bloggers tend to use them to capture webcam video for lower cost and straightforward operation. The video we recorded with webcam can also be used for the purpose of online training or tutorials. Below we'll show you how to make a video with webcam on Windows 10.

Mirrorless camera to start recording videos on your Windows 10 computer.
4 Steps to Record Yourself on Windows 10:
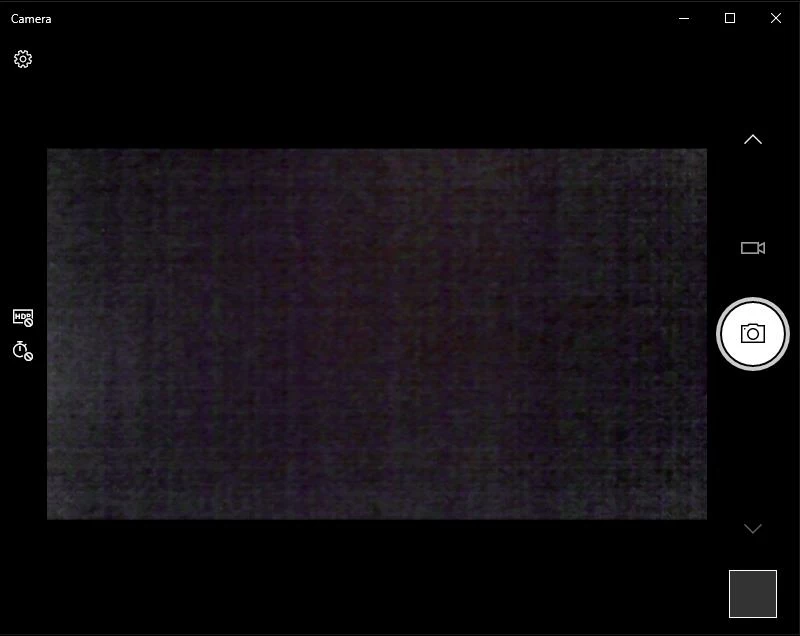
1. Click on Search option in the taskbar.
2. Type in the word Camera, and then press the key Enter.
3. Click on the video camera icon on the right side to switch to Video mode.
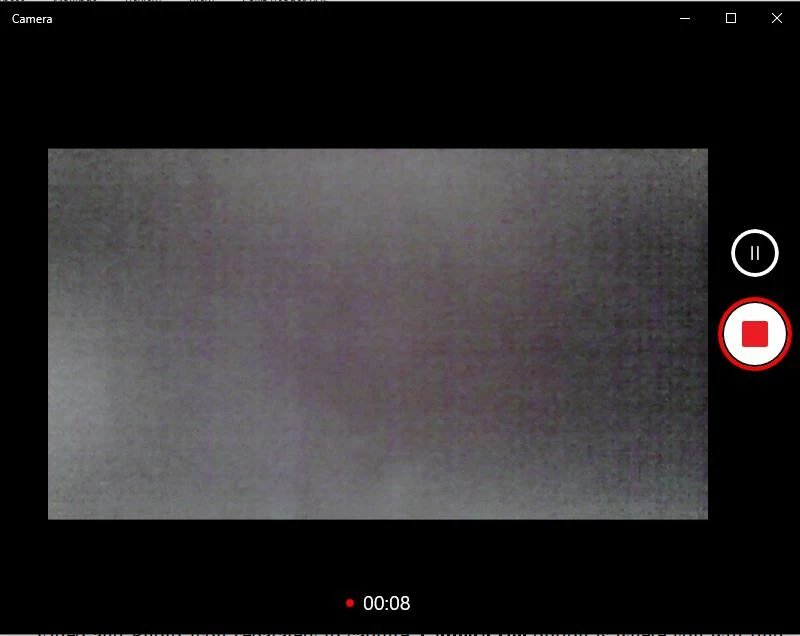
4. Tap the Video button to start video recording.
This is the simplest and fastest way to record video from webcam with windows 10's default camera app. But before getting your own start, please make sure that your microphone and webcam are enabled in your computer. If not, you may get into trouble accessing the sound and video recording.
Notes:

You can review the captured video on the Camera roll section, which locates on the right side corner. There you will find your recently recorded images/ videos. To check saved files, you can head to This PC > Pictures > Camera Roll.
Note:
Unfortunately, the default Windows 10 camera app doesn't provide many customization options especially when you're looking for editing features like cropping, splitting, or noise reduction. In this case, you may download and utilize several free webcam software on your PC. Here are some details on various top-notch webcam recorder applications.
AppGeeker Screen Recorder
AppGeeker Screen Recorder offers different lucrative features for webcam screen recording. It not only allows you to record different frame sizes for webcam videos, but also includes post-recording editing tools. During the webcam operation, you can take snapshots and create real-time drawings on the video (text, shapes, callouts, and arrows).
If you're dealing with a complicated filming task, AppGeeker Screen Recorder is your go to option. You can set a schedule for recording so that you won't miss any important moments. With the help of a basic trimming tool of the app, you can trim the beginning or end of your video with no delay. For further editing, Advanced Trimmer possesses the feature of trimming, merging, fading and more.
Step 1: Download and launch the app.

Step 2: Click Webcam icon on the top right corner.
Step 3: Click on the orange Record button at the top left corner.

Step 4: Click on Stop button, which shapes like a red square on the floating tool bar.

Step 5: Review the video and click Done to save it.
The default video output file is in MP4 format. You can make any kind of changes to the video later like renaming, deleting, editing or sharing the videos in the Recording history.
Logitech Capture
Logitech Capture supports recording in full HD at 60 frames per second during live events. At the time of recording, you may customize the video's aspect ratio, field of view, and resolution. You may record from a window, the desktop, even two cameras, and you can tweak the white balance focusing to get the best results.
While recording, you have access to a wide variety of fonts, sizes, and colors using the text overlay function. Follow below steps to learn how to capture video using Logitech Capture.
1. Run this webcam app once it's installed.
2. Select your webcam for Source 1.
3. Select your display screen for Source 2.
4. Click on Rec icon at the bottom to start recording.
5. Click on Stop icon at the bottom to complete recording.
Recorded videos can be found in the Folder icon beside Recording Control.
1. How do I improve my video quality in webcam on Windows 10?
In most situations, webcam footage is dim, blurry, or just not crisp. Light the room with a mix of bright and soft sources to improve your webcam's color reproduction, sharpness, and lack of grain. Recording movies facing windows during daytime will produce clear webcam photos. Windows 10 webcams also include HDR and Pro mode. Better picture quality may be achieved by adjusting the brightness in the Pro mode.
2. Can a webcam record when computer is off?
No. A webcam cannot record while the computer is off.
3. Can someone hack your webcam and record you?
A hacker can access your webcam and record you if they really want to. To do this, they employ Remote Access Trojans (RATs), a form of malware that grants the attacker remote access to and control over the victim's device. Webcam hackers often install remote desktop software using Trojan horse malware. Some files you download may not be what they seem to be, and may even include malicious script.
4. Does Windows 10 have Camera software?
Yes. Windows 10 have built-in camera software. It is pre-installed and connected to webcam.
5. How to adjust the webcam's focus in Windows?
If the image on your Windows 10 camera is blurry and out of focus, be sure you have a stable Internet connection and no bandwidth problems. Clean the lens with a gentle cotton towel if necessary. For the greatest results, use a delicate cloth with a very little spray of water. Try not to scratch the lens by pressing too firmly. Close all background programs, update camera drivers, and then run the Hardware & Devices troubleshooter. The built-in Windows camera program lacks a manual focus control. The blurriness and lack of focus is a result of the hardware and software being exploited.

