
Transfer Photos from iPhone to iPhone without iCloud

When it comes to iPhone photos not showing up on PC, don't panic! Read this guide and find solutions to solve the iPhone pictures not showing up on PC issue.

Many people would like to import iPhone photos to computer with the aim of freeing up space on iPhone or photos backup. However, according to scores of iOS users, they find their iPhone photos not showing up on PC in various circumstances.
If you are not able to view iPhone images on your computer, you shouldn't click out. We will show you several ways to easily tackle the problem of iPhone photos not showing up on PC.
You can find proper solutions to the iPhone photos not showing up on PC issue.
Table of Contents
It's common to find your Windows PC fails to display all the photos on your iPhone. Facing the snag, you can find seven fixes for iPhone photos not showing up on PC / Laptop with Windows 10 or Windows 11 in this page, which also helps when transferring videos from iPhone to computer.
To ensure information safety of iOS users, the DCIM folders of your pictures are not accessible to the computer when your iPhone is locked. So check your iPhone to find out if it's locked.
If so, unlock your iPhone and reconnect it to the computer. Now you can go to Apple iPhone and check the DCIM folder to find your photos.
Believe it or not, the USB cable can be the cause of your iPhone pictures not showing up on PC. A frayed, loosened USB cable may lead to poor contact. Therefore, change another USB cable and tap Trust in the pop-up window, then open your PC to import photos from your iPhone.
Many people choose to restart their devices when they encounter problems, which might work in some cases. Restarting your iPhone and computer can clean up programs, restore running speed, free up memory and relieve processor pressure. Try this easy way to see if it helps to show up your iPhone photos on PC.
If you can't see all your iPhone photos on the computer, they might be saved in iCloud. If you have turned on the iCloud Photo Library, photos would be automatically uploaded and stored in iCloud instead of your iPhone. To fix iPhone images not showing up on PC, you need to turn off iCloud Photo Library and bring back the photos. Here are the steps:
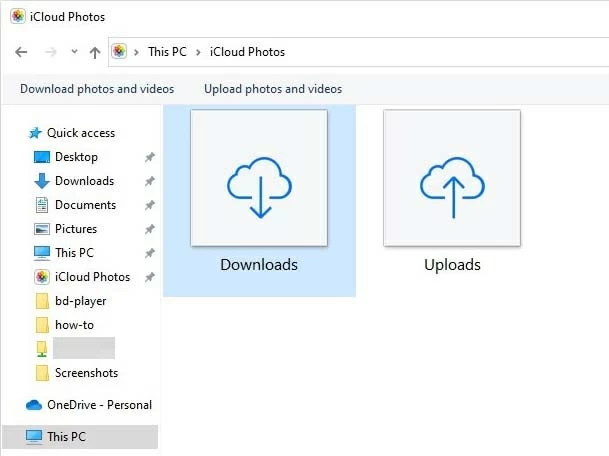
Alternatively, you can use iCloud to transfer photos from Windows 10 to iPhone wirelessly if you want to access your computer pictures on your phone.
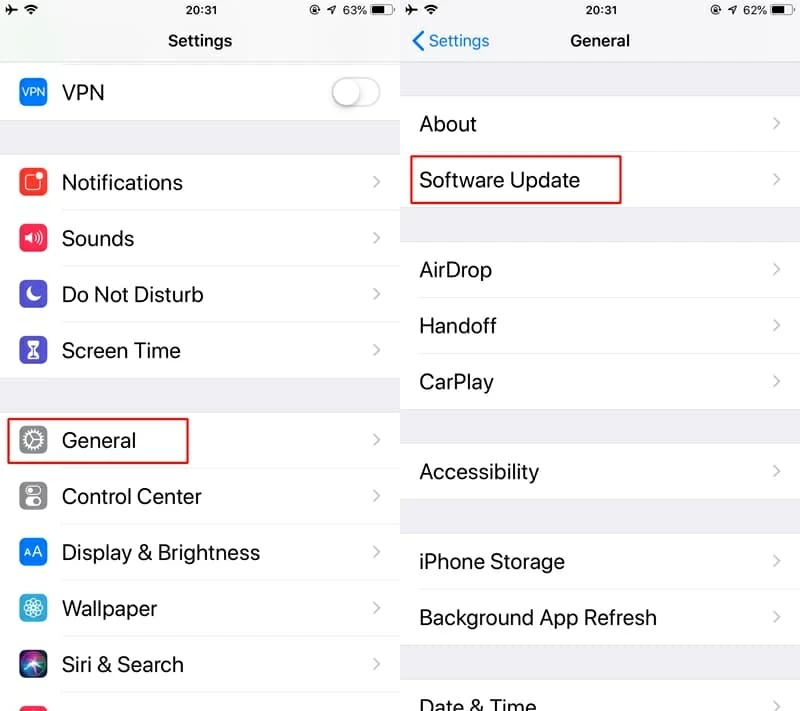
Sometimes, updating your both iPhone and PC to the latest version helps you get rid of iPhone photos not showing up on PC.
How to update your iOS: Open Settings > General, choose Software Update and tap Download and Install if there is a new iOS update.
How to update your Windows PC: Choose Start Settings > and select Update & Security. Find Windows Update, then click Check for Updates to equip your PC with the latest version.
AutoPlay is a unique feature on Windows 10 that lets you choose a program to display photos, music, videos when plugged into a media device. So when you plug in your iPhone, the AutoPlay window will pop up and prompt you to choose the software that can import your photos.
To avoid iPhone photos not showing up on your Windows, you should manually activate AutoPlay. To do this:
Open Settings, click Devices on the sidebar to navigate to AutoPlay. Then, click on Use AutoPlay for all media and devices. Below the button, you can choose to select AutoPlay default settings when connected to your iPhone.
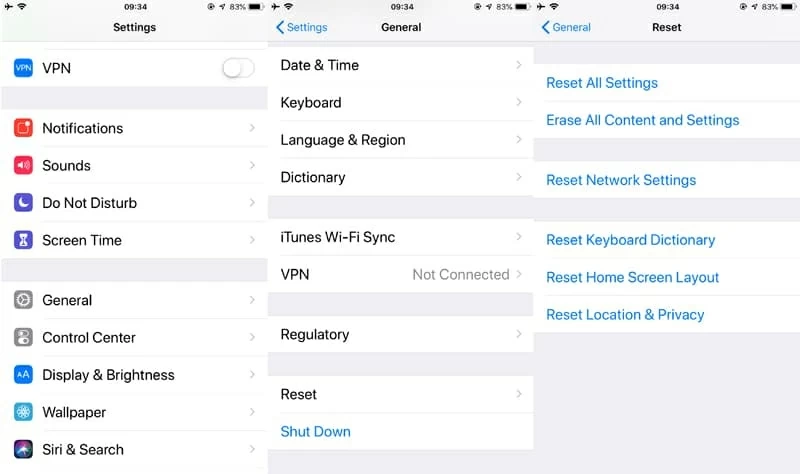
When you first link your iPhone to PC, there will be a pop-up window asking if you trust this computer or not. Generally, we tap Trust because we want to transfer files and photos to PC, but at times you click Don't Trust mistakenly and be at a loss.
Never mind! Try as follows to fix the photos not showing up on iPhone camera roll issue.
Note:
Find the above methods ultimately not doing any good? It's okay - You have a better option! iPhone Data Transfer allows to you import iPhone photos from camera rolls, albums, media pictures, etc. to your PC and vice versa. The user-friendly interface of the program ensures quick photo transmission and safe management with its comprehensive functionality.
Here is how to access iPhone photos on PC with iPhone Data Transfer:
Step 1: Download and open iPhone Data Transfer.

Step 2: Connect your iPhone to Windows PC using a USB cable.
Step 3: Click Photos from the left panel and choose the photos you want to transfer.

Step 4: Select Export To PC and wait for the process to be done.

The text is written to introduce seven universal ways to solve the nasty issue of iPhone photos not showing up on PC. As a jumble of reasons could result in this problem, not all the solutions work. It's reasonable for you to use iPhone Data Transfer with simple operation and transfer photos from iPhone to PC or vice versa. Feel free to try out the fixes or pick a better alternative.


