I Forgot My Passcode to My iPhone

If your disabled iPhone is plugged in computer but not working in iTunes or Finder, these instructions can help you unlock the phone and get it running again.

There is nothing more frustrating than taking your iPhone out of your pocket to enter your passcode and instead of being able to unlock the Lock Screen, you find you're locked out. You then try different codes again and again until you get an alert saying that "iPhone is disabled connect to iTunes."
What's worse, when you try to connect the disabled to your computer and open iTunes to restore it, the app doesn't respond to the phone — no sign on your Lock Screen, no device icon in iTunes' window. What could be wrong? What can you do when your iPhone is disabled and won't connect to iTunes?

To fix a disabled iPhone not connecting to iTunes, sometimes all you need to do is push a few button combo.
Thankfully, there are a few different approaches you can take to fix an iPhone that is disabled and can't connect to iTunes, though you will reset the phone to its factory settings and lose all the data.
We outline the detailed steps in Way 1 to help you go through the right button combination to connect to iTunes when iPhone is disabled and start the recovery mode for restore. Of course, if iTunes doesn't work for some reasons, you can resort to third-party tool, something like Appgeeker iPhone Unlocker, or iCloud's remote factory reset to help you out.
When you're locked out of your iPhone after entering the wrong passcode, Apple gives you extra 9 chances to unlock it. The more incorrect guesses you do, the longer the waiting period is. If you still can't remember your passcode and reach the 10th incorrect attempt, you're no longer presented with "iPhone is disabled try again in X minutes," instead, an alert lets you know that your iPhone is disabled and you need to use a computer to connect the phone into iTunes in order to restore from recovery mode.
In most scenarios, disabled iPhone won't connect to iTunes simply because you don't find the right way to start Recovery mode, an advanced tool that can direct iTunes to either update or restore an iPhone or iPad when something goes wrong. In that case, all you need to do is push the button on your particular iPhone model that you'll need to hold.
You will also want to use Find My function in iCloud to erase your iPhone remotely, if iTunes is still not recognizing disabled iPhone. iPhone Unlocker software is also worth a try.
Unfortunately, if your iPhone is disabled as a result of entering the wrong passcode too many times, you're unable to unlock your iPhone with a simple connection to iTunes as the error message prompts. You will have to press the right button combo to put the disabled phone into recovery mode and then restore it to factory settings with iTunes.
Depending on what model of iPhone you have, you will have different button combination to start recovery mode. Please note that after the restore process, iTunes deletes all of your data and settings, allowing to erase its passcode and get into a fresh iPhone without Lock Screen. You'll be able to save the data on your iPhone with a backup if you have.
Follow the steps below to restore your disabled iPhone when it won't connect to iTunes.
Don't connect the disabled iPhone to iTunes on computer first. Instead, unplug it from the machine if it's connected. Then press a button or two to power it off.
If you have an iPhone 8 or later: Press and hold the Side button and either of the Volume buttons until you see the power off slider. Drag it to right and wait a while to let the phone shut off completely.
If you have an iPhone 7: Press and hold the Side button until you see the power off slider. Drag it to right to turn your phone off.
If you have an iPhone SE (1st gen), iPhone 6s or earlier: Press and hold the Side (or Top) button and wait for the power off slider to appear. Drag the slider to turn off the phone.
You're ready to connect the disabled iPhone to iTunes and enter recovery mode. Make sure that your computer has the latest version of iTunes to run, as well as has a strong internet connection. If you're on a Mac with 10.15 or newer, Finder app is in charge of the task.
If you have an iPhone 8 or later: Holding the Side on your phone while you plug your iPhone to your Windows or Mac computer with the cable. Keep holding the button until the recovery mode screen appears, then let go of the button.
If you have an iPhone 7: Connect the device to your Mac or PC while pressing the Volume down button until the recovery mode screen appear on your iPhone.
If you have an iPhone SE (1st gen), 6s or earlier: Press the Home button while connecting your phone to your computer. Release the Home button only after you see the recovery mode screen appear. (It should look like the image below.)
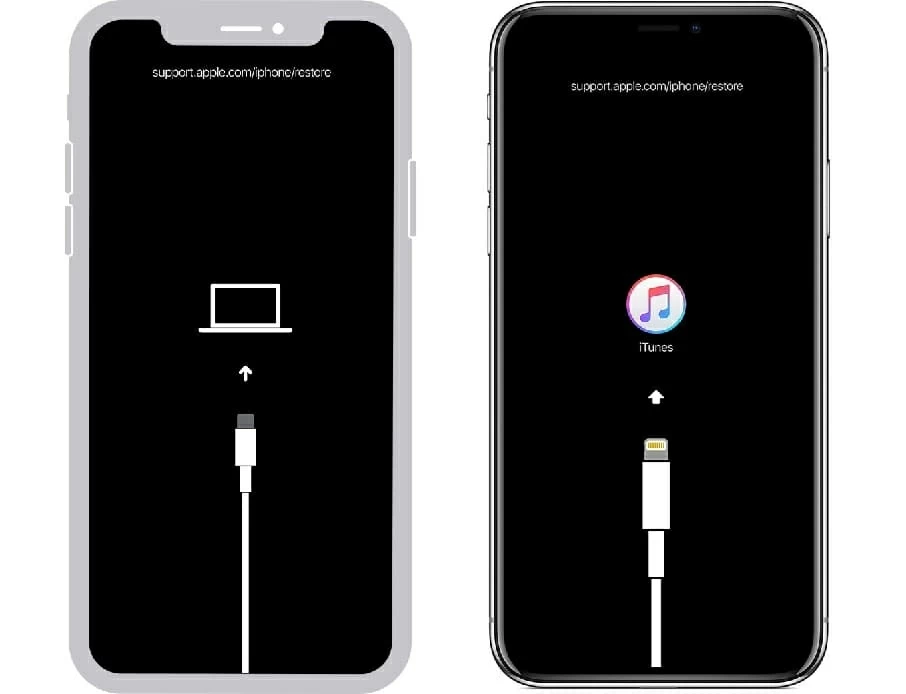
Hold the correct button for your iPhone model to enter recovery mode if it won't connect to iTunes.
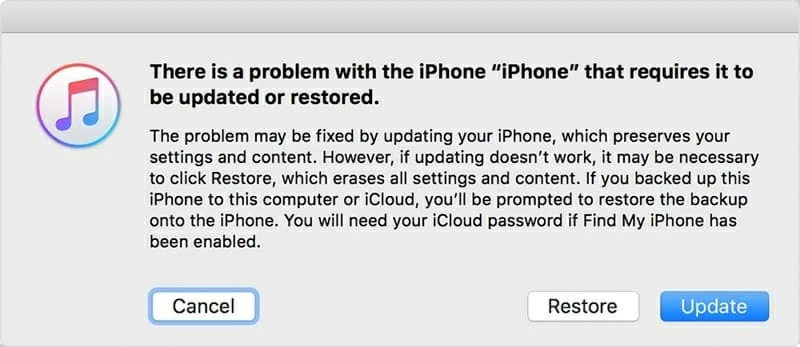
Once iTunes or Finder recognizes your disabled iPhone in Recovery mode, it should automatically launch on your computer. If not, you may open the app manually. It then give two options about how you want to deal with the disabled phone. Click Restore.
Your computer will connect to Apple's servers and download software to install on your iPhone. Let it take care of restoring the iPhone to factory default settings while the data on your phone is erased. It can take several minutes.
iTunes can reset your disabled iPhone by restoring it to factory settings.
When your phone reboots, it has been reset and will be running the latest iOS. You can now go through the initial setup process. If you have backup available, you'll get the option to recover your data and settings from backup.
Something to bear in mind when connecting the disabled iPhone to iTunes.
Note:
Also see: How to recover deleted photos from iPhone.
It's possible that connecting the disabled iPhone to iTunes doesn't do much of anything. Maybe iTunes can't detect your phone in recovery mode, perhaps it won't restore the device for unknown reason.
Whatever the reason, you can unlock a disabled iPhone without iTunes. That's where Appgeeker iPhone Unlocker comes in. It's a popular cross-platform password reset utility with a well-designed interface, allowing for both experienced users and beginners to wipe passcode for Lock Screen, bypass iCloud activation lock, and remove ScreenTime passcode quickly and easily.
Here is how to use iPhone Unlocker to reset the forgotten passcode when iPhone won't connect to iTunes after disabled. First of all, install the program on your either Mac or PC machine.
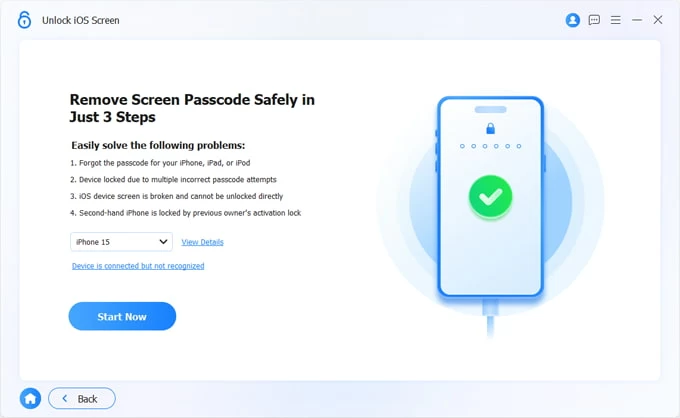
1. Run it on the computer and connect the disabled iPhone with a cable that came with your phone, or another compatible cable.
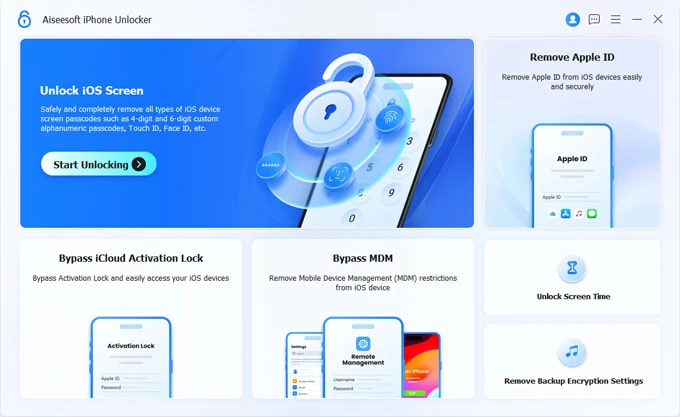
2. Click "Unlock iOS Screen" on the main interface. If prompted, follow the onscreen instructions to put the device into recovery mode. Relax, it's easy to complete it.
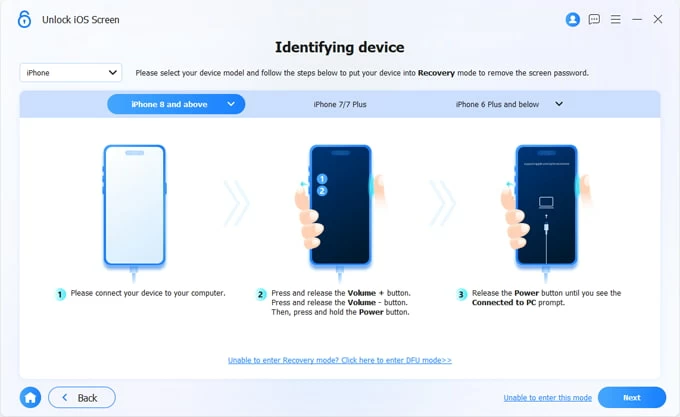
3. Once your iPhone is connected successfully, confirm your device information.
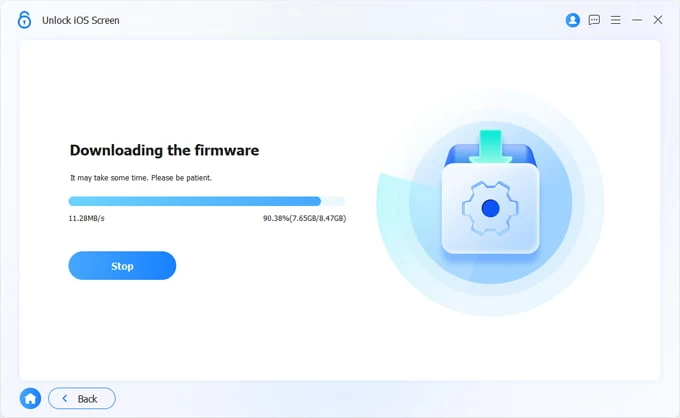
4. Click "Start Now" button to download iOS software for your iPhone model.
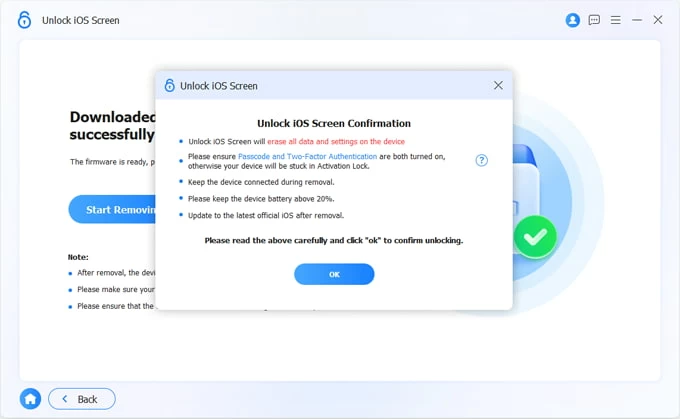
5. Review the warning and click "OK" button then "Confirm Again" button to begin reinstalling the software onto your phone and reset it to factory conditions. Everything on the device will be erased, including your passcode that you forgot.
6. After your iPhone is unlocked successfully, follow the setup assistant to set you iPhone up. If you have backup of your data, you have option to restore data from iCloud backup, or restore a backup from Mac or PC.
This program also works in resetting an iPad without passcode.
Video: Fix an iPhone when it's disabled and won't connect to iTunes
iCloud has made it increasingly easier to use a Find My iPhone feature to reset an iPhone if it's disabled and won't connect to iTunes for restore. If you have Find My enabled before, you should erase your disabled iPhone in a quick way. This process also wipe all your data and settings, too.
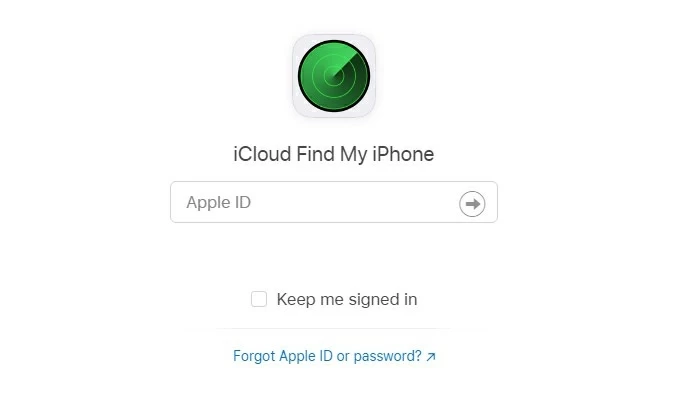
First of all, sign in to https://www.icloud.com/find/ with your Apple ID and password.
Once logged in, click "All Devices" at the top of the page. Then in the opening dropdown menu, select your disabled iPhone from the list.

Next, click "Erase iPhone" option.
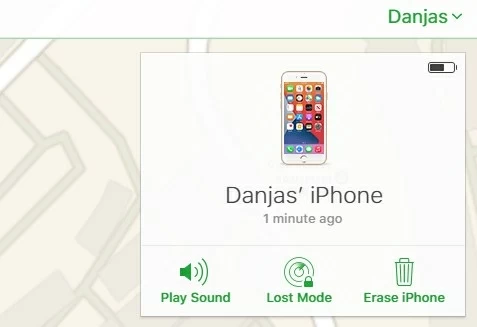
Confirm your decision and enter your Apple ID and password. Wait for iCloud to erase the disabled iPhone to the way it was when it came out of its box. and remove the Lock Screen, including your passcode.
Once it's complete, follow the prompts to complete the setup process. You'll want to restore data from recent backup or install all apps manually, as well as download any data that is stored in iCloud.
We've discussed the different solutions to problem of "iPhone disabled won't connect to iTunes." Hopefully, by this point your iPhone is running well as normal and get everything back. You will want to set a new passcode that's easier to remember for you while being hard to guess for anyone else. Also, don't forget to back you phone regularly!