
How to unlock phone without password

Have accumulated vast libraries of digital films on your either Windows or Mac computer and want to transfer to your iPhone for playback? This article will help you out.

If you need a reliable way to for bulk transfer of your films, music, photos and other media files, you may consider using Appgeeker iPhone Data Transfer, a reputable file transfer tool that offers a level of granular control and flexibility that official Apple tools often lack.

We live in a golden age of content, yet we often find ourselves tethered to a desk when we want to be on the move. You have a favorite 4K movie sitting on your hard drive, but you have a three-hour train ride ahead of you. The gap between your computer and your iPhone can feel like a digital canyon.
This guide bridges that gap. Here, we'll explore the best ways to transfer your movies from a computer to an iPhone so you can start enjoying your favorite films on the go.
Table of Contents
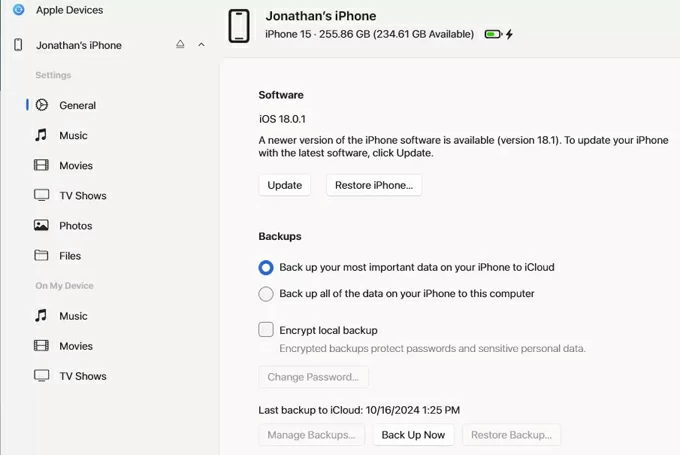
For past years, the official way to transfer movie files from a computer to iPhone has been through Apple's native ecosystem. If you're on a Mac (macOS Catalina or later), this happens in Finder. For Windows users, iTunes is the way to go. Now, the era of using iTunes for device management on Windows is largely over. Apple has replaced the bloated iTunes installer with a streamlined suite - Apple Devices app.
On Windows, follow these steps to movie a movie from Windows computer to your iPhone via Apple Devices app:
1. Download and install Apple TV app and Apple Devices app from Microsoft Store.
2. Open the Apple TV app on your Windows PC.
3. Go to the Library tab. Drag and drop your movie files (must be .mp4, .m4v, or .mov) directly into the Library window.
4. Connect your iPhone to your PC using a USB cable, open Apple Devices app.
5. Select your iPhone from the sidebar on the left.
6. Click on the Movies tab in the sidebar.
7. Check the box that says Sync movies onto [Your iPhone Name].
8. Choose to sync All movies or manually check the boxes next to the specific films you just added.
9. Click Apply in the bottom right corner. Once the progress bar at the top finishes, your movies will be in the TV app on your iPhone under Library > Home Videos.
Advantages:
Sometimes, the use of Apple's native tool feels a bit too restrictive. Third-party tools allow you to drag and drop files directly into specific apps without the syncing headache that often wipes existing data.
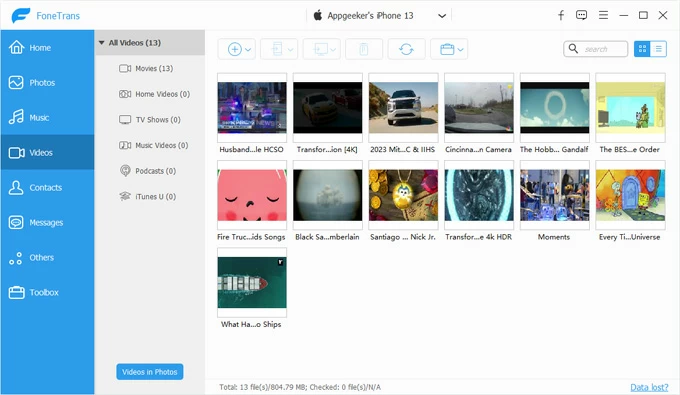
Appgeeker iPhone Data Transfer is our favorite. It is essentially the Swiss Army knife of data management, specifically designed to rescue users from the often-clunky constraints of iTunes and Apple Devices app. It serves as an all-in-one bridge that lets you effortlessly transfer files—like videos, photos, music, messages, notes, contacts—between iPhones, iPads, and your computer without touching existing content.
Before you do anything, download the right version of the tool on your Windows or Mac computer, then do the following:
Step 1: Connect the iPhone
To transfer movies from a computer to an iPhone, first of all, connect your iPhone into the machine and launch iPhone Data Transfer.

Tip: This guide is based on Windows, but is practically identical for the Mac platform.
Step 2: Open videos library
On the left-hand list, click on Videos and then select Movies or Home Video, or any other category you want to save the newly added movie files.
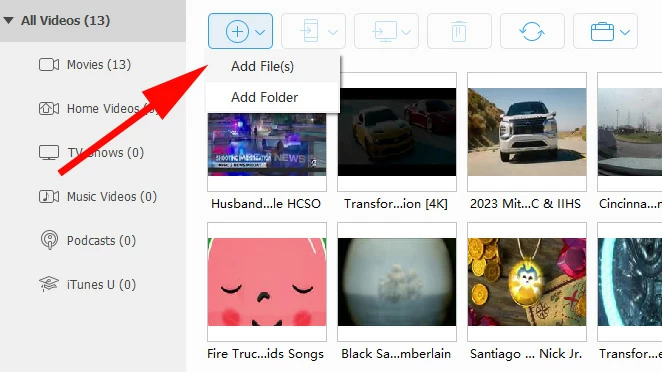
Step 3: Add movies to iPhone
Click the Add icon in the top menu bar. Browse your PC for the video files, select them, and click Open.
Alternatively, open the folder where your movies files stored, drag and drop them to the program's window.
The program will begin the transfer. A progress bar will appear; once finished, the movies are immediately available on your iPhone.
One of the good thing of using this program is if you try to transfer an .mkv, .avi file or other file formats, it will detect it and automatically convert it to an iPhone-compatible format (.mp4) during the transfer.
Advantages:
Related: How to Transfer Music from Computer to iPhone without iTunes
For Mac users, Finder remains the gateway for transferring your files from computer to iPhone, including movie files.
1. Open Finder on your Mac.
2. In the left sidebar, under the Locations section, click on your iPhone.
3. If prompted, click Trust on both your Mac and your iPhone.
4. In the main window, you will see a row of tabs. Click on Movies (next to Music tab).
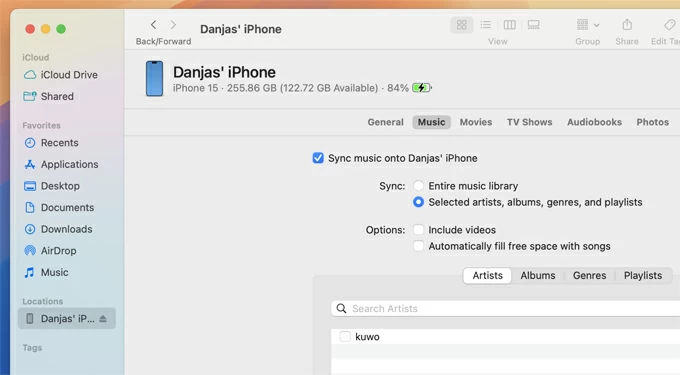
5. Check the box that says Sync movies onto [Your iPhone's Name].
6. Select the specific movies you want to transfer from the list below.
7. Click the Apply (or Sync) button in the bottom-right corner to begin transferring movies to your iPhone.
Advantages:
Related: How to Undelete Text Messages on iPhone
For Mac users, there is another magic feature called AirDrop available to use for transferring your movies. The most obvious perk is that it's completely wireless. You don't need to hunt for a lightning or USB-C cable. As long as your Mac and iPhone are within about 30 feet of each other, you can initiate a transfer instantly from the Finder or your desktop.
Right-click a file on your Mac, hit Share, and select your iPhone and you're done. Here's how.
1. Open Control Center on your iPhone (swipe down from the top-right corner).
2. Tap the AirDrop icon and select Everyone for 10 Minutes (this ensures your Mac can find it immediately).
3. Make sure Wi-Fi and Bluetooth are turned on for both the iPhone and the Mac.
4. Locate the movie file on your Mac.
5. Right-click (or Control-click) the file.
6. Select Share > AirDrop.
7. A window will appear showing nearby devices. Click on your iPhone's name.
8. A pop-up will appear on your iPhone screen saying [Mac Name] would like to share a video.
9. Tap Accept.
Wait a while until the movie is transferred to your iPhone.
Advantages:
Related: How to Reset iPad without Passcode
Whether it's iCloud, Google Drive, or Dropbox, cloud services act as a middleman that lives everywhere at once. You simply upload the movie file from your computer into cloud via a browser, and it appears in the Files or Photos app on your iPhone.
Here we take iCloud Photos as example to show you how to get your movies onto your iPhone from computer.
1. Go to iCloud.com and sign in with the same Apple account used on your iPhone.
2. Click on the Photos icon.
3. Click the Upload icon (cloud with an up arrow).
4. Select your movie files. iCloud Photos only accepts standard formats like .mp4 and .mov.
5. On your iPhone, Settings > [Your Name] > iCloud > Photos > Sync this iPhone (On).
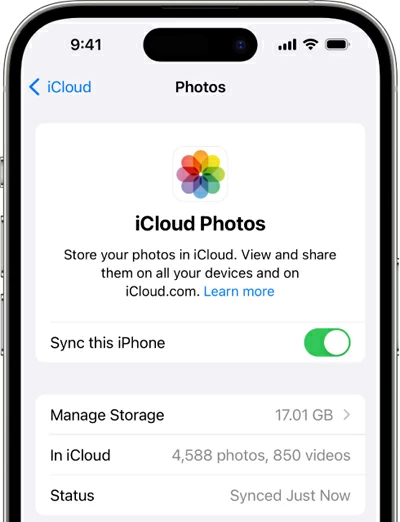
6. Open the Photos app.
7. Your movie will appear in the Library or under the Videos media type in the Albums tab.
Advantages:
1. "The File is Too Large"
If you're using a cloud service like Dropbox, you might hit a 2GB limit. You should use a physical cable or the AirDrop method. These bypass cloud limits entirely.
2. "I Can't Find the Movie on My iPhone"
If you used the Files app or iCloud, the movie won't appear in your Photos app. You should open the Files App, navigate to the folder where you saved it, and tap the movie. You can then hit the "Share" icon and select "Save Video" to move it to your Camera Roll.
3. "There is No Sound"
This usually happens when a movie uses an AC3 or DTS audio track that the iPhone doesn't natively support. You can use VLC for Mobile. It has the licenses to play these audio formats where the default Apple player might fail.


