How to Download Music from iPhone to iTunes

You can transfer your photos from iPad to computer. Here's how to do it, even in Windows, which is not part of the Apple ecosystem.

![]()
You can transfer photos from iPad to your computer with Windows built-in tools and iCloud Photos in macOS. You can also rely on third-party option—iPhone Data Transfer.
Capturing unexpected photos is always exciting. But there are more efficient ways to view and edit them than being restricted to a tiny iPad screen and less powerful mobile photo editing apps. Or maybe you want to make copies of your photos, make your own photo videos and share them. That's why you'll want to check out how to transfer photos from iPad to computer.
Depending on which computer model you own, there are a variety of methods to help you get photos off iPad for backing up, storing and editing.
How to transfer iPad photos to computer with:
Note:
If you have a huge backlog of photos that you want to transfer, then speed of transferring is probably of the essence. In that case, a third-party tool named Appgeeker iPhone Data Transfer is worth a try. It is a simple yet powerful program that lets you transfer photos from iPad to computer in a short time so that you don't need to stand around and then wait while it transfers.
iPhone Data Transfer offers a lot of versatility in such a small package. It's easy to use and offers a feature to convert photos to other formats. In addition to photos and videos, it can also make it easy to transfer music, contacts and other data from iPad to computer, computer to iPad, phone to phone. Overall, iPhone Data Transfer is one of the best data transfer tools if you're looking to save time without getting poor quality in return.
The steps to transfer photos couldn't be simpler. On the computer, Click the button below that says for macOS or for Windows to download iPhone Data Transfer.
This method is not only available for Windows, but also for macOS. Here we use macOS as an example.
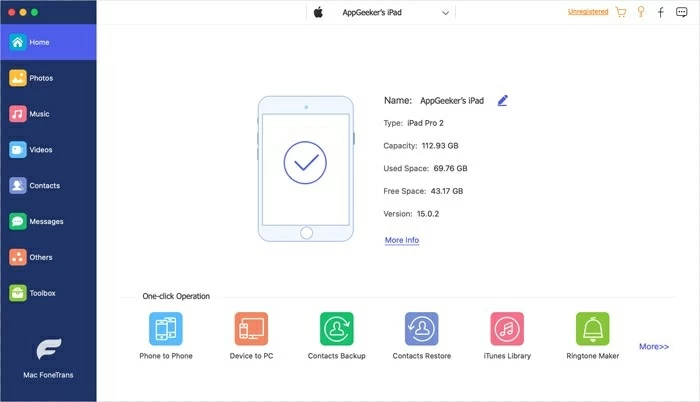
Once you have downloaded iPhone Data Transfer, let it run on your computer. You're prompted to connect your iPad to the computer to manage data. Then you can see the detailed information of your iPad.
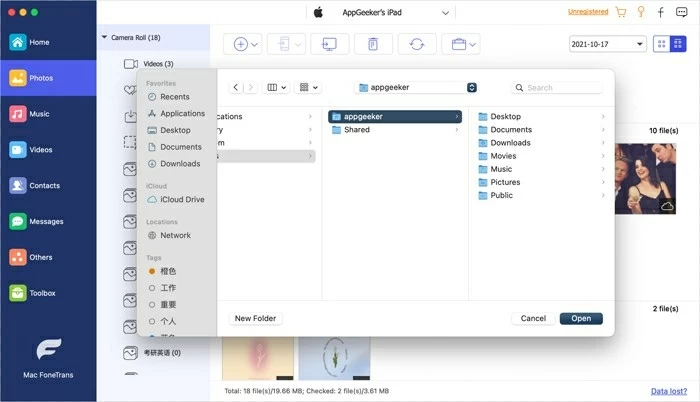
Click on the Photos button in the sidebar to display all the photos on your iPad. Just click on the image and this image will be selected. If needed, check the box next to Check All to select all the photos.

Hit on the Export to PC button that seems like a computer at the top of the software. then choose a folder to save the photos selected when prompted. Finally, click on the Open button and the process of photos transferring begins.
Don't miss this chance to enjoy quick and convenient transitions when you want to view the photos on a larger screen, and never again worry about data transfer, file deletion, and backup.
File explorer is where you will get good control over transferring iPad photos to Windows computer. Typically, you plug the iPad into the computer, and it treats the iPad as a USB device and it allows you to copy photos from this USB device. Here's how:
1. Same as iPhone Data Transfer, attach your iPad with the computer at first. Enter your password to allow your iPad to trust this computer if necessary.
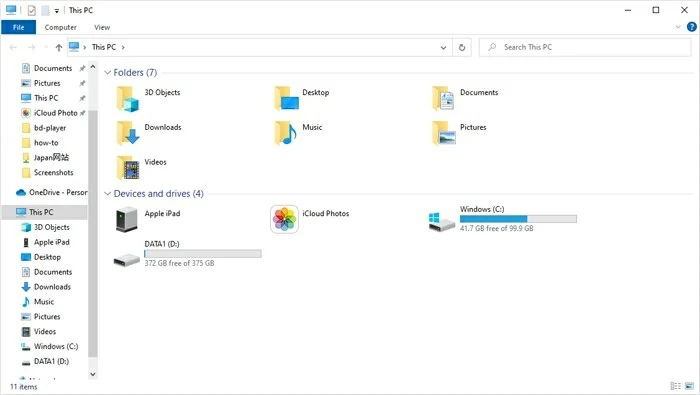
2. On the desktop, double-click on This PC. You should see a device named Apple iPad under Devices and drives.
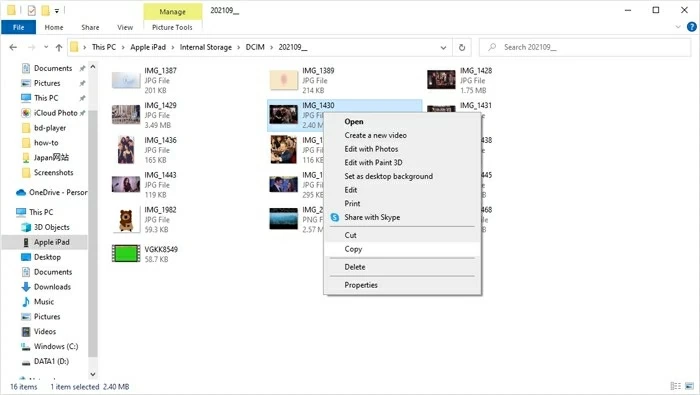
3. Double click on Apple iPad to go to Internal Storage > DCIM. In DCIM, a series of folders with all your iPad photos in them are displayed in front of you in chronological order.

4. Right-click the folders or the pictures to be transferred and then click on Copy. Paste them into any other folder you want on computer.
You need to be aware that your iPad should be connected to the computer at all times during the process of photos transferring.
Apple offers a cloud service dubbed iCloud Photos, which allows iPhone and iPad users alike to transfer photos to computer, but it's not completely free: the basic version of iCloud only offers 5GB online storage for free. Meanwhile, Apple offers an upgrade version of iCloud, called iCloud+, that adds 50GB, 200GB, and 2TB of iCloud storage.
Firstly, sign in the same Apple ID on your iPad and Mac. On your iPad, go to Settings > Photos > iCloud Photos. Move the slider next to iCloud Photos to the right to enable it.
Next, move to your Mac, launch the Photos app. Open System Preferences from the Apple icon in the left-corner of your Mac screen. In the next menu click on Apple ID. You should see a screen like this:
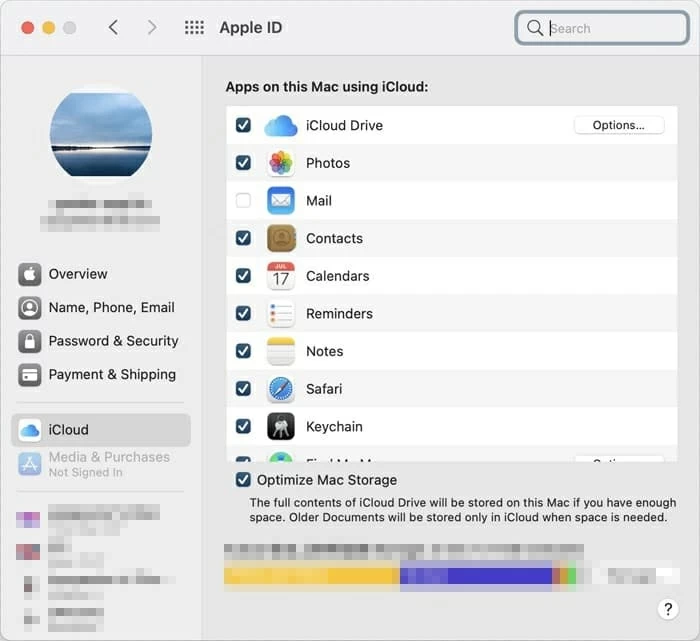
Select iCloud from the left navigation bar. Then check the box near Photos. Now all the photos from your iPad have been synced to your Mac.
This an out-of-box option that allows you to transfer iPad photos over a USB cable to your computer. Even if you've been using Windows 10 since its debut, there are likely features in Photos app that you may not know about, one of which is its photo transfer function. Read on for this useful feature that will make photo transfer in Windows 10 easier than ever.

You can check the box next to "Delete original items after import" to remove the original photos from iPad.
For those who use a computer with Windows 7 which doesn't have a Photos app, Microsoft also offers a built-in service——which makes it possible to transfer photos from iPad to Windows 7. Likewise, when you plug your iPad into your computer, it will automatically pop up.
Here's the workaround which lets Windows 7 users move photos from iPad to computer:
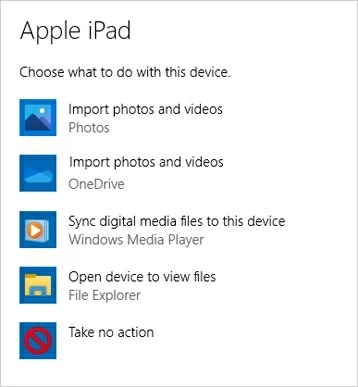
Use USB cord to connect your iPad to the computer. The AutoPlay window will pops up in the lower-right corner of your computer.

Then you should see a list of what to do with this device. Choose Import photos and videos option. Make sure you're choosing the option with Photos beneath it.
All your photos should appear in the window called Import items. Choose the photos you want to move. Then click on Import X of X items.
When the process of transferring finishes, you can view the iPad photos in the Pictures folder.