
How to Unlock iPhone with iTunes

Photo is an essential form to capture valuable memories. Transferring iPhone photos to Windows PC to store them can make your photos more secure, and we show you how.


Check out these methods to move photos from iPhone to a Windows 7 computer.
For iPhone users, taking a picture to capture precious memories can seem simple: just take the iPhone out of your pocket to point and shoot. Then a picture is created. Usually, most of us store our photos in albums in our phones by default. But anyone who has lost his phone data due to some reasons knows that there's one thing you can do to tackle this whole scenario in advance: have a safe copy of all your photos in your Windows 7 computer.
However, being an iPhone user who has gotten used to Apple's system, you may find that it can be tricky to transfer photos from an iOS device to a Windows 7 computer. That's why you want to check out how to transfer iPhone photos to a Windows 7 computer.
How to transfer iPhone photos to a Windows 7 computer:
Note:
It's easy to import iPhone photos to your Windows 7 computer by using AutoPlay, which is a built-into program offered by Microsoft. All you need to do is plug your iPhone into your Windows 7 computer. Once plugged, the computer will detect your iPhone with the help of iTunes.
Generally, AutoPlay will pop up automatically. If not, you can manually reset AutoPlay settings by these steps: Press Windows key and S, then enter the Control Panel. Choose Control Panel from the list of the results. In the next list, select AutoPlay. From the AutoPlay settings, click the Reset all defaults button.

If AutoPlay doesn't pop up automatically, reset it to default from the Control Panel.
Here's how to import photos from iPhone to PC Windows 7:
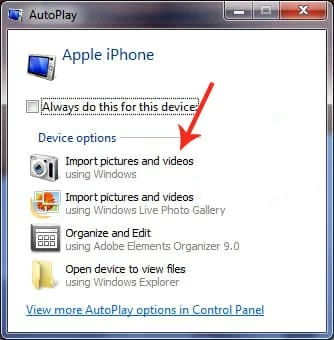
Get a USB cord to connect your phone to your PC. Once connected, you may receive a notification on your iPhone. The notification will pop up as "Trust This Computer". Tap on "Trust" and then enter your password to authorize. As a result, a new window of AutoPlay will appear in the lower-right corner of your screen. Then a list of what to do should be displayed in front of you. Choose the "Import Pictures and Videos" button with Using Windows beneath it.
After clicking the option, the process of importing pictures from iPhone to PC will begin.
Usually, all of your photos will be imported to a folder named "My Pictures" in your computer. If you want change the default location to store these pictures, you can click "Import settings" in the bottom-left corner and choose a new location. After that, click on the "Import" button to begin the transfer process.
By default, AutoPlay will automatically pop up to help you transfer photos when you plug your phone into your computer. That can get the job done quickly if you don't have many photos to transfer, but if the number of photos is huge, you may long for a better organization. Fortunately, Appgeeker provides a tool for data transfer—Appgeeker iPhone Data Transfer.
With iPhone Data Transfer, you can import photos from iPhone to computer or vice versa, even iPhone to iPhone. Besides that, you can also use it to transfer music, contacts and other data across devices without effort. It is newbie friendly and supports Windows.
iPhone Data Transfer is so much more than a mere data transfer tool. It lets you do many things, including transferring data cross devices, organizing your data, and converting your data to other formats. In short, iPhone Data Transfer has a lot going on. Many of its attractive and useful elements may help you.
We've assembled the steps to import iPhone photos to Windows 7 PC. First, boot up your computer and click the button below to download iPhone Data Transfer.
Step 1: Run iPhone Data Transfer
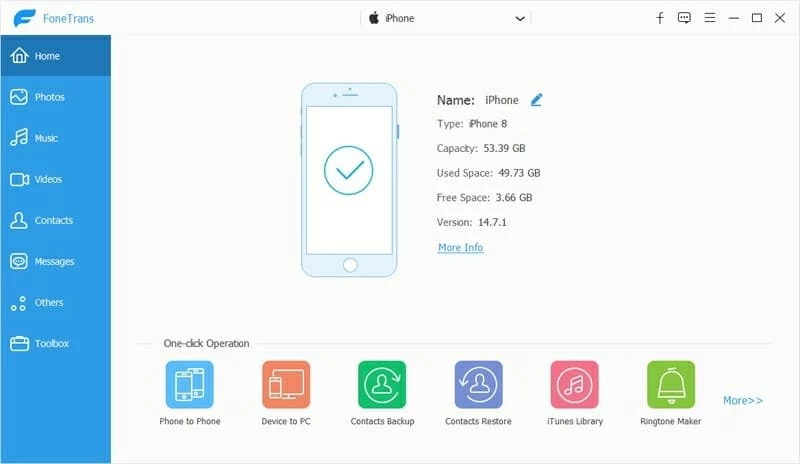
Let iPhone Data Transfer run on your computer, you will be prompted to connect your phone to your PC with a USB cord. If needed, unlock your iPhone with passcode to trust the computer. iPhone Data Transfer will detect your iPhone and show you the detailed information like the screenshot below.
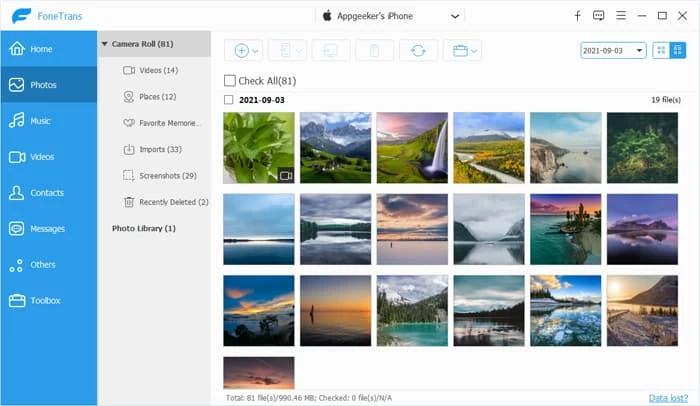
Step 2: Choose photos from your iPhone
From the sidebar of the tool, click on the "Photos" button. All the photos on your iPhone should be displayed here. Select the pictures to be transferred or click on "Check All" to transfer all the pictures.
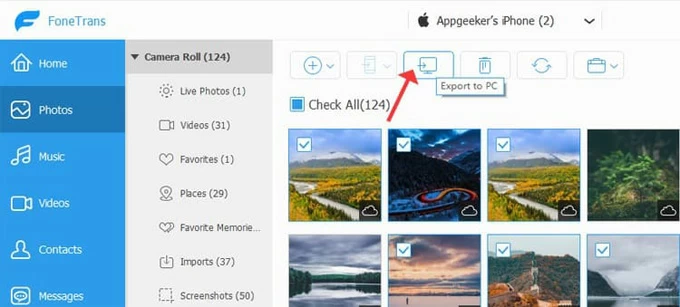
Step 3: Select a folder to save photos
After choosing the photos, it is time to begin the process of transferring. Hit on the "Export to PC" button. A window should pop up prompting you to select a folder to store the photos. Just select a folder you like. At the same time, you can also convert the photos to another format according to your needs.
Tip: if you are looking for a tool to complete the process in one step, iPhone Data Transfer can also meet your need. Click "Device to PC" button, followed by the "Photos" button.

The process of transferring won't take long. After that, you can view your photos on your PC.
Microsoft offers two different programs for photos transferring—AutoPlay and File Explorer. AutoPlay is the standard photo transfer program. File Explorer is a special photo transfer program that treats the plugged-in iPhone as a USB device and read its data. Then you can manually copy iPhone photos to computer.
1. Plug you iPhone into your computer.
2. Go to This PC > Apple iPhone > Internal Storage > DICM
3. In the DICM folder, you have all your iPhone pictures here.
4. Check your iPhone photos in DICM. Select all those photos that you want to transfer to your PC then right-click.
5. Choose the Copy option to copy those photos.
6. Paste the copied photos in any of your PC folders.
When you create an Apple account, you sign up for the services offered to you by iCloud. That's said, everyone with an Apple ID gets 5GB of free iCloud storage. By doing so, you can upload your photos to iCloud and download them to your Windows 7 PC.
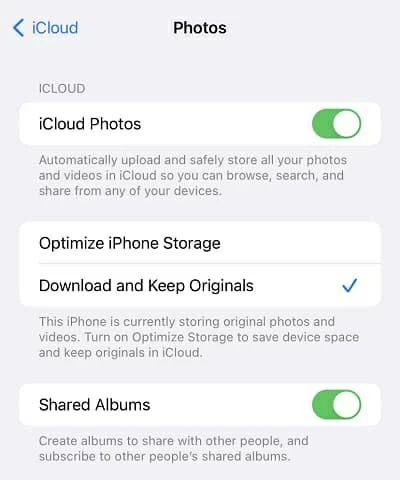
Go to Settings > you name > iCloud > Photos. Then enable iCloud Photos on your iPhone.
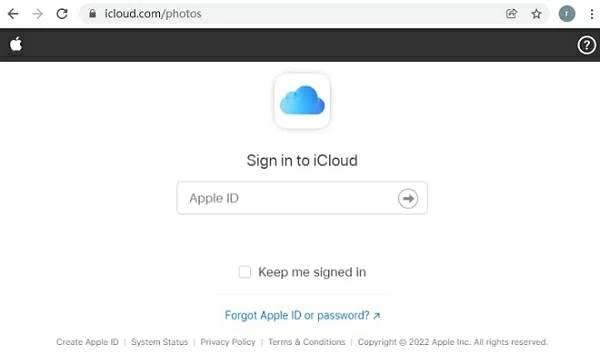
Move to your computer, go to iCloud Photos and log in with your Apple ID.
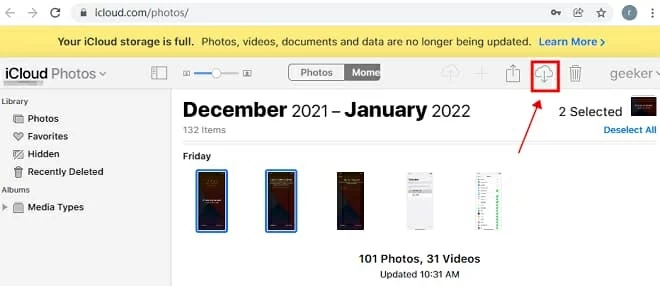
Choose the pictures that you want to transfer to your computer. Then click on the download button that is like a cloud with a downward arrow to download selected pictures. Wait for a while, you'll be able to view the new added photos on your Windows PC.
For powerful new features and more storage, you can upgrade to iCloud+ with a paid subscription.


