
How to Record YouTube Videos on Mac

It's easy to capture a video of your Mac screen using the built-in tools on macOS as well as some helpful screen recording apps. Here's how to quickly capture your screen on a Mac.

Quick answers on how to capture screen videos on Mac:

It's possible to capture screen videos on any Mac with any macOS version.
Many people may be familiar with using camera to record video on Mac, but when you want to capture some important footprints on the Mac screen, such as meetings, games, movies, etc., then capturing Mac screen video will be of use.
Anyway, this guide will cover various methods on how to capture screen video on Mac. Besides the built-in video capture tools to record screen on Mac for free, there's also versatile screen recording software that makes it easy to capture a video of Mac screen and share it with others.
Table of Contents:
In macOS updated to Mojave OS or later, the new pre-installed Screenshot Toolbar lets you record screen videos on Mac using the shortcut Command + Shift + 5. You can choose to record the entire screen or a portion of the screen to create a screen video capture on your Mac. Next is how to capture Mac screen video via Screenshot Toolbar:
1. Press "Command + Shift + 5" keys to initiate the Screenshot Toolbar on the Mac screen.
2. Choose "Record Entire Screen" or "Record Selected Portion" to capture full screen or a certain section of your screen.

Select the whole screen or a specific area on your Mac to capture screen content.
3. Click the "Record" button to start video capturing your Mac screen.
Tip: By clicking on Options, you can adjust more screen recording settings, including timer, microphone, show mouse, etc.
4. Hit the "Stop" icon in the top menu bar or press "CMD + Control + Esc" keys to end recording.
When you're done, the Mac captured screen video will be saved to the selected location as an MOV file automatically.
As a recording tool that comes with Mac, Screenshot does let you capture your Mac's screen without downloading third-party software. It can also be easily launched through the shortcut keys and provides basic screen recording settings, such as timing, customize the screen recording range, save path and so on. However, there are a few flaws that need to be noted:
There's a screen recording software built into all Macs, including those running older versions of macOS, and that's QuickTime Player. Like Screenshot, it enables you to capture Mac screen videos for free without additional downloads.
However, it cannot capture audio from your Mac computer. Still, it's good enough for recording a video of screen activity, such as some kind of demonstration or a video that needs to be dubbed later.
Don't miss: How to Record Screen and Audio with QuickTime
1. Open the QuickTime Player in Launchpad or from Applications folder.
2. From the top menu, locate "File" and select "New Screen Recording."
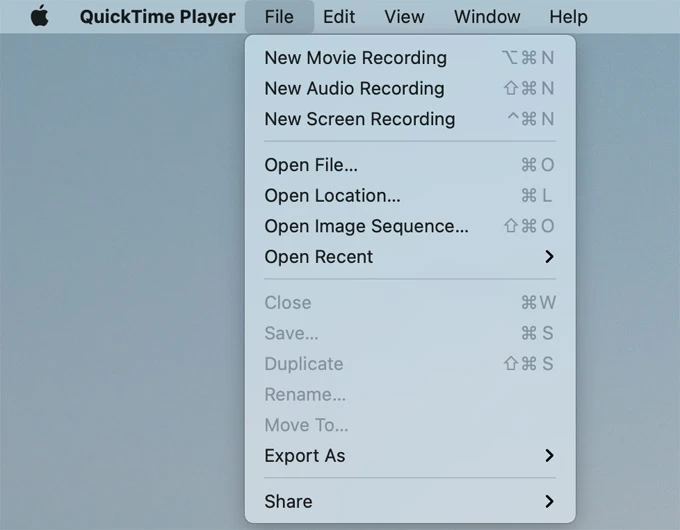
You can also access New Screen Recording by pressing Control + Command + N keys.
3. Click the drop-down arrow to select an audio input. You can choose internal or a connected microphone.
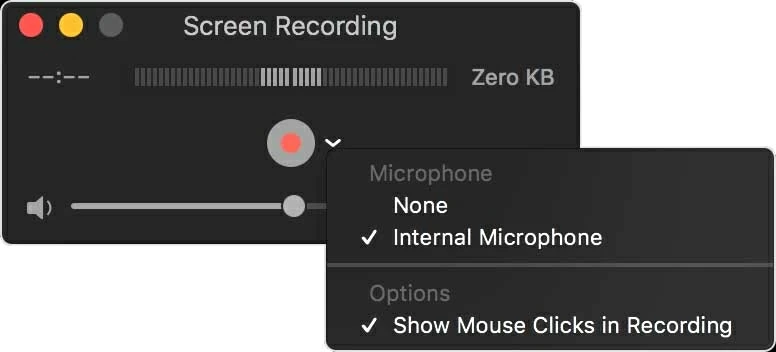
Select a source microphone and adjust other options in the drop-down menu.
4. Press the "Record" button to start capturing your Mac screen. Click anywhere on the screen to record entire screen; or drag the mouse to mark the area you want to capture and then click Start Recording.
5. Click the "Stop" button at the top and you can preview your recorded video.
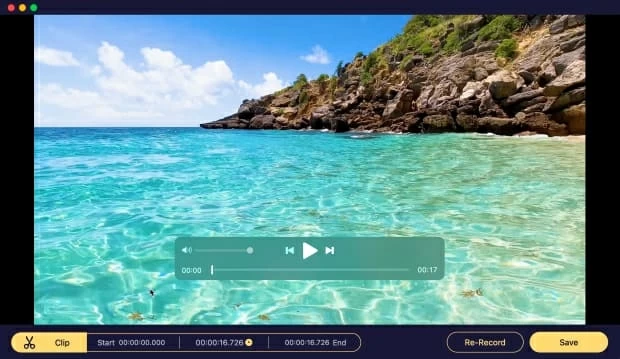
AppGeeker Screen Recorder is a video recording software that is fully compatible with all macOS computers and can capture Mac screen and audio simultaneously or separately. You can record your screen videos, capture internal sounds and microphone audio, and show your face on the screen using a webcam. All these can be done with just a few clicks.
It allows you to add annotations while capturing screen videos on your Mac. Besides, it supports multiple video output formats including MOV, MP4 or M4V. The editing tools provided also let you trim or clip the video.
Here's how to screen capture video on Mac with audio:
Step 1: Launch AppGeeker Screen Recorder on your macOS, and enable "Video Recorder" mode.

Step 2: Select a capturing area and adjust recording preferences.
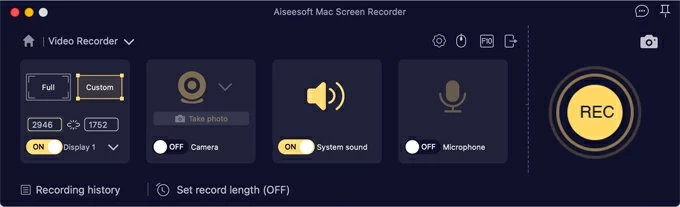
Step 3: Click the "REC" button on the right to start screen capturing.
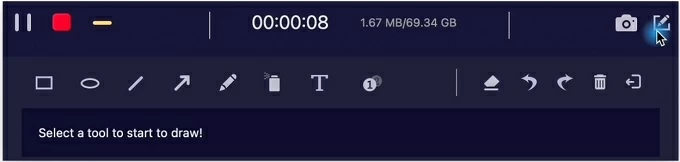
Step 4: When you're done, press the red "Stop" square to finish recording. Then you can review, edit, and save the video recording to your Mac.
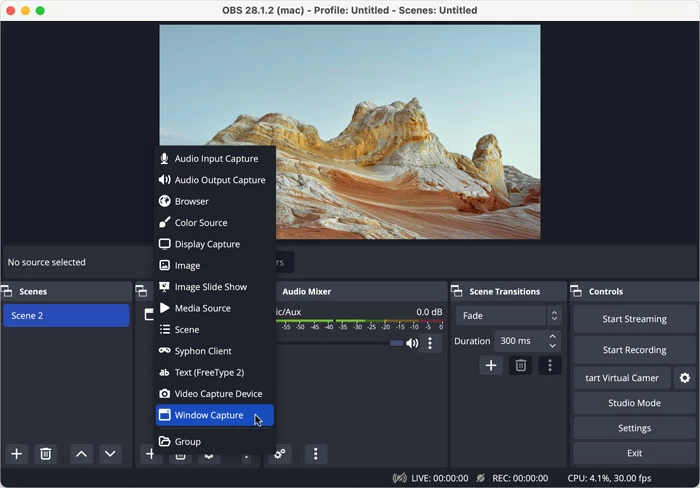
OBS is an open-source and cross-platform video creator which offers a variety of settings and options for video recording and livestreaming. It can help you video screen capture on your Mac and edit recordings with advanced features like audio mixer, scene transitions, and more.
Actually, it may not be that easy for newcomers to get started. To record a screen video on a Mac with OBS, you need to create a scene and add the Display Capture element under the Sources panel.
Key features:
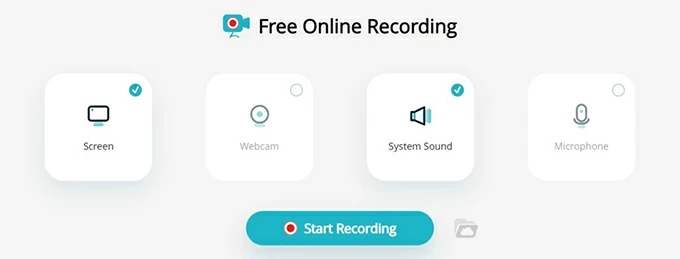
Apowersoft Online Screen Recorder is a good choice if you are looking for an online solution to capture your screen videos on Mac. It lets you record your screen, webcam, system sound, microphone online without using a physical app. But you need to make sure you have a smooth and stable internet connection when using it.
Visit Apowersoft Online Screen Recorder on your browser, click Start Recording and choose the recording parameters, then click Start Recording again and you can capture windows, tabs, entire screen on your Mac.
Key features:
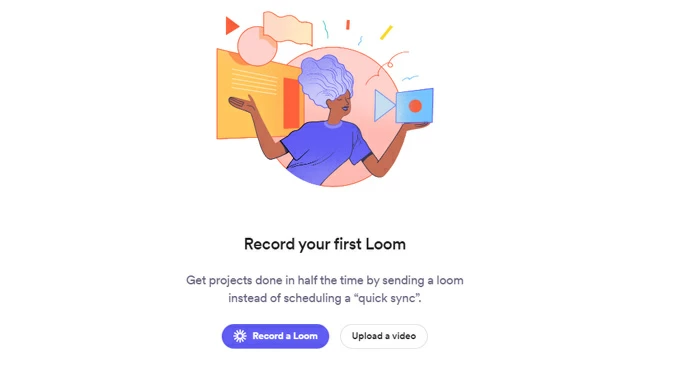
If you want to capture remote meetings or teaching-type videos on your Mac screen, then Loom, the screen recording software that enables collaboration, will be just what you need. It has a cloud storage space that allows you to upload and save your captured videos, or share them with others for mutual reactions.
Key features:
Simply use an appropriate video recording app which works best for you.
How to take a video of my screen on Mac?
You can try QuickTime Player to make a screen recording video on a Mac:
What's the shortcut for video screen capture on a Mac?
On Mac is running macOS Mojave or a newer version, press "Command + Shift + 5" on your keyboard to launch Screenshot Toolbar. Choose to record your full screen or selected area, then click Record. Finally, click Stop icon to end recording.
Why can't I screen record on my Mac?
If you're unable to take screen videos, make sure that you grant the permission to screen record on your Mac. To do that, simply navigate to Apple menu > System settings. Scroll down to choose the Privacy & Security option. Then click Screen Recording. In the program list, enable or disable the screen recording option for each app.


