
Backing Up iPhone to Windows Computer

The article gets rid of your confusion of "can you backup an iPhone to an external hard drive" and show you step-by-step on backing up your data to an external drive.

What to do when I want to backup my iPhone to an external hard drive, since my Mac hard drive doesn't have enough space. I've moved the backup folder to that external drive and need to know how to default iPhone backups to the external drive in the future.
You've been out backed up your iPhone to a Mac, for the purposes of preventing data from being lost when your device is replaced, lost, damaged or stolen, or when you free up storage space. But the iPhone backups saved in the default Backup folder take up too much space on Mac's hard drive, what's next?
The wise option is to back up iPhone to external hard drive. Although Mac saves the backups to a designated Backup folder, you can move iPhone backup to the external drive using Finder, and even change the backup location using a symlink to reroute Mac to save the iPhone backup to an external hard drive.

Want a one-stop solution of backing up iPhone directly to external hard drive? You could then give iOS Data Backup & Restore a try. The flexible software is able to backup certain files to the external drive, bypassing your Mac's default backup location.
Continue to read and see how to backup iPhone to external hard drive.
Backing up iPhone to external hard drives with Finder is a process that involves where to find your current iPhone backup on Mac and how to copy or transfer the backup file to external drive.
If you've already backed up iPhone to Mac through the native Finder window, simply skip to Step 2 below and start with finding your current backups on Mac.
When the backup process is finished, you can find the latest backup on your Mac.
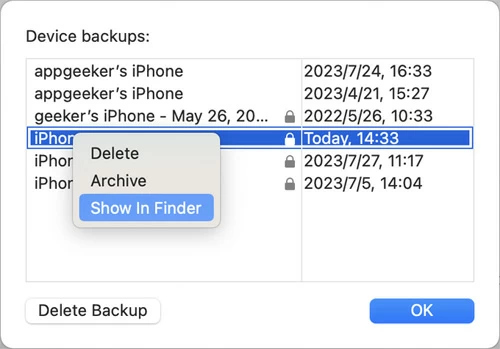
Once you've found your backup folder, try not to edit, relocate, rename, or extract content from it, because these actions will corrupt your backup. You can ONLY copy the entire folder to your external hard drive.
So here's how to transfer iPhone backup to an external hard drive, without having to install a third-party application.
Done! You've made a local backup of iPhone on the external hard drive and saved all your device's data and settings peacefully. Every time you switch to a new iPhone, you can restore the backup to transfer all the previous information. The backup is also useful if your iPhone is ever damaged or stolen, or you need to reset your iPhone to factory settings.
Tip: This part is working on iOS 13 and macOS Catalina or higher of using Finder to backup iPhone to external hard drive Mac. For earlier iPhone and Mac or Windows PC, try backing up your data onto an external drive by using iTunes.
If you want to always get your iPhone backup to external hard drive, without having to repeat copying your backup, creating a symlink is a feasible option.
A symlink, or symbolic link, is a special file that macOS interprets exactly as another file or directory located in a different location, which means that you can use symlink to tell your Mac to put the backup to external hard drive. This is especially handy if you only have limited space available on an internal drive of Mac to perform a backup.
If you're planning to use a symlink, you need to grant Terminal Full Disk Access in macOS first. To do this, go to Apple menu > System Settings > Security & Privacy > Full Disk Access, then click the "+" icon, enter your admin password, and then scroll down to Utilities and choose Terminal, click Open to add Terminal to Full Disk Access list.
Now, execute a specific command in Terminal to permanently change the location of iPhone backup on Mac and backup an iPhone to an external hard drive.
1. Since you need to make changes on a few background settings on your Mac using a command, the very first step is to make a full system backup using Time Machine so if something goes out of expected, you can use the Time Machine backup to revert your Mac to the previous state.
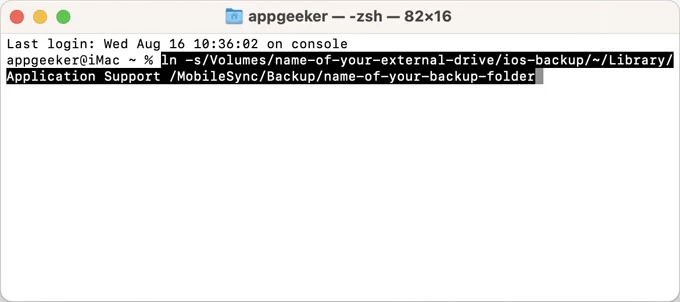
2. On your Mac, go to Utilities folder, and click to open Terminal.
3. Copy and paste the following command and it should look like this: ln -s/Volumes/name-of-your-external-drive/ios-backup/~/Library/Application Support /MobileSync/Backup/name-of-your-backup-folder
Note:
4. Press Return to create the symbolic link that point your original backup folder to the external hard drive each time you backup your iPhone to Mac.
5. Close Terminal window.
After you've completed changing the backup location to let your Mac know where to save and look for the future backup, then this ought to work: whenever you trigger an iPhone backup, it will go to external hard drive instead of Mac's hard drive.
But you still need to run a test to confirm that whether the backup file will put onto your external drive. Follow the steps on how to check if iPhone backs up to external hard drive.
1. Make sure both your iPhone and external hard drive are connected.
2. Open Finder on your computer.
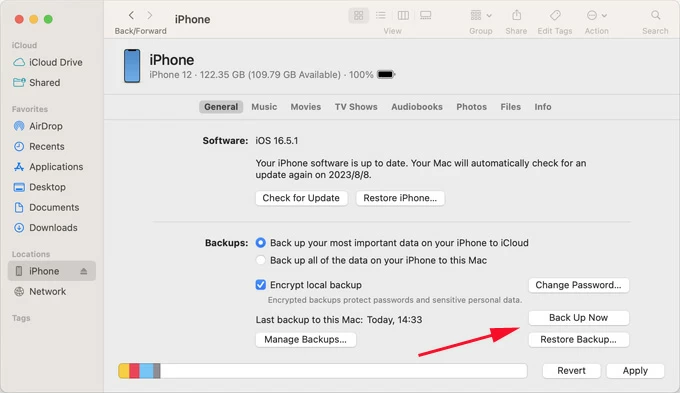
3. Click your iPhone under Locations from the left column.
4. Click Back Up Now and wait for the backup process until it's done.
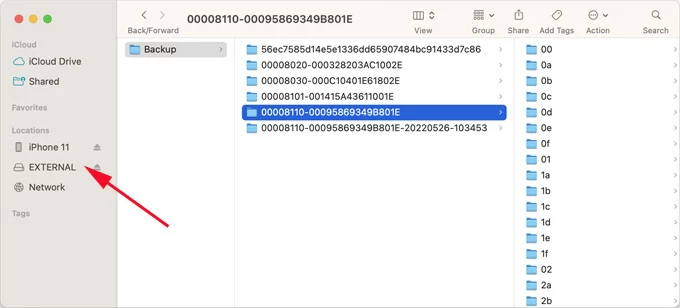
5. Go to your external hard drive, open the new ios-backup folder (or whatever name of yours), and check the backup you just created by Date Modified.
That's it. Now you will see the symlink exactly where intended - in this case, it ended up changing the default Backup folder to the external drive to save your iPhone backups.
Most people are just fine backing up entire iPhone via Apple Finder without knowing exactly which files are in, but if you're curious what you're to backup or you want to backup only a selected file or two from the iPhone, you can do that with iOS Data Backup & Restore. This is also useful if you find the inconvenience of using Terminal Command to back up your iPhone to an external hard drive.
The robust software can be configured to back up your data from iPhone to external hard drive directly, whether it's a removable USB stick, a flash drive, or a potable hard disk, or to any destination of your choice. You will also have an immediate access to the iPhone backup files, and restore specific content to your device when it's lost, replaced or broken.
Like the native Finder, the tool allows you to view, copy and delete the backup in an effortless manner. Well, make your way through the easy-to-follow guide, and you'll happily and quickly backup iPhone directly to external hard drive disk.
We'll work with a Mac to make iPhone backup to an external drive. Do the same on Windows computers.
Step 1: Change backup folder to external drive
Run the software, and connect your external hard drive to the computer.
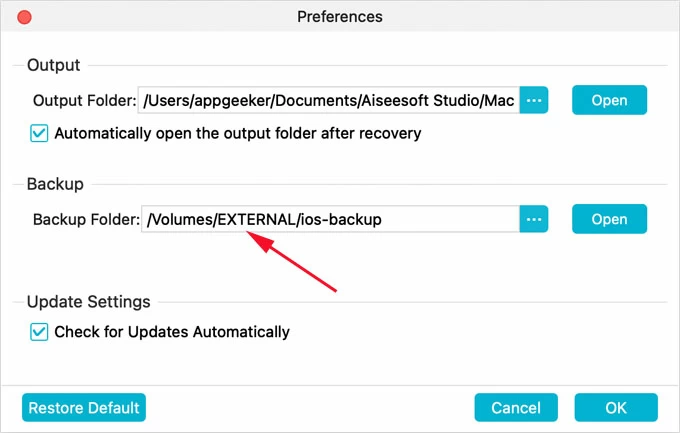
To back up iPhone onto the external drive, you need to change the location to redirect the iOS backup to your drive. Click Mac FoneLab on the menu bar, and choose Preferences. (On PC, click the Menu icon on the top right of software screen.)
A dialog window will open. In the "Backup Folder" field, navigate to your external drive, and click OK button, then close it.
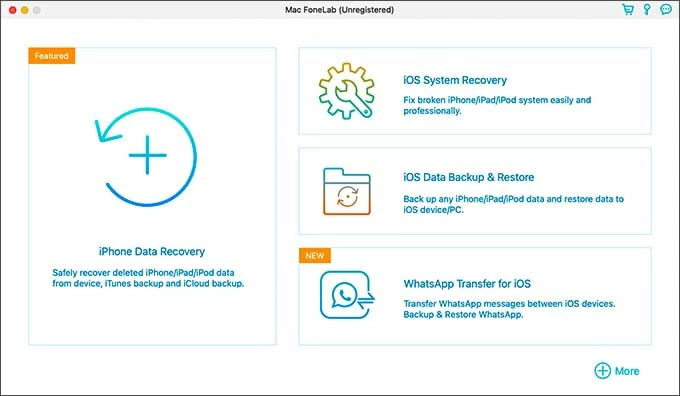
Step 2: Connect iPhone and set the tool to backup
On the main window of the utility, click "More tools" at the lower left, and then, select iOS Data Backup & Restore tab.
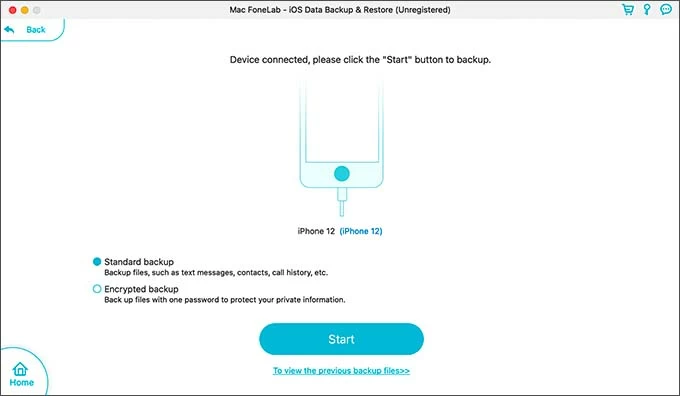
Next, plug your device to Mac, and when it's detected, click Start button. If you'd like to encrypt your iPhone backup, make sure to check "Encrypted backup" option.
Step 3: Choose types of data and back up to external HDD on Mac (or PC)
Afterwards, choose any types of files that you wish to backup onto the external drive by placing the checkmarks in each box.
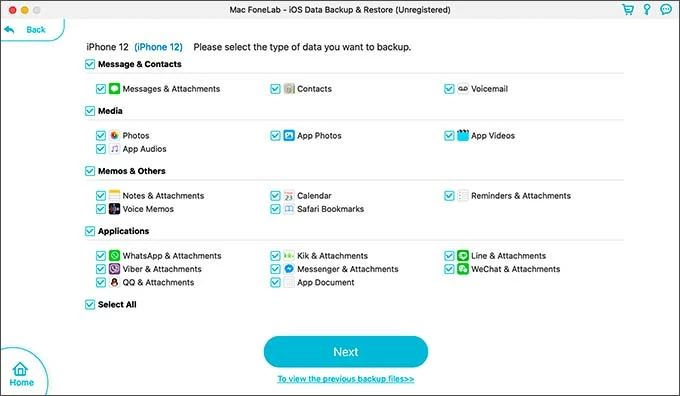
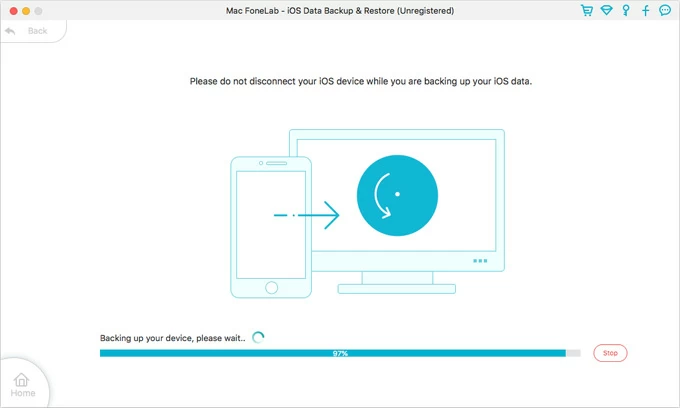
Now click Next button to initiate a local iPhone backup. You iPhone data will be backed up onto the external hard drive plugged in, rather than Mac's SSD.
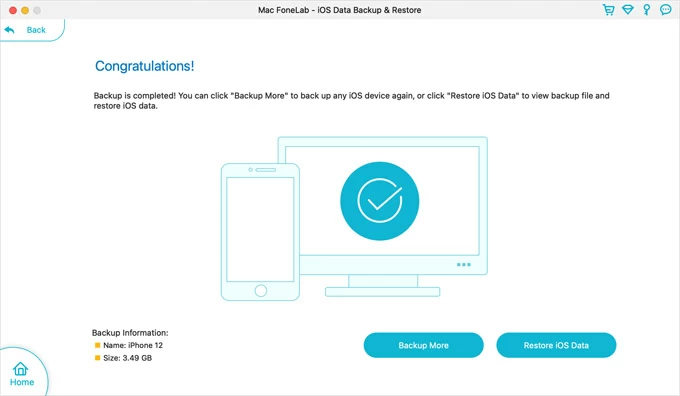
When the backup is complete, open your external hard drive and there would be a backup saved there. You're able to view the backup files by using Restore iOS Data function within the software.
Having an iPhone backed up to an external drive using Windows PC is similar to what you did on a Mac. It's a matter of first backing up the iPhone to the computer and then copying the entire backup folder to the external hard drive. iTunes can back up almost all of your device's data and settings like photos, messages, contacts, call history, media files from external sources such as music, TV shows, movies, etc., and more.
Here's how to use iTunes to back up your iPhone to the external hard drive on a Windows PC.
1. Use these steps to get your iPhone to backup to the PC.
2. After completing backing up iPhone, search for the backup folder on the computer:
3. Attach your external hard drive to your computer.
4. Go to This PC and open the external hard drive, create a new folder and name it "iOS Backup" or something that can represent your iPhone backup.
5. Go to copy the backup folder you've found in step 2, and paste it to "iOS Backup" folder inside the external hard drive.
A Warning: Remember not to cut and paste the Backup folder. To restore from a backup file that is relocated to the external hard drive, you need to move the backup file to the original Backup folder.
If you don't have a computer nearby, or want to sneak past the requirement of using a Mac or PC to make a physical backup of data on external hard drive, there's still an option available. By means of USB-to-lightning adapter, you'll manage to backup videos, photos, or documents from iPhone to the external hard drive without connecting your iPhone to Mac.
Here's how you can backup iPhone to external hard drive without a computer.
1. Use the adapter to connect your iPhone to your external hard drive.
2. A notification will then appear if your iPhone recognizes the hard drive.
3. Unlock your iPhone. If your iPhone is locked with "iPhone Unavailable", learn what to do.
4. Select files you're going to back up. For example, choose the photos and videos in Photos app, or the documents in Files app.
5. Tap Share icon at the bottom left corner and choose your external hard drive as the output for the backup.


