How to Sync Music from iTunes to iPhone

Listening to music with iPod might seem like a no-brainer, but taking backups of music is not an easy task. Check out this ultimate guide to import iPod music to iTunes quickly.

What to know about transferring music from iPod to iTunes:

With a third-party tool, it is possible to transfer the non-purchased music from an iPod Touch to iTunes or computer.
Remember the days when iPod was your musical companion, faithfully holding all your favorite tunes? Well, as technology evolves, so do the devices. Therefore, transferrin song from old iPod to iTunes can be necessary in order to keep your precious tracks on your computer for backup, music library management, or anything else.
As Apple's official media data manager, iTunes provides the features to transfer music from iPod to computer and manage all your tracks in one place. Unfortunately, the process of iPod music transfer only involves purchased songs. If you want to import common music files on your iPod to iTunes, you may need the help of some third-party tools for iOS data transfer. In this post, we'll show you how to transfer music from iPod to iTunes with a step-by-step guide.
Important: iTunes runs on Windows 10 / 11, macOS Mojave 10.14 and the earlier. For newer versions of macOS, you may turn to Finder instead. This guide works for all iPod Touch and other iDevices, including iPhone and iPad.
The traditional way to transfer music from iPod to iTunes for free is to use the built-in data transfer feature of iTunes itself. However, as mentioned above, only purchases on your iPod can be synced to your iTunes library. Aside from this, you'll need to authorize the computer by using the same Apple ID on your iPod.
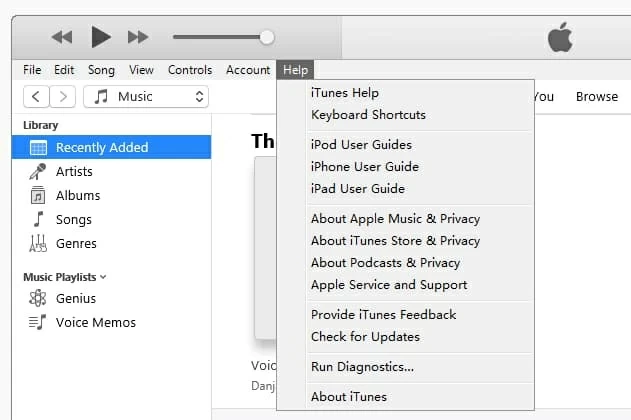
Once you have your iPod music synced with iTunes, they will be listed in the music library for offline listening. The process of transferring songs from iPod to iTunes is quite simple. Make sure that you're using the latest version of iTunes. To check that, open iTunes, go to the "Help" tab at the top menu bar. Then hit on the "Check for Updates" button from the list.
Now, follow these steps to perform iPod music transfer to iTunes with your computer:
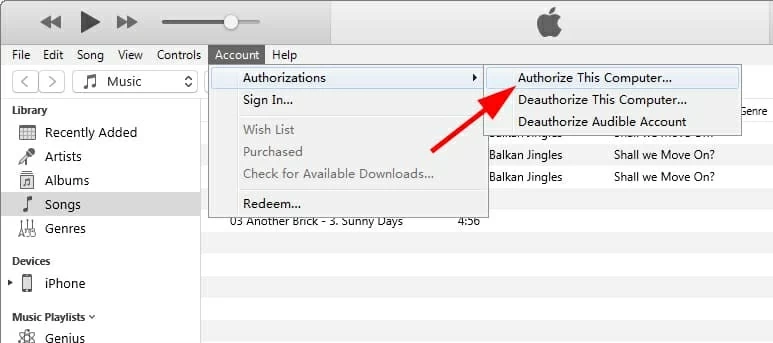
1. At the top menu bar, go to Account > Authorizations > Authorize This Computer.
2. Enter your Apple ID and passcode to proceed.
3. Click on the "Authorize" button.
1. Connect your iPod to your computer using a USB cord.
2. Head on over to the menu bar at the top of the iTunes window and go to File > Devices.
3. Select "Transfer Purchases from [Your Device]."
![]()
In case you may want to sync other non-purchased tracks on iPod Touch to iTunes, or transfer music from iPod to iPhone for playback, the next iOS data transfer tool is what you need.
Your iPod Touch may also be the home to a great number of non-purchased songs. Wouldn't it be great if you could find iTunes alternatives to transfer all music on your iPod Touch to iTunes library without worrying about other downloaded tracks? Well, you can perform that feat with the assistance from Appgeeker iPhone Data Transfer, a cross-device file transferring tool for iOS users.
Aside from music transfer from iPod Touch to iTunes, iPhone Data Transfer also helps when you need to convert the music track to a format your device can play. Not limited to music, the photos, videos, messages, contacts and other kinds of files are also supported to be transferred from iPhone to computer, computer to iPhone, and even between iPhone and iPhone / iPad.
This iOS music transfer tool features an easy-to-use interface perfect for beginners. Feel free to download it and learn how to transfer music from iPod Touch to iTunes by following the steps below. It supports iPod Touch models 7, 6, 5, and 4, as well as all iPhone and iPad models.
Step 1: Launch iPhone Data Transfer
After iPhone Data Transfer is downloaded and installed on your PC or Mac, connect your iPod Touch to your computer using a USB cable and launch the tool.

Once the iPod Touch device is detected, you'll see the basic info on the home screen.
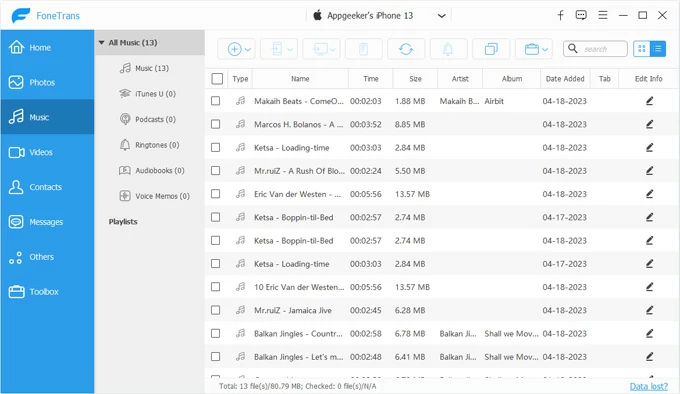
Step 2: Select the music files on your iPod
From the left sidebar, click "Music" tab to load up all your songs and playlists on your iPod Touch.
Then select the music files you want to transfer to iTunes. There are options for you to transfer all the iPod music or just move a few songs:
Step 3: Copy music from iPod to iTunes library
After selecting the music from your iPod Touch, click on the computer icon in the top toolbar, and choose "Export to iTunes" from the drop-down menu.
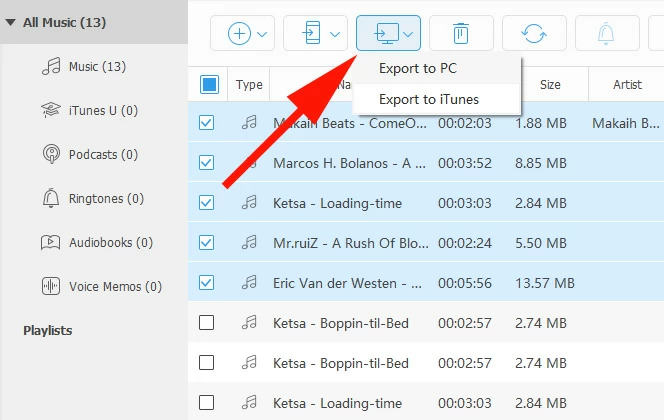
Done! All selected songs will be moved to iTunes library and show up in "Songs" in order. And if needed, you may also transfer music from your iPhone to iTunes to enrich local media library.
With the powerful features, iPhone Data Transfer also offers a shortcut to sync all music from your iPod Touch to iTunes library automatically with a single click, which is really useful especially if your iTunes music library corrupts or gets emptied accidentally, or you just want to re-build everything.
Here's how to import all music from an iPod Touch to iTunes, for all iPod Touch models:

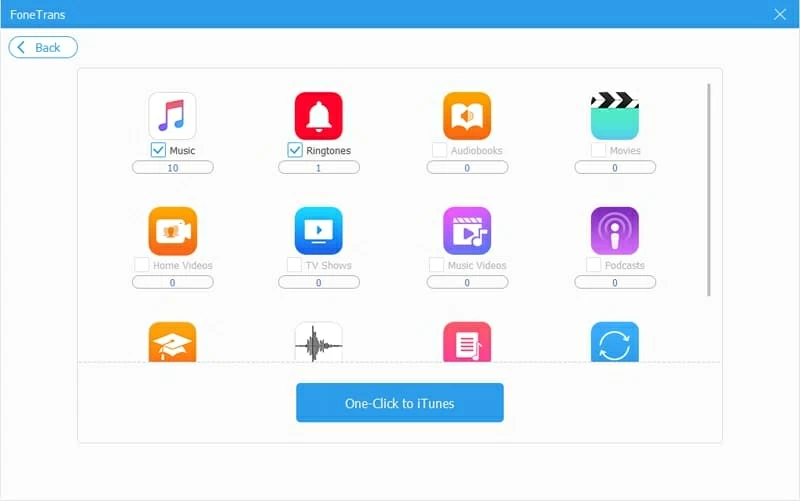
Depending on the number of tracks currently saved on your iPod Touch, it may take a few minutes for your device to sync with iTunes on your computer. Additionally, you can select other existing files on your iPod Touch and transfer them all to iTunes or your PC / Mac.
Losing the music collections on an old iPod could be something frustrating. The best way to keep them is to copy the iPod music to iTunes for a computer backup. This guide has introduced three efficient ways for transferring song from iPod to iTunes, whether the purchased tracks, or the non-purchased music files you've collected.