How to Screen Record on Windows 10

You can easily record sounds on your Windows 10 computer or laptop with the native audio recording tool, Voice Recorder. Check out this guide to see how to.

Quick Answer: Similar to Sound Recorder on Windows 7 / 8, Voice Recorder is a built-in application on Windows 10 designed for those who need to capture sound quickly and easily. However, Voice Recorder is more practical and user-friendly for allowing users to start, pause, stop, and trim recording with ease. Just simply hit the Record and the Stop button, then you can create a sound recording on Windows 10.
If you looking for a more efficient and professional tool to record audio on your Windows 10 PC or laptop, you can resort to the all-in-one AppGeeker Screen Recorder. It covers multiple intuitive audio recording and editing features, which may outperform those on Voice Recorder.

Mastering how to use Voice Recorder enables you to grab sound on Windows 10 effortlessly.
If you are a Windows 10 user looking to capture sounds, you can utilize the native software, Voice Recorder to complete the recording. Whether you need to record audio from YouTube, capture a Zoom meeting, or grab an interview, a few simple clicks on the Voice Recorder app helps make it a breeze for you to record sounds on Windows 10 desktop or laptop.
Below, we've elaborated how to record audio by Voice Recorder on Windows 10 and some other features that it supports. Additionally, issues and fixes about using this app to grab sounds are also discussed.
Table of Contents
Tip: This guide is compatible with all the Windows 10 computers and laptops of any brand, no matter it's Dell, Lenovo, HP, ASUS, Acer, Samsung, LG or others.
For Windows 10 users, Voice Recorder can be the first option to consider for recording sound, as it not only comes in handy but also provides an intuitive layout. Moreover, you can simply trim or share your captured audio by this means. Let's see how to make the most of this app.
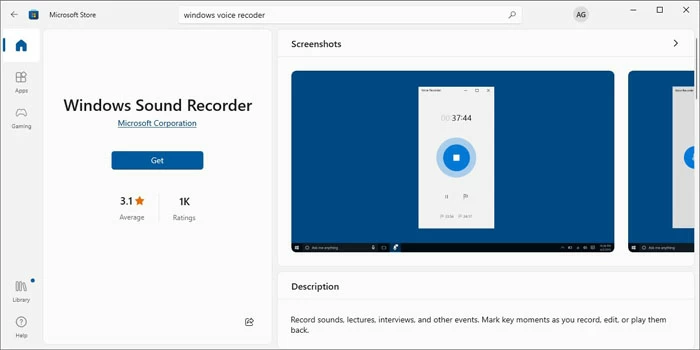
Before recording sound by Voice Recorder, check if it has been installed on Windows 10 system. If not, you can follow the steps to download it to your computer or laptop:
Voice Recorder on Windows 10 enables you to record internal or external sounds with proper set-up. Check out how to below.
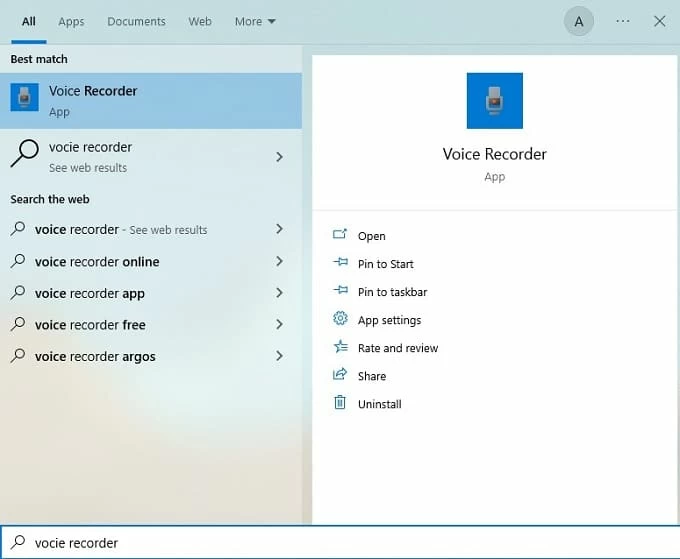
1. Launch Voice Recorder. Right-click the taskbar below, click Search and then Show search box. Next type "Voice Recorder" in the search bar and select it from the matched result.
2. Modify the recording settings based on what sound you need to record on Windows 10.
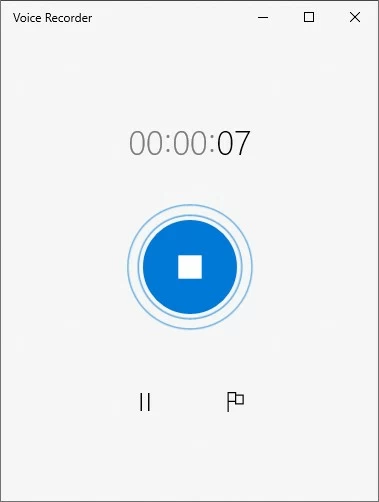
3. Hit the blue microphone icon to start the sound recording. Alternatively, you can press Ctrl + R as a shortcut.
Tip: While recording, you can pause the recording anytime you want by clicking the Pause button. And hitting the flag icon helps you mark the important points of your sound recording so you can jump straight to them during the review.
4. End the recording with the Stop button. Selectively, you can press the Backspace, Spacebar, Esc, or Enter keys on your keyboard.
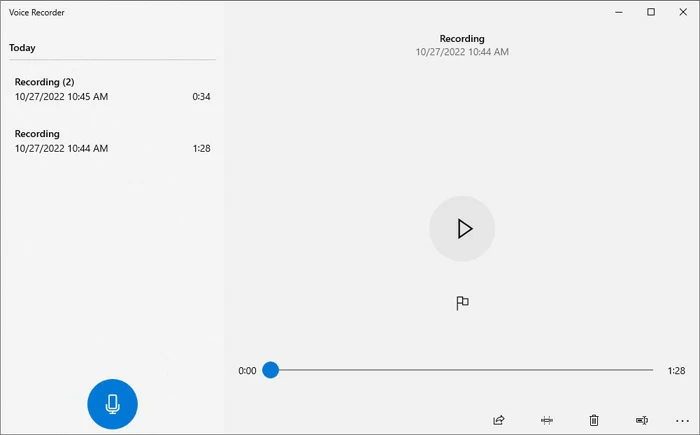
Your Windows 10 PC or laptop will automatically save your recording in M4A format.
You are also allowed to share, trim, delete, or rename your audio files with the options available in the right corner.
Related: How to record MP3 audio files in Windows 10
You can make simple trimming to your audio recordings directly on this Windows 10 native app.

1. On the Voice Recorder interface, select the sound file you want to trim from the recording list.
2. Select the Trim option on the low-left corner.
3. On the playback progress bar, move the pins saying Start of trimmed section and End of trimmed section to determine a desired trimmed segment.
4. Once decided, hit the Save icon. Choose Update original or Save a copy as needed, and the trimmed audio will be saved accordingly.
Tip: If you select Update original, the original recording will be replaced by the trimmed one; but if selecting Save a copy, the trimmed recording will be saved as a new audio file and the old recording will keep unchanged.
To share audio files on Voice Recorder is a piece of cake. Here's how to.
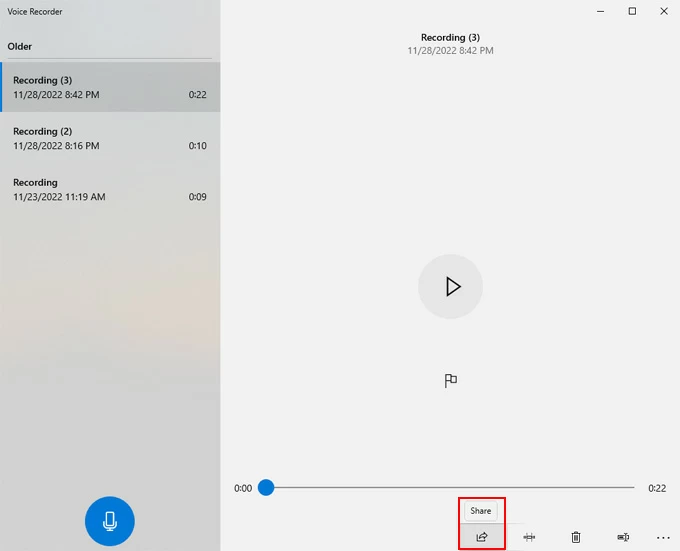
1. Open Voice Recorder and hit the sound recording you want to share with others.
2. Click the Share button on the bottom-right menu.
3. Choose the method you want to use to share the audio file, such as email, OneDrive, or other apps that support file sharing.
4. Follow the prompts to complete the sharing process. This will depend on the method you choose to share the file.
You can also share your audio recording in another way:
Deleting a recording is a permanent action and cannot be undone. Be sure that you want to delete the recording before confirming the action. If you have accidentally deleted a recording, there is no way to recover it unless you have previously backed up the file.
Here're the steps.
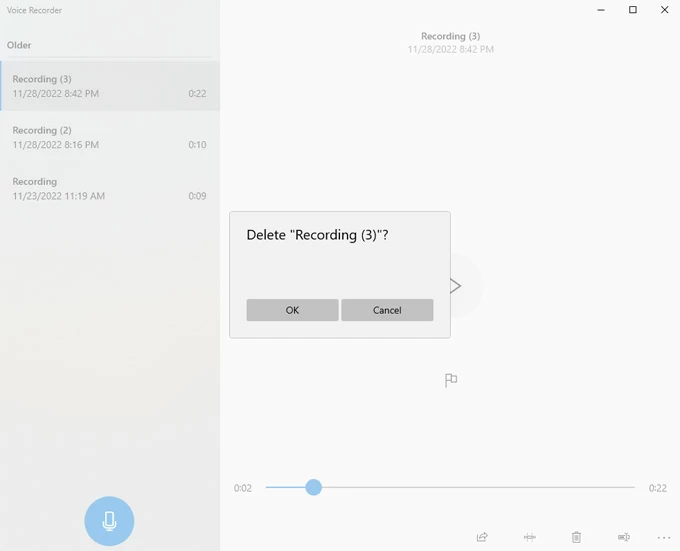
1. After opening Voice Recorder, find and select the audio file you want to delete from the left-panel list.
2. Click the Delete button located under the recording's playback track.
3. Hit OK and the recording will be removed for good.

1. Run the Voice Recorder app.
2. Right-click the audio file you want to rename from the list on the left.
3. Select Rename.
4. Enter a new name for the recording and click Rename to save it.
Should you fail to record sounds from microphone, something may go wrong with your microphone settings on your Windows 10 system. Here're some fixes to the relative problems.
Note:
Check your microphone access for Voice Recorder
Probably, you have not allowed microphone access for the Voice Recorder app, so it can't record external sound on Windows 10.
Check out how to solve the problem here.
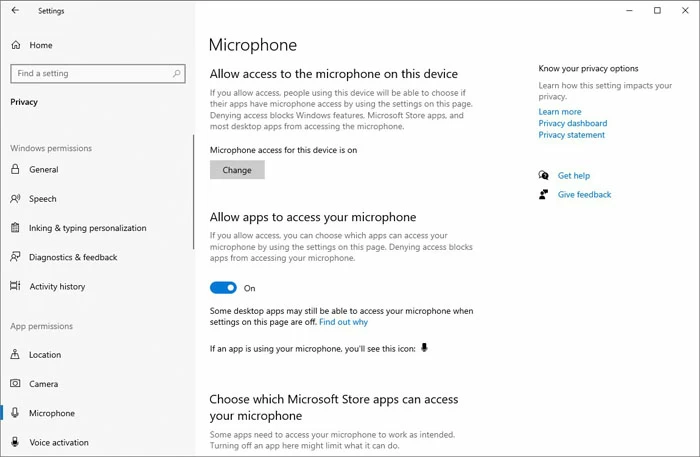
1. Go to Settings > Privacy > Microphone.
2. Click Change below the section of Allow access to the microphone on this device.
3. Drag the Microphone for this device toggle to the right for turning it on.
4. Switch on the toggle below the Allow apps to access your microphone section.
5. Find Voice Recorder under the part of Choose which Microsoft Store apps can access your microphone, and turn on the toggle beside it.
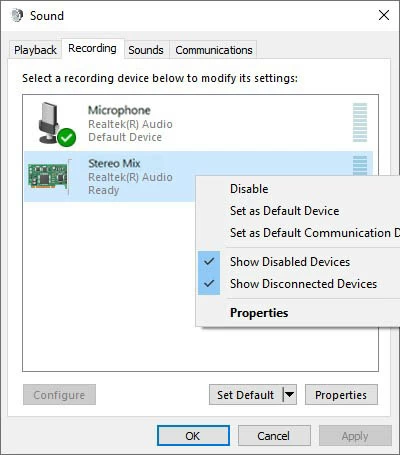
Troubleshoot microphone issues
Your microphone may be unable to be found on Voice Recorder. In this case, you can take the steps below to address the problem.
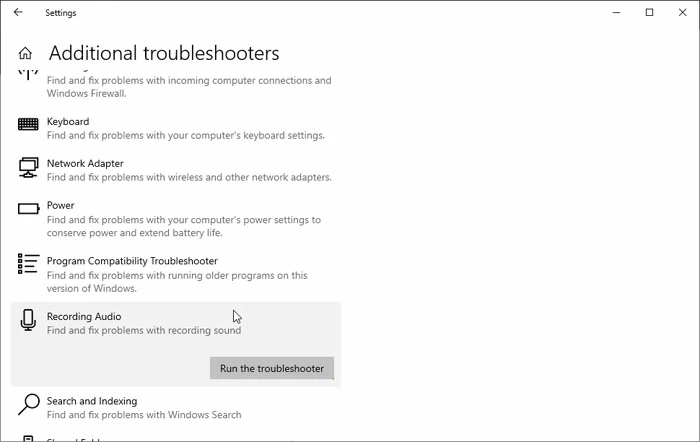
1. Go to Settings > Update & Security > Troubleshoot > Additional troubleshooters.
2. Click Recording audio under the Fin and fix other problems part.
3. Hit Run the troubleshooter. You'll then need to wait a second for it to detect the issues.
4. Choose the problematic microphone from the list, and click Next. Then just follow the onscreen instructions to fix the problem.
Now Voice Recorder may work fine to record voice from microphone on your Windows 10 PC.
The built-in Voice Recorder on Windows 10 system is good for grabbing sound, but it only gives you a little bit of the audio recording features that the AppGeeker Screen Recorder offers. The latter enables you to record internal sound as well as external sound just with several mouse clicks. Better still, you can edit the sound recordings by trimming and merging or adding effects. The audio formats and quality can be selected, too.
Follow these steps to capture audio on Windows 10 with the AppGeeker Screen Recorder:
Step 1: Launch the software on your PC. Select Audio Recorder from the main menu.

Step 2: You may choose to switch on System Sound or Microphone for recording at will. Both can be enabled simultaneously.
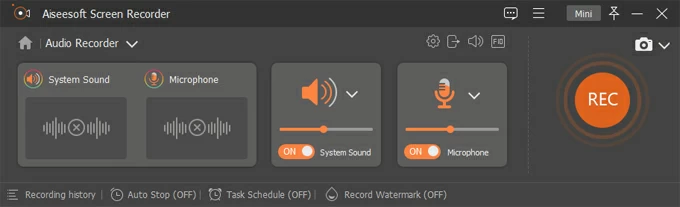
Tip: You can adjust the sound settings by clicking on the gear icon. Here, go to the Output tab and set up the audio quality and format before you begin to record.
Step 3: Start the recording with the REC button, and then play the sound you want to record.
![]()
Step 4: Hit the Stop button when you finish the sound recording on Windows 10.
Step 5: Press Done to export the recording. You can modify it by clicking Advanced Trimmer for more editing features.
Also read: How to record audio on PC