How to transfer videos from iPad to PC

In this essay, let's learn how to effortlessly transfer your precious photos from iPad to Mac with simple methods and preserve your memories seamlessly.

Transferring photos from iPad to Mac is a common task for many users, especially when they want to back up their precious memories or free up storage space on their device. Fortunately, the process is relatively straightforward and can be accomplished in various ways.
In this guide, we will explore different methods to transfer photos from iPad to Mac, including using the built-in Photos app, iCloud, AirDrop, Image Capture and third-party applications. Whether you prefer a wireless or wired approach, this tutorial will help you seamlessly move your photos from your iPad to your Mac.
![]()
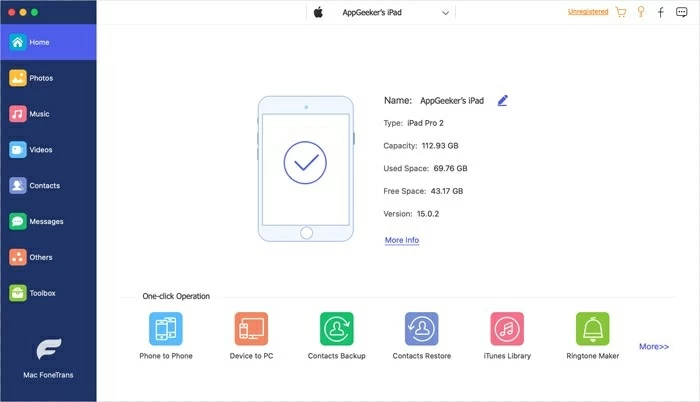
You can transfer photos from iPad to Mac in simple ways.
Here's how to transfer photos from iPad to Mac in different ways:
The Photos app for Mac showcases your best photos. Whether you're a photography enthusiast or just want to free up space on your iPad, this method will ensure that your photos are securely transferred and readily accessible on your Mac. Get ready to unleash the power of the Photos app and effortlessly import iPad photos to mac in a snap!
Note:
To transfer photos from iPad to Mac using the built-in Photos app, follow these steps:
Step 1: Connect your iPad to your Mac using a USB cable. And follow the on-screen prompts to trust your computer.
Step 2: Open the Photos app on your Mac. It should launch when your iPad is connected.
Step 3: In the Photos app, click the Devices list on the left menu bar, it will automatically recognize your iPad, and display pictures and videos.
Step 4: Select the photos you want to transfer. You can either choose specific photos or click on Import All to transfer all the new photos on your iPad.
Step 5: Click on the Import Selected or Import All button at the top right corner of the Photos app window.
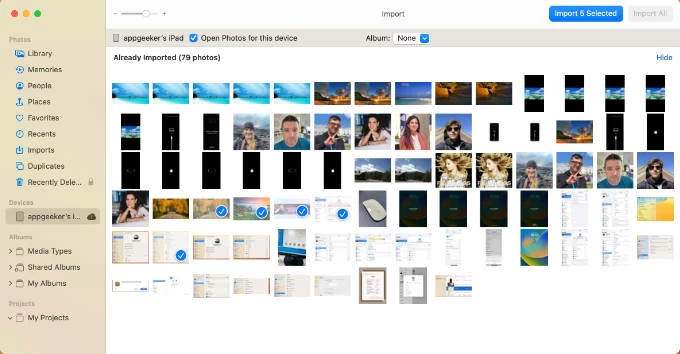
The selected photos will now be transferred from your iPad to your Mac. You can view them in the "Photos" tab of the Photos app.
iCloud is a cloud storage and syncing service provided by Apple that allows users to store and access their files, photos, and other data across multiple devices. By using iCloud Photos, you can transfer photos wirelessly, you don't need a USB cable to import photos from iPad to Mac, and you can keep the original photos on each device.
First of all, you need to make sure that both the iPad and the Mac are logged in with the same Apple ID. Second, make sure iCloud has enough space to store all your photos. Then follow the steps below to download iPad photos to Mac using iCloud.
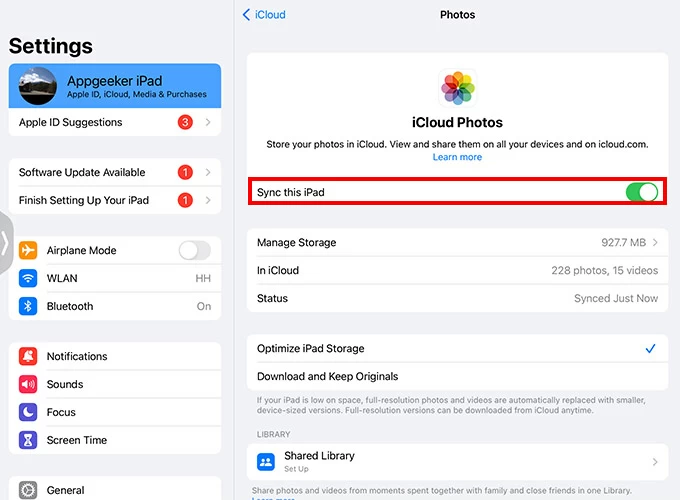
Step 1: On your iPad, go to Settings and tap on your Apple ID at the top. Tap on iCloud and make sure that Photos is enabled. If not, toggle the switch to enable it.
Step 2: Press the F4 search key and type System Settings app to open on your Mac.
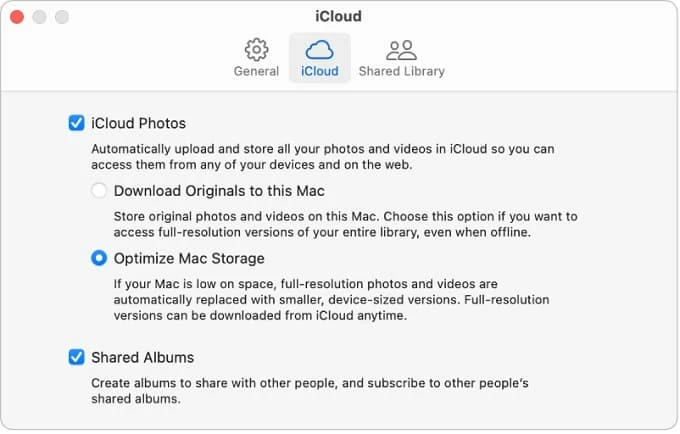
Step 3: Click on your Apple ID, move to the iCloud tab. Slide the slider next to Photos to enable iCloud Photos.
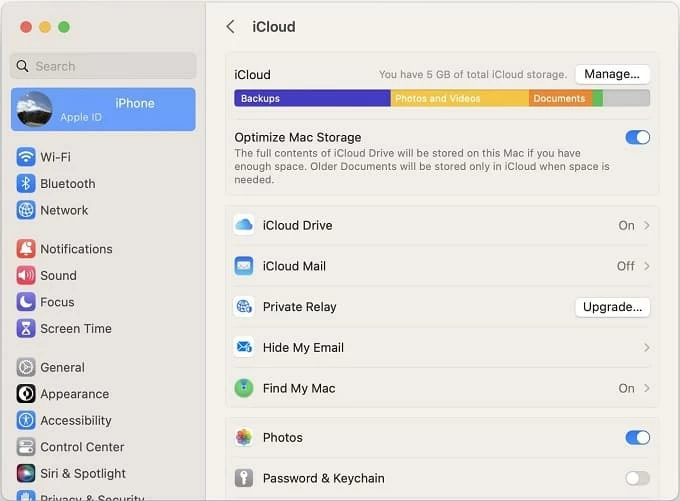
Step 4: Click Download Originals to this Mac under the iCloud Photos option.
Step 5: Your iPad photos will now start syncing with your Mac through iCloud. Once the syncing is complete, you can access your iPad photos on your Mac through the Photos app.
Are you looking for a quick and efficient tool to transfer your iPad photos to your Mac? Look no further! You can try a third-party tool, AppGeeker iPhone Data Transfer. It is reliable software to transfer pictures from iPhone & iPad to Mac easily and quickly. It also allows you to transfer all photos or specially selected photos according to your preference.
Main Highlights:
Follow the easy steps on how to transfer iPad photos to Mac via iPhone Data Transfer.
Step 1: Download and install the iPhone Data Transfer software on your Mac, then launch it.
Step 2: Using a data cable to link your iPad to your Mac. And enter your lock screen passcode to trust your computer.
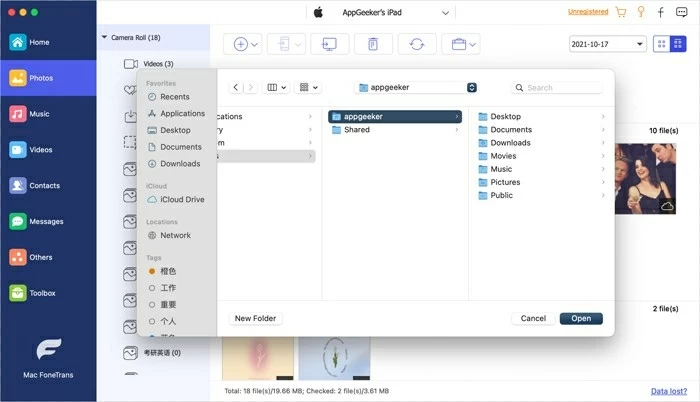
Step 3: Click on the Photos option on the left menu bar, then select the photos you want to transfer from your iPad to your Mac.

Step 4: Click on the Export to PC button on the top menu bar, and choose the destination folder on your Mac where you want to save the photos.
Step 5: The software will start transferring the selected photos from your iPad to your Mac.
Airdrop is a feature available on Apple devices (iPhone, iPad, and Mac) that allows users to wirelessly share files, photos, videos, contacts, and other data with nearby Apple devices. It's a convenient way to share memorable moments without the need for cables or online transfers.
Before you get iPad photos onto mac, please note:
Step 1: Open the Photos app on your iPad. Select the photos you want to transfer by tapping on the Select button in the top right corner of the screen.
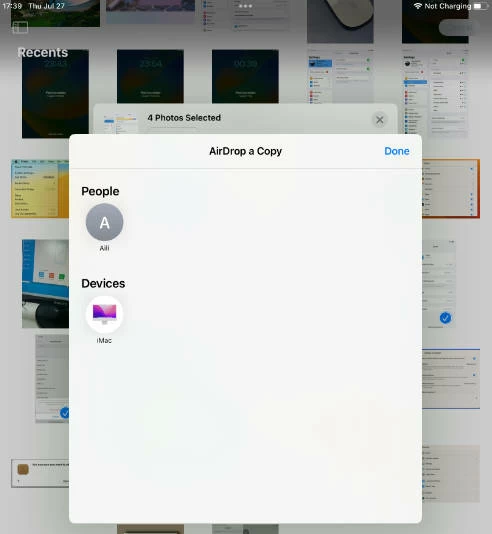
Step 2: Tap on the Share button, which looks like a square with an arrow pointing upwards. Select the AirDrop icon from the options that appear.
Step 3: Tap on your Mac's name to send the selected photos.
Step 4: Click the Accept button on your Mac. Once the transfer is complete, you can access the photos on your Mac in the Downloads folder or the location you specified.

Image Capture is a built-in application on macOS that allows users to import photos and videos from digital cameras, iOS devices, and other connected devices. It provides a simple and straightforward interface for transferring media files to the Mac.
In contrast to the Photos app, Image Capture is primarily used for importing media files from your device, while the Photos app is a full-fledged photo management and editing app.
Here are the exact steps to import photos from your iPad to your Mac using the Image Capture.
Step 1: Connect your iPad to your Mac using the USB cable. And trust your computer.
Step 2: Open the Image Capture app on your Mac. You can find it in the Applications folder or by searching for it using Spotlight.
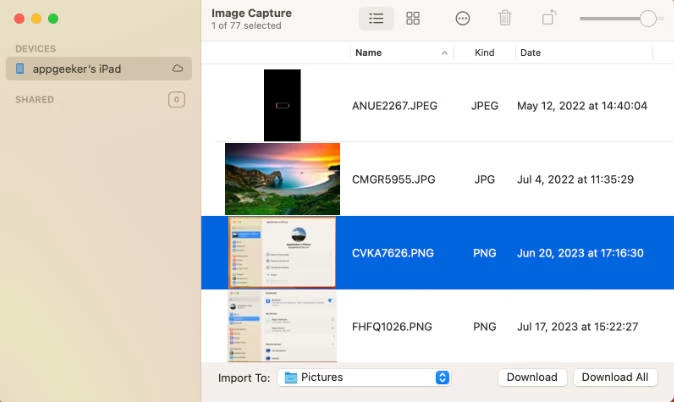
Step 3: Click on your iPad in the Devices list to display the photos and videos stored on it. Select the photos you want to import by clicking on them. You can select multiple photos by holding down the Command key (⌘) while clicking on each photo.
Step 4: Choose the destination folder on your Mac where you want to import the selected photos. You can do this by clicking on the Import To dropdown menu at the bottom of the Image Capture window and selecting a folder from the list.
Step 5: Click on the Download or Download all button at the bottom right corner of the Image Capture window.
Step 6: Image Capture will then start importing the selected photos from your iPad to your Mac. You can monitor the progress of the import process by checking the progress bar at the top of the Image Capture window.
Summary:
The above five methods are all tried and tested, and you can choose one of them according to your preference. All these methods can help you successfully transfer photos from iPad to Mac.