How to Download YouTube Music to iPhone

Looking to turn off iCloud Music Library on your iPhone for some reason? This guide will walk you through how to disable Cloud Music Library on an iPhone easily.

After turning off Cloud Music Library on your iPhone, you may be seeking an alternative for organizing your favorite songs, recorded memos, or other soundtracks on your iPhone or computer, you can try Appgeeker iPhone Data Transfer, which provides a more convenient and flexible approach to back up and manage your music collection.

With just a few taps, you can effortlessly switch off iCloud Music Library on your iPhone.
Integrated into Apple's ecosystem, iCloud Music Library allows you to manage and access your extensive music collection across up to 10 Apple devices, as long as you've logged in with the same Apple ID account and subscribed to Apple Music or iTunes Match. Plus, you can even store 100,000 songs at most without counting toward your iCloud storage limit. However, despite these advantages, there're still times when you want to switch off the Cloud Music Library on iPhone.
Below, we will delve into the reasons why you need to disable your iPhone's iCloud Music Library, and show you the steps about how to turn off Cloud Music Library on your iPhone.
Table of Contents
Tip: Don't overlook the AppGeeker Screen Recorder if you need to record audio from your computer. This powerful tool enables you to capture crystal-clear internal and external sounds, and even videos easily. With just a few simple clicks, you can record audio and even edit the resulting file directly within the tool.
iCloud Music Library has some drawbacks that make you want to turn it off on your iPhone. In this part, we've outlined its shortcomings and the steps to turn off Cloud Music Library on your iPhone or iPad.
Note:
1. Open Settings, and swipe up to locate Music.
2. Switch off the Sync Library toggle. If your device is running an earlier version than iOS 13/iPadOS 13, disable iCloud Music Library.
3. To confirm your decision, tap on the Turn Off option when prompted.

Extra tip: Disabling iCloud Music Library on your iPhone will result in the removal of your complete Apple Music catalog and the iCloud-stored copy of your iTunes library only from the phone. It's not automatically disabled on other devices associated with the same Apple ID. To turn off the feature on all devices, you'll need to do it separately on each one.
[ Further reading: How to add MP3 to Apple Music on iPhone - From PC, Mac or Files]
If you prefer a hands-on approach to select and transfer your iPhone music to different devices manually, consider using the remarkable third-party software, iPhone Data Transfer. Now let's take an in-depth look at its comprehensive functionalities and capabilities.
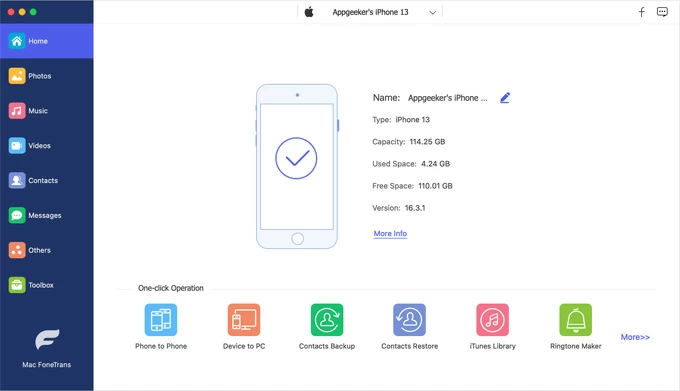
Appgeeker iPhone Data Transfer is a robust and flexible program that enables effortless transfer of music from your iPhone to Mac/PC/iDevices or vice versa. It offers options to transfer your iPhone music selectively and import various types of audio files including songs, voice memos, recorded soundtracks, and so on. With this software, you can easily back up your iPhone music files and manage them in a well-organized structure without the need of a monthly cost.
Key features:
Here we'll show you how to transfer music from your iPhone to your Mac.
1. Open the software on your Mac, and use a cable to connect your iPhone to your computer. Tap Trust on your iPhone if asked.
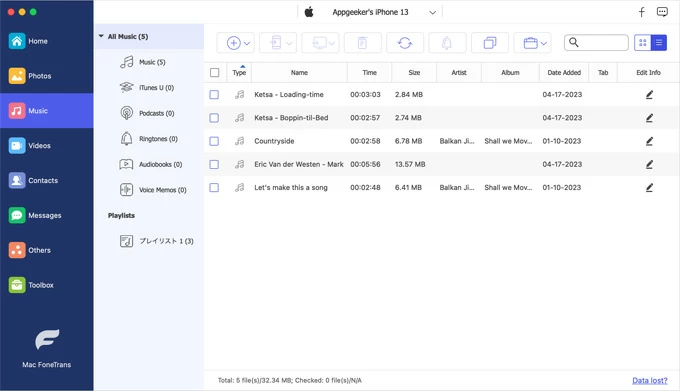
2. Click Music on the left, and tick the box next to the music name to select the audio files from your iPhone to transfer to your Mac.
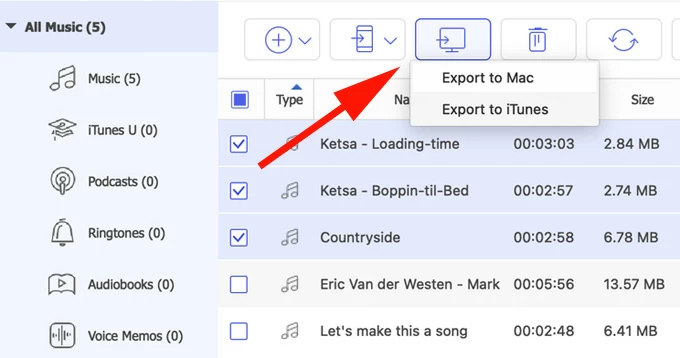
3. After selecting the music, click the Computer icon at the top and select Export to Mac. Then choose a folder and click OK to start the music transfer.
Read also: How to transfer music from iPhone to Mac - 5 easy ways
Beside disabling Cloud Music Library on your iPhone, maybe you also need to disable iCloud Music Library on your Mac for some reason. Here's how to.
Tip: Before you deactivate Cloud Music Library on your Mac, click Account in the Menu bar to ensure you are signed in with the same Apple ID associated with your Apple Music subscription.
Here is an article discussing exactly what to do if you need to transfer music from Mac to iPhone: Transfer music from Mac to iPhone without iTunes/ Finder seamlessly
5 easy ways to ransfer videos from Windows 10 computer to iPhone