
How to Record MP3 Audio Files in Windows 10 PC or Laptop

If you're looking to record desktop on a Windows PC or laptop, here're a few handy screen recorders for you to take advantage of.

Points to know before desktop recording on Windows:

Ways of recording Windows desktop varies depending on your needs.
There are many reasons why you will want to record desktop on a Windows computer or laptop. For instance, you need to demonstrate how to use a software by making a video tutorial for more intuitive presentation, or record a video on YouTube that you can't download. All this work can be done with minimal effort via a proper video recorder.
In this guide, we've outlined several useful screen recorders, which are fit for those who own a Windows 10 / Windows 11 PC or laptop to record the desktop, be it HP, Dell, Lenovo, Acer, Asus, Samsung, and so on.
Should you be interested in sound recording on Windows, you can check this article: How to record audio on PC.
Dedicated for recording gameplay, Xbox Game Bar is a free built-in screen recorder on Windows. It can also record other applications besides a game, but unfortunately it cannot record the entire Windows desktop and File Explorer.
In addition, you may find some limitations when you record desktop by this inbuilt tool on Windows: you can capture only one window each time you record, and there's none editing function in this recorder.
Though Xbox Game Bar is unable to record desktop for Windows, you can still check the steps below if you want to know how to record gameplay or videos by this tool.
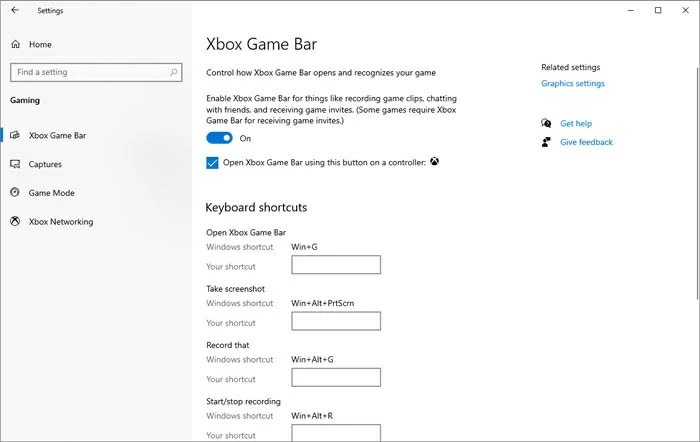
1. Check if you've turned on Xbox Game Bar first. Press the Windows key to activate Start Menu, then navigate to Settings > Gaming > Xbox Game Bar. If the switch on the page is off, click it to enable the tool.
2. Press Windows Key + G to launch Xbox Game Bar on your Windows desktop for recording.
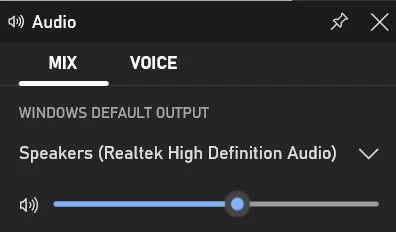
3. Adjust the audio settings by dragging the slider in the Audio box.
4. Use the shortcuts Windows key + Alt + R to start recording.
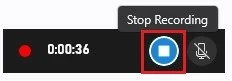
5. With what you want recorded, hit the Stop button and a pop-up Game clip recorded will appear immediately from the right of the screen. Click on it and you can see the captured video in the Gallery list.
Note:
Since Xbox Game Bar fails to record desktop on Windows devices, you may resort to other screen recorders to achieve the goal.
In terms of recording and editing functions, AppGeeker Screen Recorder can be a much more comprehensive tool than Xbox Game Bar. With this recorder, everything that's happening can be recorded on your Windows desktop, even when you're using a webcam (you can record a picture-in picture video by this tool). Moreover, you can add shapes, notes, or icons to your video while recording and then export the captured file in a preferred format.
In the steps below, you can also have a quick look at the intuitive layout of this desktop recorder, which is user-friendly to both beginners and tech experts.
Step 1. Launch the AppGeeker Screen Recorder on your Windows desktop. Select Video Recorder from the menu.

Step 2. Set the full screen as the desired area for desktop capturing. Turn on or off the audio from the system and microphone as needed.
You can also enable Webcam to create webcam recordings at the same time.

Step 3. Hit the REC button to start the desktop recording on your Windows PC or laptop.
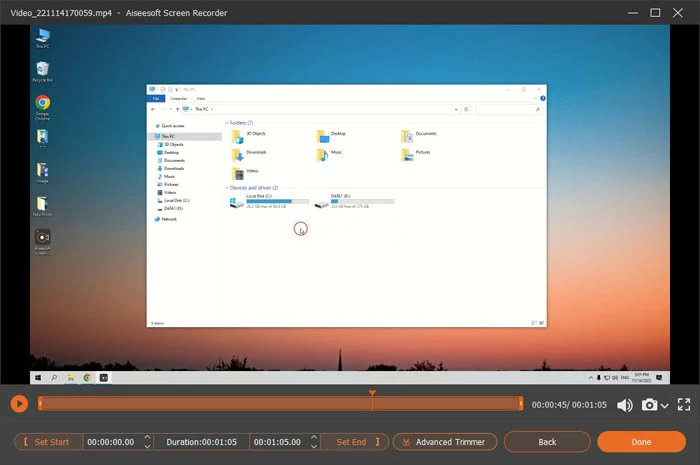
Step 4. Perform as needed, and click on the Stop button to finish the recording.
![]()
Later you can preview the desktop-recorded video and selectively edit it. The video can be exported in the format of MP4, WMV, MOV, WebM, F4V, TS, or GIF.
Open Broadcaster Software, commonly known as OBS, is an expert screen recorder purpose-built for both video recording and live streaming in high definition with no limits on the recording length. However, it also has some drawbacks that you may mind. Here're some pros and cons of this recording tool.
Pros of OBS:
Cons of OBS:
Steps to record desktop on Windows with OBS:
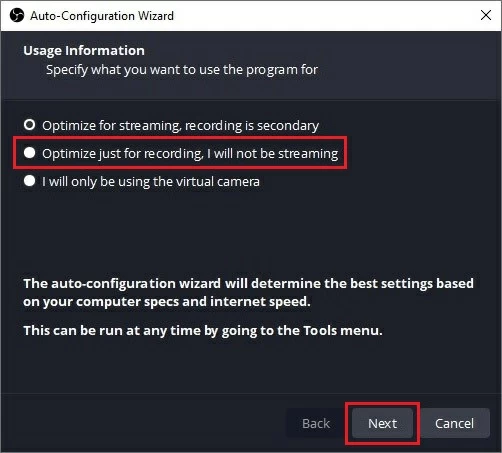
1. Download and install OBS. Open it on your desktop. If it's the first time you've launched the tool, you will see an "Auto-Configuration Wizard" window. Select "Optimize just for recording, I will not be streaming" and then hit "Next" for Windows desktop recording.
2. Press the plus icon at the bottom left in the Scene area. Then give a name to the added scene and hit "OK."
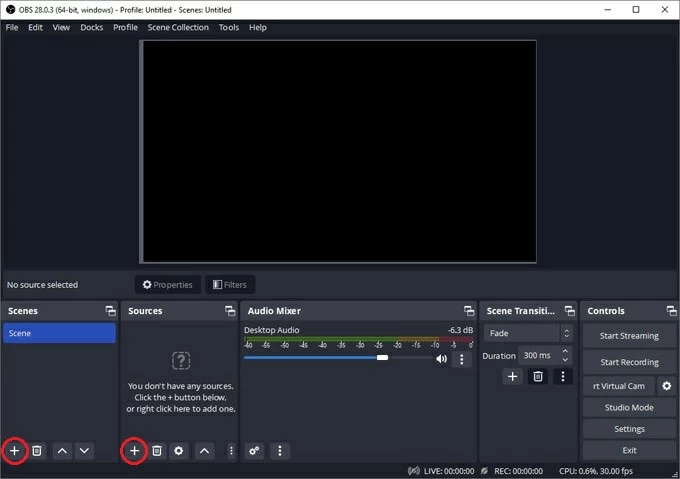
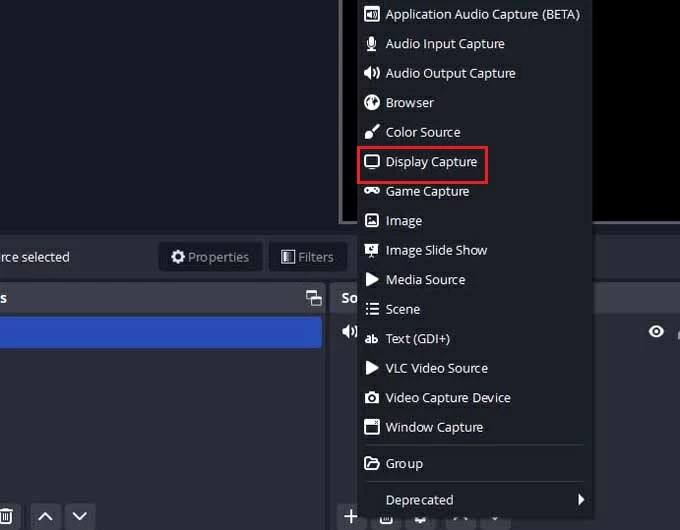
3. Next, navigate to the Sources box, and click the plus icon down in the panel. Continue with the Display Capture option on the pop-up list. Also name it and tap "OK."
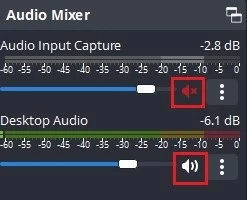
4. In the Audio Mixer module, both internal and external voices are optional to record. You can turn up or down the volume or even mute them if necessary.
Tip: Before the desktop recording on the Windows device, you can also adjust the output or other settings from File > Settings.
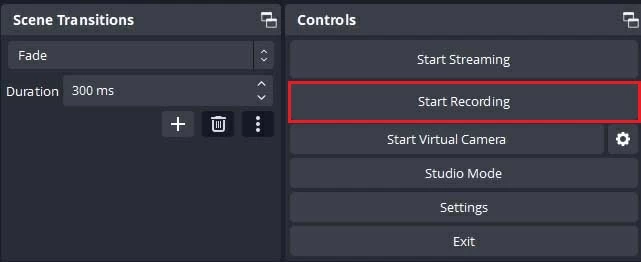
5. Finally, find the Start Recording button at the right and tap it after you're done with the settings. Once the desktop recording is finished, click Stop Recording, and OBS will automatically save this recorded video on your computer.
You can check the videos by clicking Show Recording from File.
When using OBS to screen record on Windows desktop, some users find the interface quite clunky, and they also complain about the learning curve being steep for non-tech ones compared to the AppGeeker Screen Recorder, making the latter a preferred choice for beginners and professionals.
Learn more: How to record desktop audio with OBS on Windows computer
You may not be a stranger to Microsoft PowerPoint, but it may never occur to you that this is also a fantastic tool to record your Windows desktop for free.
Unlike the Xbox Game Bar, the PowerPoint in-built screen recording function is designed to record the whole screen on the desktop, whatever the contents is. You can also do some simple trimming on the recorded file in its interface.
Note:
Here's how you can use MS PowerPoint to record desktop on Windows 10 / 11.
Step 1. Open PowerPoint and create a blank slide. Head to the Insert tab from the ribbon at the top, and select Screen Recording. By default, the option is located at the far right of the menu.

Step 2. On the Control Dock, click on Select Area, and then use your cursor to drag to select the entire screen for capturing your Windows desktop.
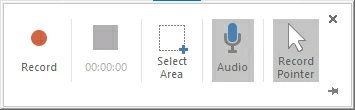
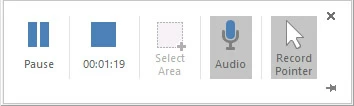
Step 3. Next, click the Record button to start recording. You may even pause the recording with the Pause button during the process.
Step 4. When finished, hit the Stop button (or use the Windows key + Shift + Q shortcuts). You need to move your cursor back to the top of the screen to get the Control Dock to reappear.
Step 5. Your screen-recorded file will be inserted into the PowerPoint slide. To save it onto local storage, right-click on the video and select Save Media as... from the list.
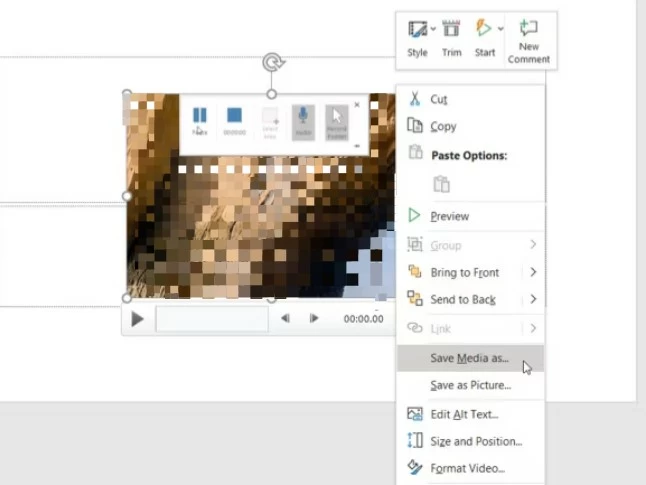
With the Trim option above the list, you can simply clip the recorded video before exporting it.
The bottom line
As you can see, various options are available for you to record desktop on your Windows computer or laptop. Hopefully, one of these screen recorders will meet your needs, no matter you're creating a tutorial for YouTube or just sharing a gaming achievement with your peers.


