How to Transfer Songs from iPad to Samsung


So, you intend to transfer photos from iPhone to a Windows 8 computer. Whether it is for sparing storage purpose or for securing the images from Camera Roll and Photo Stream and the shared pictures in the Photo album, shifting it to your computer does serve the purpose. If you're seeking for the best ways to get through the iPhone photos transfer process easily and efficiently, that's great, as we'll here to offer five reliable tricks to rely on, along with the complete mechanism to import photos from an iPhone to Windows 8 PC. Let's get started.
Tips: The instructions in this post can apply to iPhone X, XS, 11, SE (2nd generation) or newer, but also work with the older iPhone models like iPhone 8, 7, 6, etc.
Method 1 - File Explorer
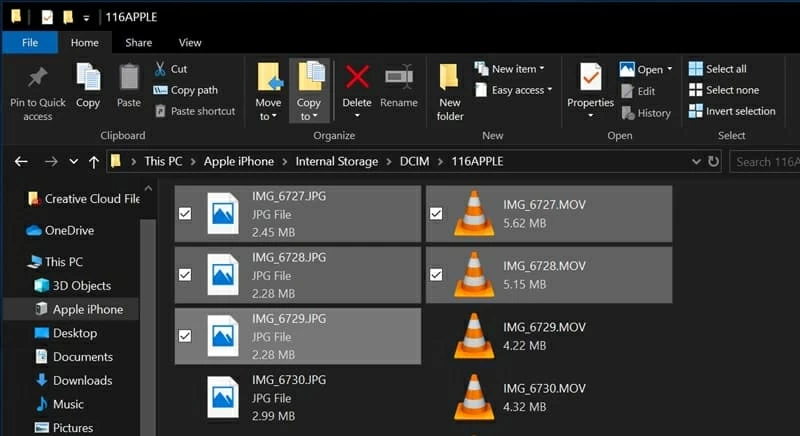
The first method through which you can copy iPhone photos and videos to Windows 8 computer is File Explorer. It is a quick and easy way to handle the iPhone photo transfers without having iTunes installed. You just need to adopt a standard USB lightning cable to plug the device to the computer, and choose the photo library to transfer over, then you're good to go.
Here is the process:
Tips: To mark multiple pictures, hold on Ctrl key and left-click each item. If you wish to transfer all photos on iPhone to Windows 8, use the key combination of Ctrl + A.
Can see the files in the DCIM folder but get an error message "The requested resource is in use." during copy-and-paste process? Try these steps.
Method 2 - Import Pictures and Videos Wizard (AutoPlay)
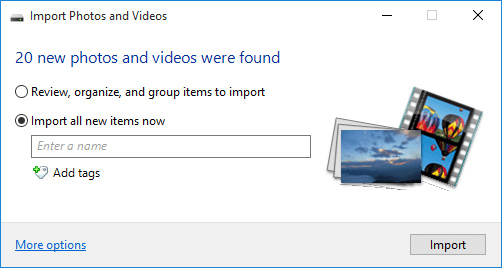
This pre-installed software in Windows 8 machine is also a simple-yet-efficient phone-to-pc transfer solution. It can easily extract photos from you iPhone or any digital devices then move to the appointed destination on computer's drive without any input from you. In addition, it also lets you group the photo sessions into different folders and do minor edits conveniently.
Usually, the AutoPlay menu will come up as soon as you attach a device to the computer. Check out the following steps to migrate iPhone photos to Windows 8 computer using the iPhone's USB cable.
Alternatively, you can launch the File Explorer by pressing Windows + E and choosing Import pictures and videos from the right-clicking menu of "Apple iPhone" drive.
By default, it will directly save the iPhone photos into Windows 8's My Pictures folder. Should you need to go for a customized folder, click on "More Options" and select the folder to save your files.
Method 3 - iTransfer
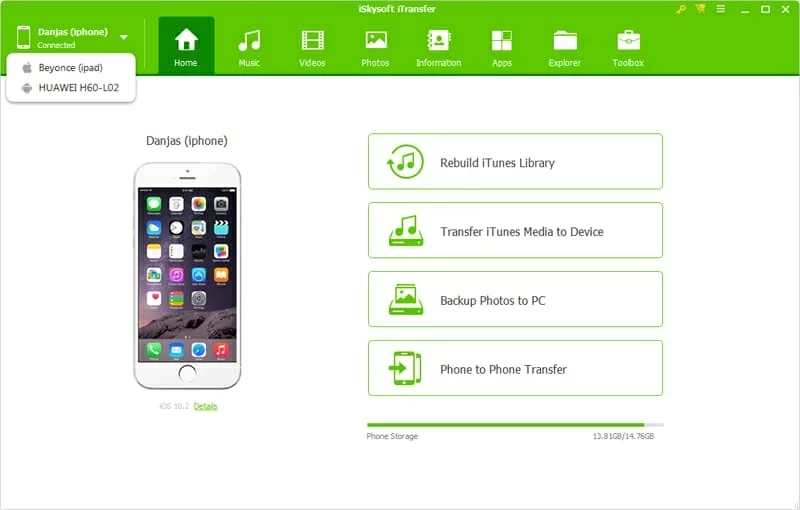
Using Microsoft AutoPlay is no doubt a good solution but it's not perfect. There's still a chance that the AutoPlay is not coming on and also the phone is not showing under the removable options. That's where iPhone Data Transfer comes in, delivering a pain-free experience on moving photos from iPhone into Windows 8 laptop & desktop with a slew of features.
It allows you to manage and transfer all your data between iOS devices and your computer easily. Whether it's music, movies, contacts, TV shows, or any other files, you can earn the expected control over data selection in the process - you can import all photos from iPhone into Windows 8's hard drive or just choose a few types of files to transfer over. It also serves it well to add new photo album(s), delete unwanted image(s) and convert the picture(s) to GIF.
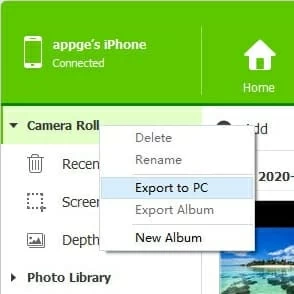
The process to transfer personal pictures from iPhone to Windows 8 has been listed below, from which you'll find it pretty convenient to export either a whole photo library folder, or just several preferred images.


Want to move over an entire photo folder into the machine? It's easy, too. Locate the specific folder(s) on the sidebar, right-click the heading(s) then select the "Export to PC" to trigger the process of iPhone photos transfer to a PC running Windows 8 OS.
Method 4 - Windows Photos apps
The fourth method that we're highlighting here is Microsoft Photos app. It's good for viewing your images in one place and then make it easy to get iPhone photo album transferred over to Windows 8 without incurring any cost. Read the following wizard to complete the migration, which is also the same if you need to import digital photos from cameras, memory cards, or external drive.
You can check out the photos and videos in the Pictures folder in a subfolder named with the date when these photo files were imported.

Fifth Method - iCloud Photos Syncing
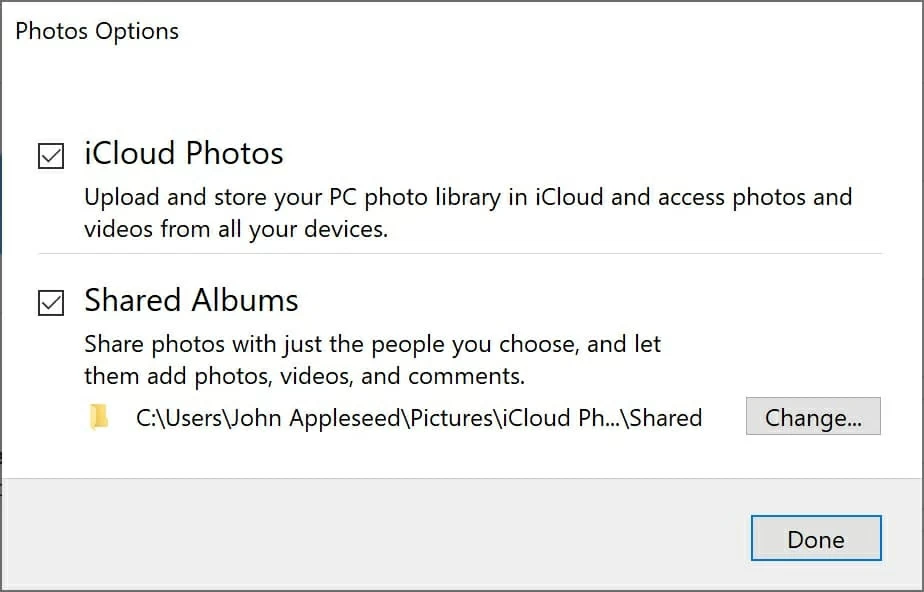
No lightning cables on hands? Don't fret, as iCloud could get you covered. Once you've turned on the "iCloud Photos" on your phone, you can easily keep copies of iPhone photos and videos on Windows 8 computer by going through the iCloud.com. Alternatively, you can download the iCloud application on the machine and then head to the instructions below to get things done.
Upload the photos and videos to iCloud photos:
Download iPhone photos onto Windows 8's hard drive:
If you're in a situation where it takes too long to upload thousands of photos from iCloud into the computer, the third trick iTransfer above could keep you out of all the extra efforts and save pictures from iPhone to Windows 8 PC directly.