How Can I Restore Deleted iPhone 7 Contacts Numbers


The iPod changed the way we listened to music on the go, and now iPhone has taken its place for everything, including music playing. For iPhone users, one of the most common things they need to do is manage their music library on the device.
We all know that Apple provides iOS users with a dedicated tool, iTunes, to manage their iPhone, iPad and iPod. But while syncing music on your iPhone is no problem, getting songs off your iPhone and save to Windows 7 computer isn't quite at easy. This can be really annoying when you want to create a backup of your music locally. What's worse is if you've ever been stuck with a crashed computer with your digital music collection gone, it leaves you no way to copy music on iPhone over to your Windows 7 PC's hard drive.
Apple may be in the light of concerns over unauthorized music sharing, but it has definitely caused lot of inconvenience for those who own their tunes legally. So, how can make transfer of music from iPhone to Windows 7 machine?
Thanks to iPhone Data Transfer, moving files in both directions is possible and easy. It's a standalone app that blows away the restriction you are normally faced with and helps you export music from iPhone to save onto your Windows 7 PC. It makes transferring files such as videos, music, audiobooks, TV shows, movies, podcasts, pictures between devices and computers extremely easy. You just connect your device (iPhone, iPad, iPod, tablet) to computer, select what content you want to move and you're ready to go. It also can manage your contacts, messages.
Here's we'll show you how to get songs from iPhone onto Windows 7 computer in a few easy steps. This also works on Windows 8 and Windows 10. Download the right version by clicking the link below and get started. You won't know how you ever lived without it.
Using iTransfer: Simple and Smooth
Step 1: Connect the iPhone to computer with USB cable
Using iTransfer to back up iPhone tracks to Windows 7 is simple. Plug your iPhone to the computer and launch iTransfer.
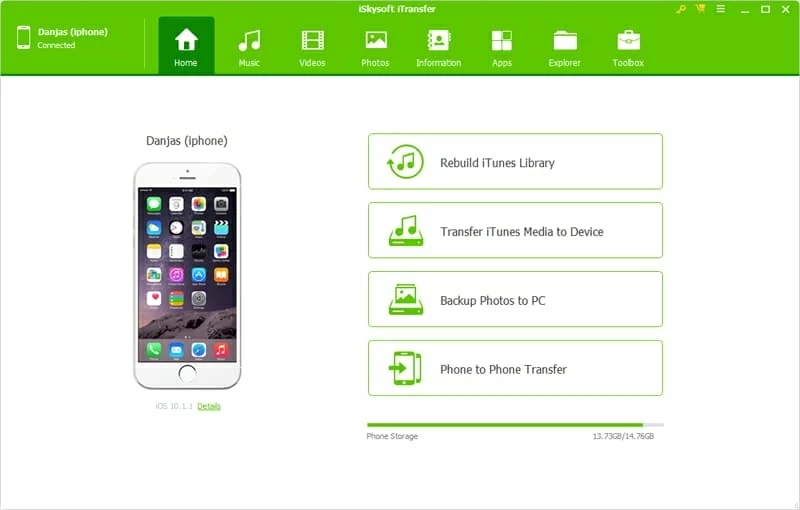
You'll get its main interface that should be easy to figure out: 8 big buttons located in the top navigation bar, your device's image icon appears on the left portion and another 4 shortcuts on the right portion.
When using the shortcut function, you can quickly complete some important tasks.
Step 2: Select tunes from the music library on iPhone
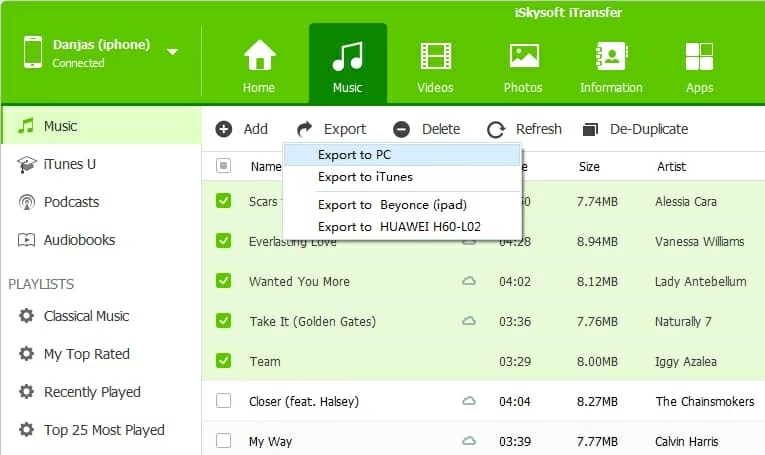
In this step, you can browse your iPhone collection of music. To do so, click the Music button on the navigation bar, then click the Music category on the left sidebar to display all of your tracks on this device.
Find the tracks you want to copy to Windows 7 PC and place a checkmark in front of the song name. To select all the music in the list, you can check the box next to Name column.
If you have a huge number of songs on the list, you can take advantage of some nice features, like the ability to type a keyword in search box located in the upper right corner to narrowed down as you type, or sort the list by Name, Time, Size, Artist, Album, Date Added.

Step 3: Initiate the iPhone music to Windows transfer process
Once you've decided what songs you want to back up onto your Windows 7 computer, transferring iPhone music is as simple as hitting the Export button on the toolbar.
In the dialog that pops up, select your desired location folder on computer and then click the Save button. iTransfer will copy the music from the iPhone to save to your Windows 7 computer. You can monitor the progress of tunes transfer.
Depending on file size of songs you choose to export and the power of your machine, it may take several minutes or longer to complete the whole process.
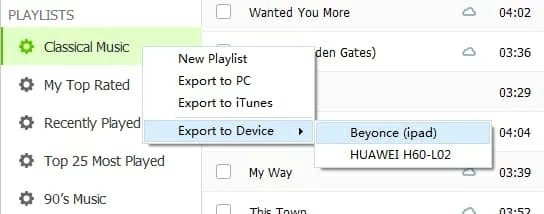
Instead of using the traditional way, this software also offers a right-click menu to transfer your files quickly. For example, if you want to move tracks from a playlist named "Classical Music", you just right-click that playlist, and then select export them.
Once completed, your songs will be on both the Windows 7 PC and the iPhone. To erase songs on your iPhone, you can use the Delete option on the toolbar of this program's window to handle this.
With iTransfer, you're able to do much more than just music transfer. Try it!
Supported iPhone Models: iPhone 5, iPhone 5c, iPhone SE, iPhone 6 (Plus), iPhone 6s (Plus), iPhone 7 (Plus), iPhone 8 (Plus), iPhone X, etc.