
How to Move Text Messages on iPhone to LG Smartphone


How to back up music collection from an iPod to MacBook is a trending question for different kinds of reasons. In general, iTransfer comes to the rescue and lets you to transfer songs back and forth between iPod and MacBook quickly and easily.
In the event that you would like to ditch your old iPod but you don't really want the large collection of tracks go missing along with the device, then copying all the songs from iPod (Shuffle, Nano, Classic, Touch) onto your MacBook is a decent way you can go with.
Feeling more than confused with the way iTunes syncs and backs up the songs and other media files (movies, music, home videos, podcasts, TV shows, etc) of iPod device to the MacBook hard drive? Exactly true. iTunes isn't infallible all the time and the transferring of music is just a one-way process — getting music onto iPod. So and naturally, you will need another way to get your music off the iPod and copy it into MacBook for playback or safekeeping.
iPod Music Backup Service
In an effort to complete the iPod tracks to MacBook transfer process without limitation, you would give a iPhone Data Transfer a strong shot among numerous program on the software market, which is such a powerful yet intuitive application severed as an excellent iTunes alternatives.
With this utility, you have instant access to all the tunes as well as other media contents, including TV shows, movies, podcast, playlist, home videos and more, on your iPod, letting you seamlessly transferring the songs individually or in batches over to MacBook (Air, Pro, or Retina Display model).
Moving music on iPod right back into MacBook using iTransfer is simple and straightforward. Make sure you download the Mac version of the program on your MacBook prior to performing the process. We explain how it's done below, helping you benefit the most out of the program.
Step-by-Step Guide on Saving iPod Music onto a MacBook
Step 1: Plug iPod into MacBook
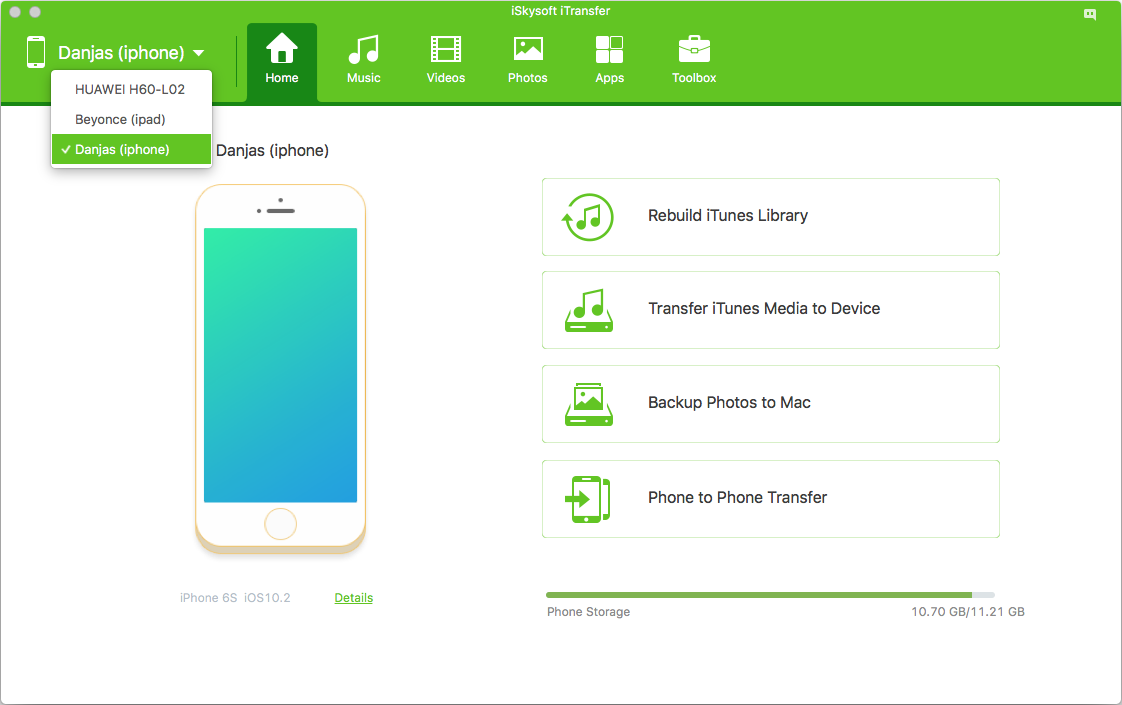
Upon installation of the software, plug your iPod into MacBook through a USB cable. Then the program will recognize your iPod and display it on the main window, like the screenshot below.
Step 2: Highlight the tunes to transfer over
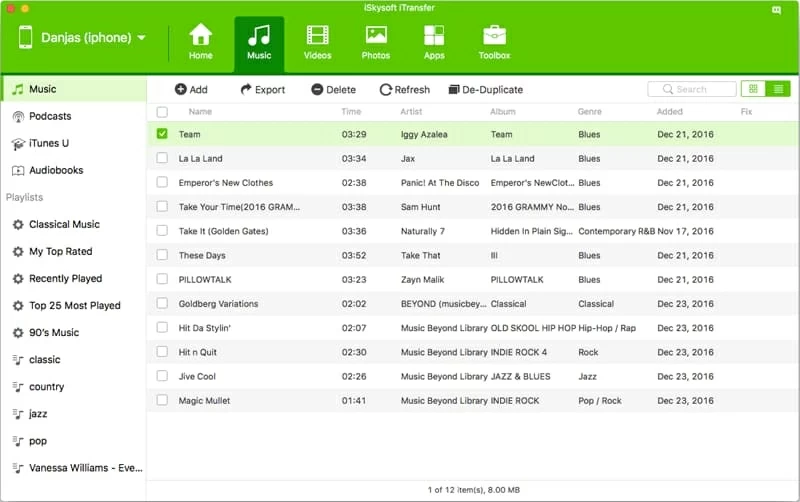
Head over to Music tab on the upper navigation bar, click it and after a quick scan, you're presented a complete list of music files of your iPod on the window, from which you're enable to choose the tracks you wish to add to MacBook.
To do so, click the checkbox in front of the track name so that a checkmark appears. If you want to keep all the songs on iPod into your MacBook, simply check the box labeled Name column on the header.
Step 3: Choose location for exported songs and trigger process
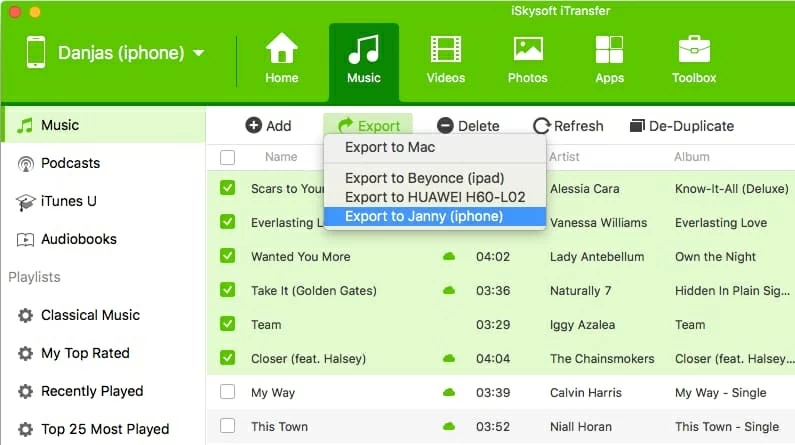
Confirm your selections and click the Export button on the tool bar under navigation menu and choose Export to Mac option from its drop-down menu.
At this point, a pop-up comes out and all you need to do is browse then select a folder where you want the exported iPod songs stored on the MacBook. After that, click Save button and the process of copying iPod music to MacBook will take place immediately.
Tip: If you want erase the entire music library on iPod, you could use the Delete option to smash all the contents.
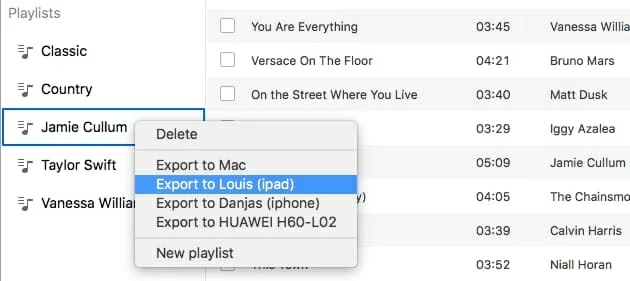
You can also save the songs of a playlist you actually want to keep to make better use of your MacBook's capacity. To do this, move down to the Playlist section on the left side bar and choose the one to export.
Wait the program to do its business. Do not close the program until the process is completely finished.
Done! You have all your iPod tunes backed up into the folder of your choice on MacBook's hard drive. Enjoy your songs! Read next: How to recover lost messages on iPhone 8 Plus.
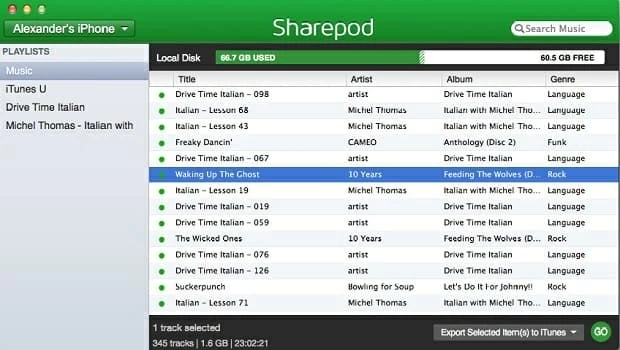
Another iPod Tracks Transfer program — SharePod
If you don't want to use iTransfer to do the music collection transfer from iPod to MacBook, you can switch to SharePod to do that. It's a professional iPod music management application with the built-in ability to add music from iPod back to MacBook. Note that the program is bundled with Apple's QuickTime and it will prompts you to install it during its setup process.
By following the instructions, you will be able to back up your iPod music to MacBook computer hassle-free.
Depending on the size of the selected collection, it could take a few minutes to download the songs of iPod onto MacBook. When it's done, all the iPod's songs are saved in your MacBook.
Suppoted iPod Models (iPod OS 1.0 and later:): iPod nano, iPod classic, iPod shuffle, iPod touch 5, iPod touch 4.
How to Convert MP4 Video to WAV Audio Tracks


