
How to Recover Data Files from iPhone 8


I've filled my iPhone full of tracks, and I wish to back it up to my newly purchased external hard drive to save space on my computer's internal hard drive as well. Any software option I can use to make the iPhone music to external drive transfer?
If you're an absolute music lover, you may get quite a large music collection downloaded and saved on your iPhone for enjoyment on the go. You'd be amazed how quickly your iPhone clogs up with just the music files — especially the lossless songs with a bit large file sizes, even though the storage space on an iPhone is much more compared to the past.
At this point, freeing up the space on a cluttered iPhone to make more room for the newly added stuff could be a wise choice. This also makes sense to transfer iPhone songs to an external hard drive in case of permanent data loss and save the limited storage or capacity of your computer.
When it comes to copying music from an iPhone to external drive or to a Mac & PC machine's internal HDD, someone may give iTunes a strong shot. However, the fact is that iTunes is not a bidirectional migration tool and it won't allow you to back up songs from iPhone to save on an external hard drive or back to a folder on your machine unless you purchased the tracks from iTunes Store. In spite of this, there's an automatic and quick workaround out there to get your iPhone tracks to the external hard drive — iPhone Data Transfer is the specific software that can works out of it.
What iTransfer can Exactly Do
It's really a awesome and user-friendly tool that owns a one-click copy mechanism for getting all sorts of files like playlists, movies, podcasts, contacts, messages, music and whatever, from iPhone straight to external hard drive, another iOS device, as well as USB flash drive, without using iTunes. Further, the program seamlessly performs a lot of conversion tasks — any format of songs or videos you throw at it can be converted to a profile that is compatible with your target device or machine.
Here's a quick tutorial on all the steps you could follow to currently save your music tunes to the separately external hard drive disk from your iPhone, so that you have a handy backup of iPhone music. Let's get started on a Mac and it's virtually the same on a PC machine (Windows 10, 8.1, 8, 7, Vista, XP).
[Also Read: How to Back up an iPhone Safely]
How to Get Songs off iPhone and onto External Hard Drive
Step 1: Connect your iPhone and external hard drive to computer
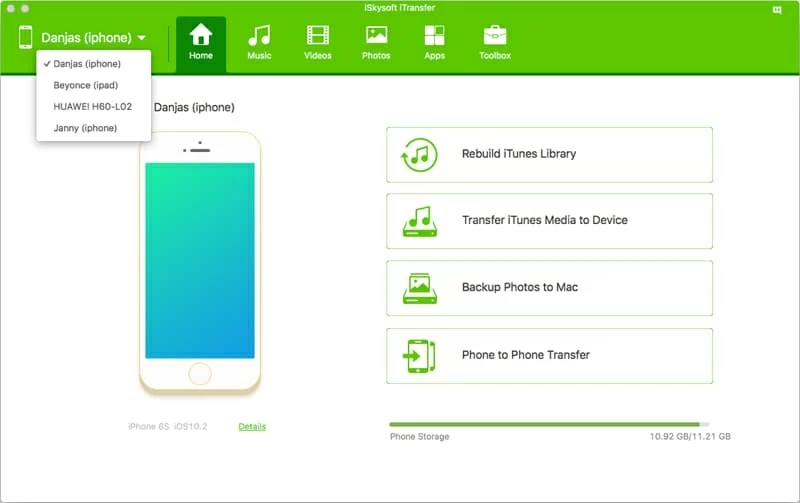
After installing the application on your machine, open it, and you will get a rather sleek home screen.
First, plug both your iPhone and external hard drive to the computer through USB cables. Once connected, select your iPhone from drop-down menu on the upper left of the interface and the image of your iPhone will get display accordingly.
Step 2: Choose songs you want to move onto External HDD
Then, navigate to Music button on the top menu bar, click it then choose Music category from the left pane of the interface to display all the music files stored on your iPhone.
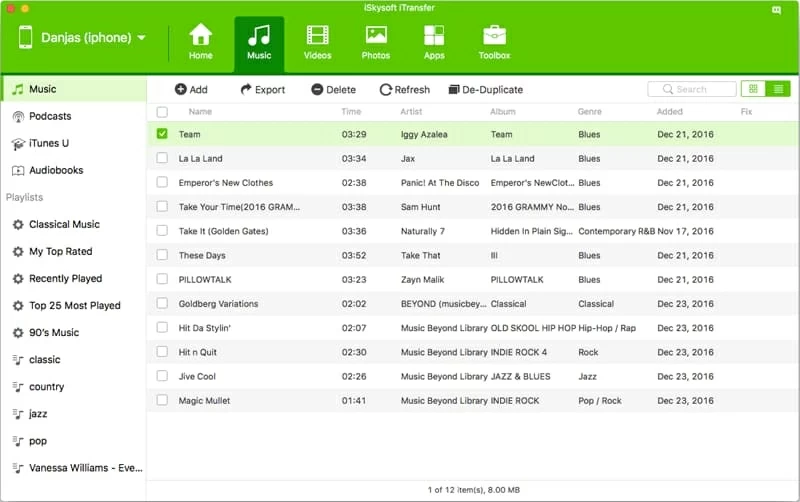
Step 3: Start adding iPhone music to external hard drive
Next, select the tracks that you wish to copy to external hard drive by clicking the tiny checkboxes in the front of each tune.
When anything looks fine, it's time to move your iPhone music to your external hard drive. Click the Export button underneath the navigation bar, and from its drop-down menu, select Export to Mac (here should display as Export to PC if you're on a Windows platform). This will introduce a pop-up dialog box, from which you need to browse your external hard drive and select the output folder.
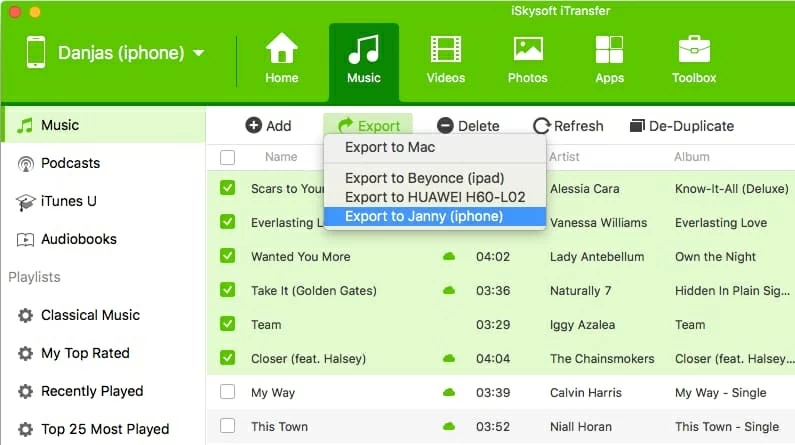
After designating the output folder on your external hard drive, click the Save button in the dialog and the program will automatically start transferring your select music from iPhone to external hard dive.
Just sit back and wait patiently. When the process is done, open your external hard drive and you should see the music tracks of your iPhone stayed there.
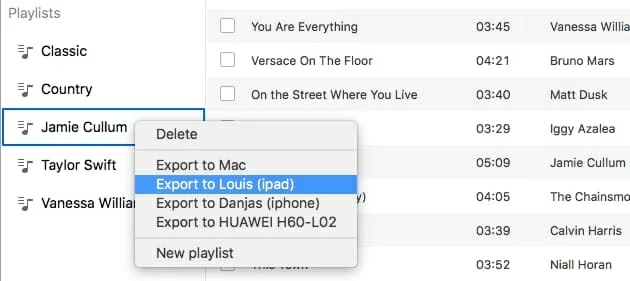
Tip: You can also get the tracks embedded in the playlist you've made onto external hard drive. To do so, on the left list, head over to a specific album under Playlist section, right click it and select Export to Mac (PC). Then specify your external hard disk and the output directory to save the music files.
That's it! With iTransfer software, you will get your songs off iPhone and copy to an external hard drive easily and seamlessly. Data transfer is just one of the top features of iTransfer, you can also manage the contents like contacts, music, playlists, videos, photos, etc on your original device before transferring, and rebuild your iTunes library within one click. Just install the application and experience it for yourself. Also see: How to transfer music between iPhones
Other Options for iPhone Tracks to External HDD Transfer
Beside the lightweight iTransfer, there're some other programs out there serving as music migration tool for iPhone. Here we'll round up two specific applications for doing so.
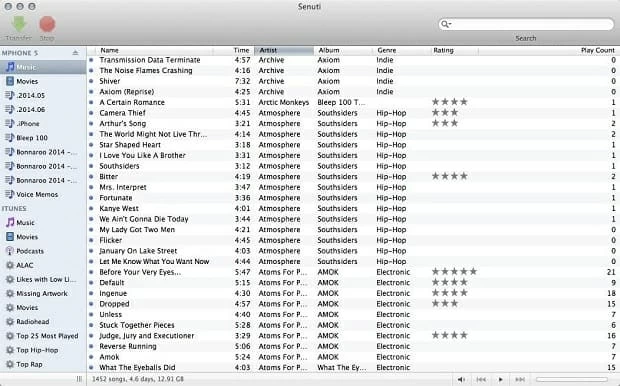
Option 1: Senuti (Mac OS X Only)
Senuti is a decent iTunes alternative for people who need to transfer or backup their music collection from iPhone to a computer that's running on Mac OS X 10.5 or later, and so you need to drag and drop the music to your external hard drive after the process.
Step 1: Disable auto-syncing on iTunes
Step 2: Share iTunes Library with Senuti
Step 3: Copy tunes from iPhone to external hard drive
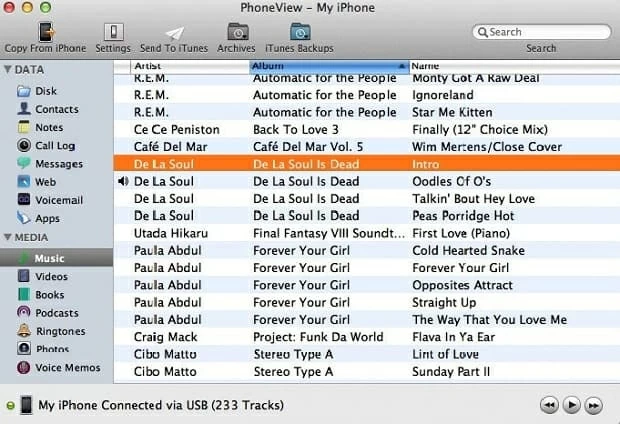
Option 2: PhoneView (Mac OS X Only)
PhoneView is designed to be used as a means of extract all sorts of data files to and from iPhone, including the songs. It's also designed for Mac users only. Here's how to use it:
Conclusion
Taking the features and the compatibility of all applications mentioned above into consideration, iTansfer should be the great tool for both Windows and Mac users looking for a basic way to import music library from iPhone to a removable external hard drive. Just get a simpler method you prefer to liberate songs from your iPhone and put them on your external HDD.
Supported iPhone Models: iPhone 5, iPhone 5c, iPhone SE, iPhone 6 (Plus), iPhone 6s (Plus), iPhone 7 (Plus), iPhone 8 (Plus), iPhone X, etc.
How to Play MKV Video File on an iPad
Lost My Phone Numbers on iPhone X, How Can I Retrieve Them?


